Being a good home chef is a process that is never fully completed. Master chefs will tell you that they still learn and test new techniques every single day.
Just because you can chop like flash lightening without stabbing yourself or braise a chicken to fork tenderness doesn’t mean you have mastered the art.
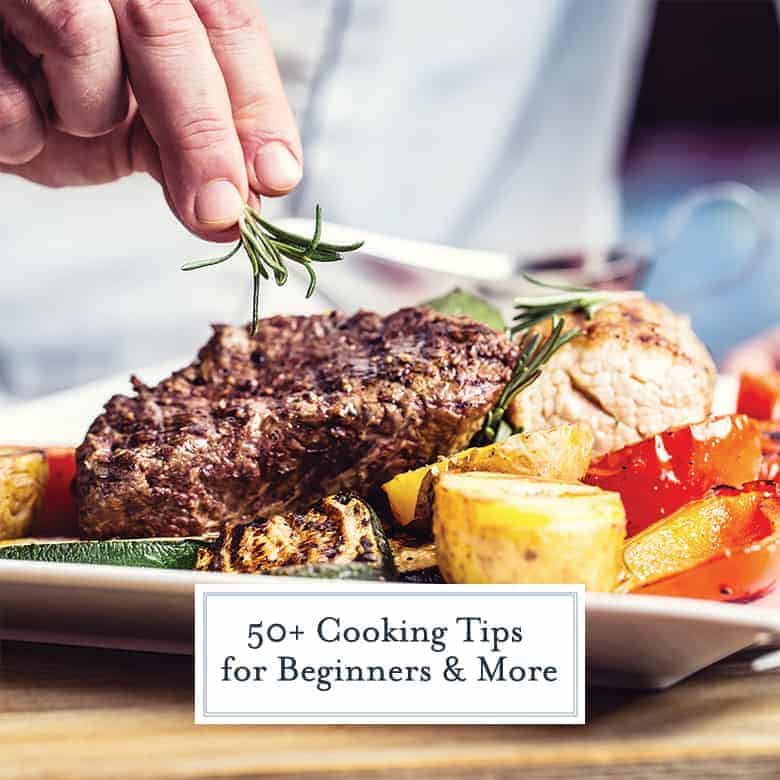
Check out 50+ tips and tricks for the kitchen. Perfect for beginners, but something new for the expert chef. #37 is the most made kitchen mistake!
Learning to cook with what you have, building on your basic skills and being confident in the kitchen will ultimately make you the best cook you can be.
Here are a few kitchen tips for the novice in the kitchen, but hopefully a few that our well accomplished home cooks will also benefit from. If you have your own you think we have forgotten (because the list is literally endless) please leave it in the comments and we will add it!
Stay curious in the kitchen, grow from your mistakes and learn to enjoy the process. The first few might be obvious, but keep scrolling down to learn something new!
ONE. Read the recipe first! While this sounds like a simple step and totally obvious, I think we have all been in a place where we set out all the ingredients and realize it included an overnight step or two hours braising and then kicked ourselves.
TWO. Recipes are guidelines. One of my many hats as a recipe developer is testing other people’s recipes. I often say it the hardest thing I do because I can’t follow a recipe to save my life!
After you’ve developed your kitchen legs, remember that you might actually be more skilled than the person providing the recipe. Feel free to put your own spin on it or do things a little differently, the written instructions are just guidelines.
You can also download our common ingredient substitutions. Sometimes a simple sub can make a whole new recipe! You can bookmark our chart for later or print it out and put it in a kitchen cabinet for easy reference.
THREE. Read cookbooks like a novel. Listen, this sounds boring, but I get engrossed in reading cookbooks, especially well written ones with a story.
Some of my favorites that I go back to time and time again aren’t even traditional cookbooks. You’ll learn something new even if you never intend to actually make the recipes you read about. Here are my favorites:
FOUR. Experiment and don’t be afraid to fail. Cooking is an artform. No artist ever set out and made their masterpiece on day one.
We all fail, even the most accomplished chefs. If it tastes like crap, the worst case scenario is that you order a pizza. Check out my tips for being more creative in the kitchen!
FIVE. Organize your kitchen. The French have a saying “mise en place” meaning “everything in its place.” Cooking in a tidy kitchen is much more enjoyable and easy than cooking in a messy one. You can even take my 15-Day Cleaner Kitchen Challenge!
SIX. Clean as you go. It might take a few extra minutes, but it is worth it to stay focused and not have a mess in the long run.
SEVEN. Use a trash bowl. Depending on your work space, you can waste up to 15 minutes for one meal just making trips to the trash can and bake. Use a trash bowl next to your work space to save time.
On the flip side, if you are tracking your steps, you can get in many extra by placing the trash can across the room and NOT using a trash bowl.
EIGHT. Save your scraps. You don’t have to throw away everything! Ends of vegetables and peels can flavor stock. Stems of herbs brighten salad dressings and salads. Even the rinds of cheese can be used to flavor soups and stews. If you don’t intend to use them right away, freeze them for later.
NINE. Learn more about the elements of salt, heat, acid and fat- the basic cornstrones of cooking. Check the cooking basics!
TEN. Taste everything at every step along the way. Many folks wait until the end to taste their creation, but you should be tasting at every step. Many flavors need time to develop or marry and waiting until the very end could be too late!
ELEVEN. SALT IT! Oh my goodness, salt. If there were just one item I could use to seasoning things, it would be salt. The right salt brings out the best flavors in every food from sweet to savory. It can provide flavor and texture and is a relatively easy ingredient to use.
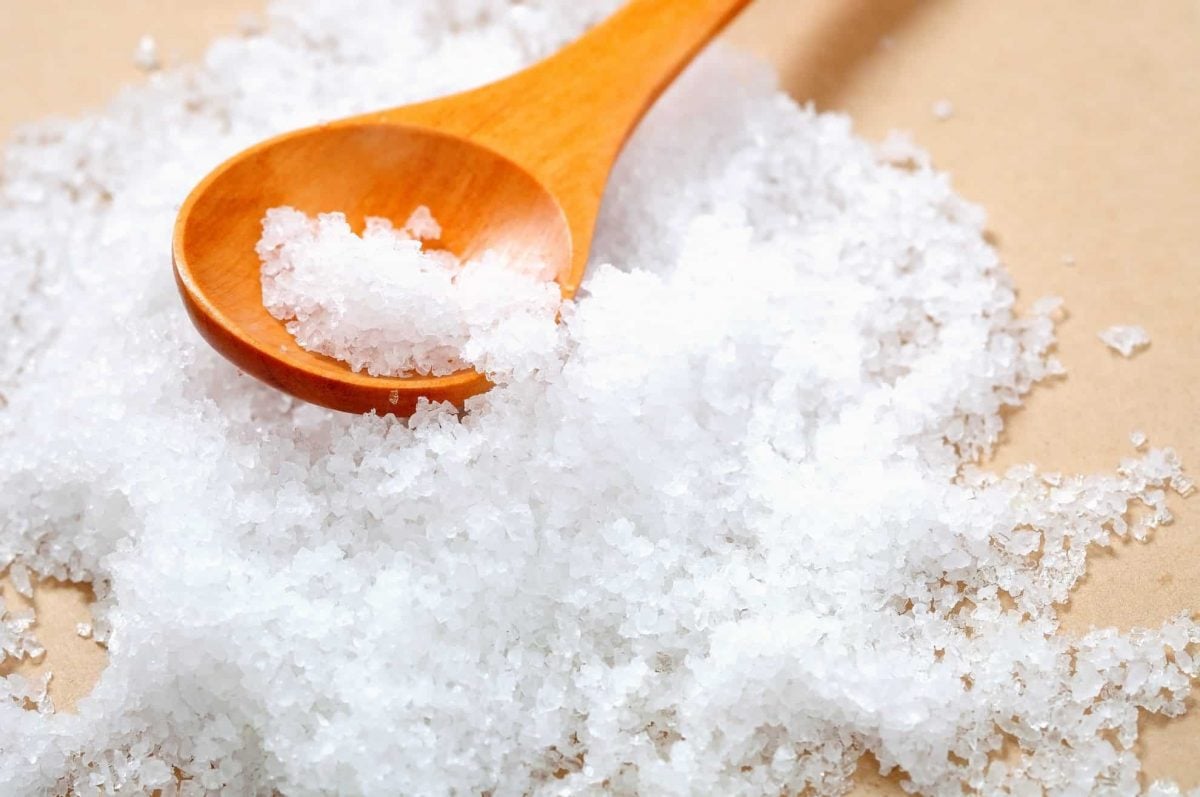
TWELVE. I beleive the most verstile salt, from seasoning to finishing, is Maldon Sea Salt. I buy it in a large bucket and keep a salt bay on the counter.
I also have a travel salt tin to use while traveling. Some say I am obsessed. I just say that the worst dish can be turned around with a sprinkle of good salt.
THIRTEEN. Invest the right basic kitchen equipment. You don’t have to spend oodles of money, but make sure you have some of the basic elements.
Investing in things like a solid chef’s knife or heavy bottom sauce pan may seem like an investment, but they will last a lifetime and not need to be replaced every year or so. Here is my list of basic kitchen tools you MUST have!
FOURTEEN. And for goodness, sake, throw away the iodized salt. Dry iodized salt just tastes metallic and overly salty. Are you tired of me talking about salt?
FIFTHTEEN. Invest in good cutting boards. Wood cutting boards are heavy, sturdy and won’t dull your knives as fast. They can make a pretty display or be kept out of sight.
SIXTEEN. Use a kitchen towel or damp paper towels under your cutting boards. If you cutting board doesn’t have slip proof feet, place a towel underneath. It is safer and will make your cutting more efficient!
SEVENTEEN. Learn basic knife skills. Learning how to chop an onion, julienne a carrot or which knife to use for what project is an important and basic skill. Here are the most requested and basic knife skills.
EIGHTEEN. Sharpen your knives regularly. A dull knife is the most unsafe kind! Either learn to sharpen your knives at home or take them to a professional on a regular basis, this will depend on the type of knife you are using.
NINETEEN. Always freshly grate your cheese. Pre shredded cheese is a great convenience and I’ve been known to purchase it based on the occasion, but freshly shredded cheese melts better, isn’t dry or brittle and isn’t coated in a stachy powder used to prevent clumping. Block cheese is also cheaper!
TWENTY. Don’t overcrowd the pan! Buy larger skillets and always use one a size bigger than you think you need. Crowding the pan results in foods not cooking evenly or not browning.
They end up steaming themselves instead. This is the number one mistake I see people making in the kitchen.
TWENTY ONE. Enjoy cooking. Reframe cooking from something you have to do to something you enjoy doing.
TWENTY TWO. Temper your protein. Coming straight from the fridge, proteins will be cold. Adding a cold piece of chicken to a hot pan will cause the outside to seize and cook fast, but the inside can’t keep up.
This results in rubbery meat. Take the chill off by allowing your smaller proteins just 15 minutes at room temperature and larger proteins 45 minutes at room temperature before introducing them to the heat.
TWENTY THREE. Dry protein gets a better and sear and brown. Dab your proteins dry with a paper towel and let them air dry before cooking. This allows seasonings to stick butter, but also gives a better browning, which doesn’t just serve the purpose of cooking.
Browning chemically changes the protein and develops flavor and acid that simply baking, braising or roasting alone won’t accomplish. It is called the maillard reaction.
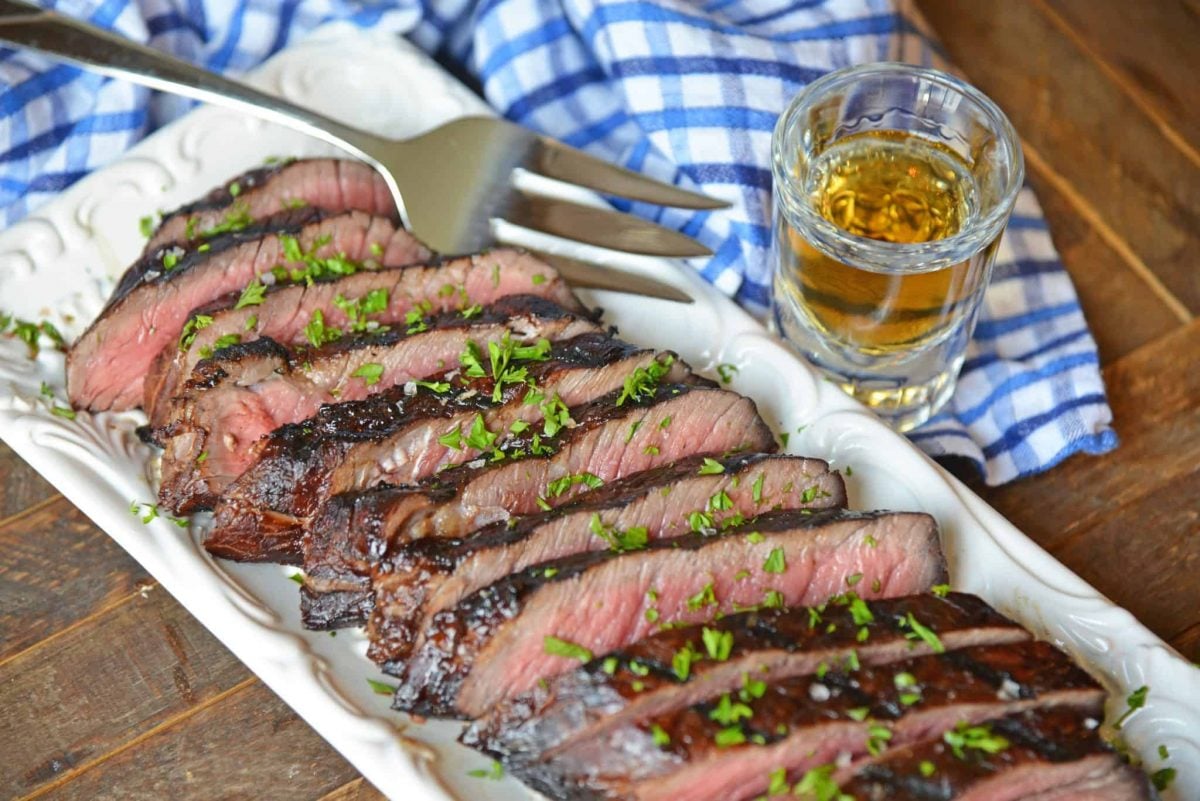
TWENTY FOUR. Let your protein rest. From beef to seafood and fish, let your protein rest before serving. It will hold heat well enough that 5-10 minutes won’t hurt it.
This helps the fiber relax and retain liquids. If you are concerned about losing heat, loosely tent the protein with aluminum foil, but be mindful to not secure it down tight, otherwise you’ll be steaming your dish.
TWENTY FIVE. Butter burns! Stick butter doesn’t have a high smoke point, meaning it burns easily and fast. It is the milk solids that cause the problem. To avoid this, use clarified butter or a 1:1 ratio of butter to oil. While it won’t prevent all burning, it will prevent some.
You can also use our favorite flavored butters in any recipe that calls for plain butter.
TWENTY SIX. Save your bacon fat! In the south, you can be persecuted for not saving coveted and worshiped bacon grease, the holiest of holy fats to cook with. Growing up we always had a coffee tin in the fridge with ours, although I rarely recall my mother every using it.
You can add bacon grease to any recipe calling for frying or even spraying with cooking spray. It is the ultimate flavor of lard! Learn how to make nice, flat pieces of bacon in the oven.
TWENTY SEVEN. Keep your lemons in the fridge. Lemons are one of the only fruits I always have on hand. I even tried to grow my own indoor lemon tree, his name was Grover, but I failed miserably. To preserve their life, keep them in the fridge.
TWENTY EIGHT. Add acid! A close second to salt, acid in the form of citrus, vinegar, soy sauce and more can brighten any dish. Try adding a tablespoon at the end of cooking to any sauce, soup or stew and keep a variety of vinegars in your pantry. My favorites include:
- Champange Vinegar
- Balsamic Vinegar
- White Wine Vinegar
- Apple Cider Vinegar
TWENTY NINE. Watch for oil fingers. Need to know when the oil is hot? Swirl it a little and watch for “fingers”. You’ll know what I am talking about when you see them.
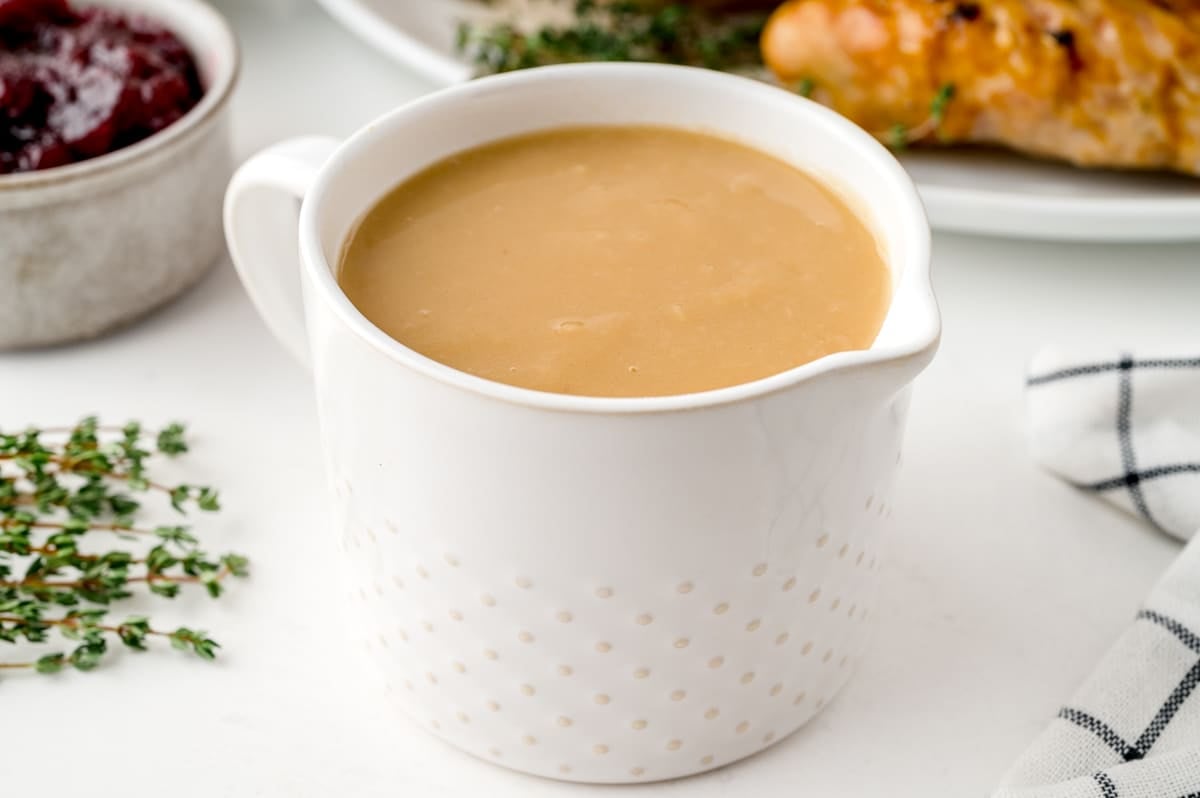
THIRTY. Reduce liquid to concentrate flavor. Patience is often the key to great cooking. Instead of piling on more seasoning, let your liquids reduce and simmer to develop more flavor. They can then be thickened using corn starch, arrowroot or cream for a lovely sauce or gravy.
THIRTY ONE. Invest in a microplane. It really isn’t a huge investment, they only cost about $20, but it will be one of your most used kitchen tools by far. Perfect for zesting citrus, grating fresh spices or giving a dish a last minute sprinkle of cheese, yours will always be in use.
THIRTY TWO. Use a bouquet garni. Nope, not fancy flowers, a bouquet of herbs and spices! Instead of adding them straight to your soup, sauce or pan, bundle them together in cheesecloth and tie with kitchen twice.
You’ll get all the flavor and won’t be fishing around for that wayward bay leaf or peppercorn.
THIRTY THREE. Embrace simple dessert. After the fanciest of meals, sometimes fresh berries with whipped cream is just what the chef ordered. Don’t stress yourself out with a flaming baked Alaska or the perfect torte.
THIRTY FOUR. Always rinse your meat. Just like fruits and vegetables, meats can carry little bits of grim or a film from the butchering and packing process. To let the real taste shine, always rinse under cold water and then pat dry.
THIRTY FIVE. Cook chicken breasts low and slow. While chicken breasts seem to be the star of most quick dinner recipes, they shouldn’t be cooked at a fast and furious pace.
Do yourself a favor and butterfly, tenderize or cut them into smaller pieces to cook faster, but at a lower temperature. High temps for a quick cook will give you dry chicken. You can also learn how to use a basic chicken brine that can be combined with nearly any chicken recipe.
THIRTY SIX. Slice meat against the grain. There is a reason why this is so important. No matter the cut of meat, the most tender to leathery tough, they have fibers. Shorter fibers are easier to chew and give the feeling of tenderness.
Cut against the grain to create shorter fibers. You’ll see this mentioned most frequently with beef, but the same rule applies for chicken, pork or any other type of meat.
THIRTY SEVEN. Use an Instant Read Thermometer. No, it isn’t cheating. It shows you are a pro in the kitchen. Next time you visit your favorite restaurant, look for the chef.
I guarantee you there is a thermometer pinned to their lapel. It is the only way to truly check for doneness without cutting into your food.
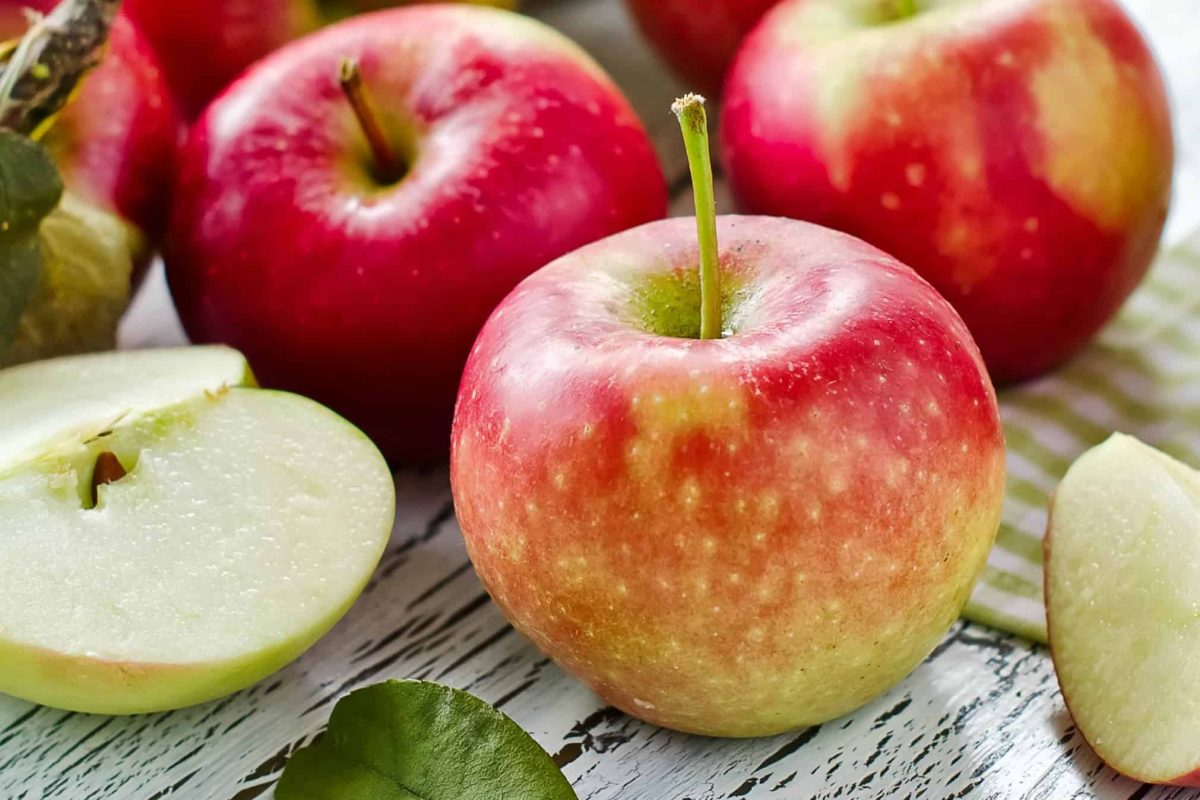
THIRTY EIGHT. Use a cold water bath to prevent oxidation. Apples and potatoes turning brown? It doesn’t mean they are bad, it just means the flesh has been exposed to oxygen.
To prevent this, simply place cut vegetables or fruits into an ice water bath. I like to add a little salt to mine.
THIRTY NINE. Don’t overmix your batters! The number one reason for dry or tough cakes, breads and pastry is overworked batter. This can happen from the ease of leaving your KitchenAid on too long or having lumps.
How do you get rid of lumps before even stirring? Sift ALL dry ingredients!
FOURTY. Use the “figure 8” stirring techinque for cooking in skillets or sauce pans. Simply stir the spoon in a figure 8. This will evenly mix your creation and prevent scorching.
FORTY ONE. Know that dried spices expire. Next time you buy a spice, use a label maker and mark the lid with the date. Buy smaller containers to avoid having to throw out the excess.
Ground spices last 6-8 months, while whole spices last closer to one year. When in doubt, give it a whiff. If you can nothing, then the spice it probably bad.
To get even more punch out of dried herbs, rub them together between your palms to reactivate the natural oils and bring some life back into them.
FORTY TWO. Use fresh herbs when possible. Yes, they are more expensive, but you’ll get a lot more flavor out of them. Use stems and leftover pieces in salad greens, sauces, infused oils or salad dressings.
There is no wasted part of an herb. The typical conversion is 1 tablespoon fresh herb to 1 teaspoon dried herb. Check out my basic guide to fresh herbs!
FORTY THREE. Learn how to properly freeze items so they don’t get freezer burn or ruin in the freezer, yes, this is possible. Also learn what NOT to freeze!
FORTY FOUR. Try something new. Whether it be a new vegetables or fruit, spice or herb, cooking techinque or recipe, always keep challenging yourself in the kitchen to keep things new and fresh.
Many like to play my game of recipe roulette– hop on over to see how to play!
FORTY FIVE. Learn the quick pickle. Being able to pickle something fast is the key to getting out of a pickle fast!
FORTY SIX. Know your mixing bowls and which to use for what task or ingredient.
FORTY SEVEN. Not all butter is created equal and neither is mayonnaise. With that said, there is a time and place for high and low quality of both. You can even learn to make your own (click on the links above).
FORTY EIGHT. Sauces add sophistication and depth to any meal. Add an aioli or use clarified butter. Here are a couple more basic sauces to amp up your plates.
- Au Poivre Peppercorn Sauce
- Beurre Blanc Sauce
- Red Wine Gravy
- Homemade Buffalo Sauce
- Yum Yum Sauce
- Balsamic Reduction
- Cocktail Sauce
- Crema Mexicana
FORTY NINE. Learn to make your own spice blends and stop wasting money on premade ones. Here are a few of my favorites:
- Italian Seasoning
- Seasoned Salt
- Everything Bagel Seasoning
- Fajita Seasoning
- Poultry Seasoning
- Thai Seasoning
- Turkey Rub
- Best Steak Rub
FIFTY. Play music. Sounds silly, but listening to your favorite jams will make your time in the kitchen that much more enjoyable, relax you and allow your creative juices to flow.
You’ll find 80’s music and classic rock in my kitchen at all times. You might be surprised to know that my favorite band is Guns ‘n Roses.
FIFTY ONE. This is my biggest secret, only it isn’t a secret at all. Any plate, except maybe desserts, looks better if garnished with a sprinkle of parsley. Chefs use chopped curly parsley, not flat parsley for this.
Curly isn’t great to cook with, but it is excellent for making your dishes look professional even if you are just serving a quick family meal.
If you have a tip or trick we left out, feel free to leave it in the comments and we will add it to the list!
If you are carving even more today, check out our most popular posts!
- Nashville Hot Sauce
- Edible Cookie Dough
- Garbage Plates
- Cheesy Tater Tots
- Maryland Style Crab Cakes
- Easy Hush Puppies
- Cornell Chicken
- Balsamic Reduction
- Homemade Horseradish Sauce
- Tater Tot Nachos
- Easy Fried Rice
- Sausage Egg Hash Brown Casserole


The Food Lab
What’s a Cook to Do
The Flavor Bible
I just purchased these books yesterday, and I highly recommend the fourth, I bought which is Salt Fat Acid Heat by Samin Nosrat
I own (and LOVE) all of these!
I really enjoyed your 7 day cooking lesson emails. I especially enjoyed the 50 cooking tips and noting the things I’m already doing, and what I can start doing. One thing that plagues me is heat and cooking proteins on the stovetop. I am getting better at heating the pan and oil, and not over crowding. What trips me up is cooking in batches and whether or not to add more fat. If I don’t the protein burns, but if I do it seems the pan and oil is too hot and it burns. It seems logical to turn heat down when adding more fat (usually olive oil) but do you have any tips? I usually try to stay at medium heat and I use stainless steel fry pan.
Thank you
Tricia
Hi Tricia, This one is a tricky one and has to do with the type of oils and fats you are using since each has a different smoke point (point at which they burn). Every time you add something to the pan, the temperature changes, so you will often often have to lower and raise the temp. For browning, you need a nice brown sear and don’t want too much fat- just enough to prevent sticking. Wait until the oil is hot before adding the protein and never go above medium-high heat (350°F). You might want to try using a thermometer just to see where your stove is where temp. Most oils will burn past 350° so that is the sweet spot! Many ranges also have different burners with different strengths, so one burner’s “medium” might be hotter than a smaller burner’s “medium”, especially if they are gas and have different BTUs. After your figure out the right levels for your stove, the rest is easy. Check out our article on smoke points and oils for reference.
inspiring …thanku