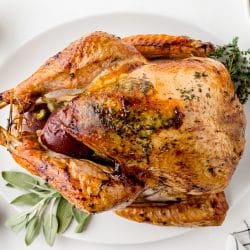
Tired of that ho-hum, lackluster turkey recipe that usually hits the table around the holidays? Yeah, me too. This recipe will give you the tools to avoid that exact scenario when it is your turn to host.
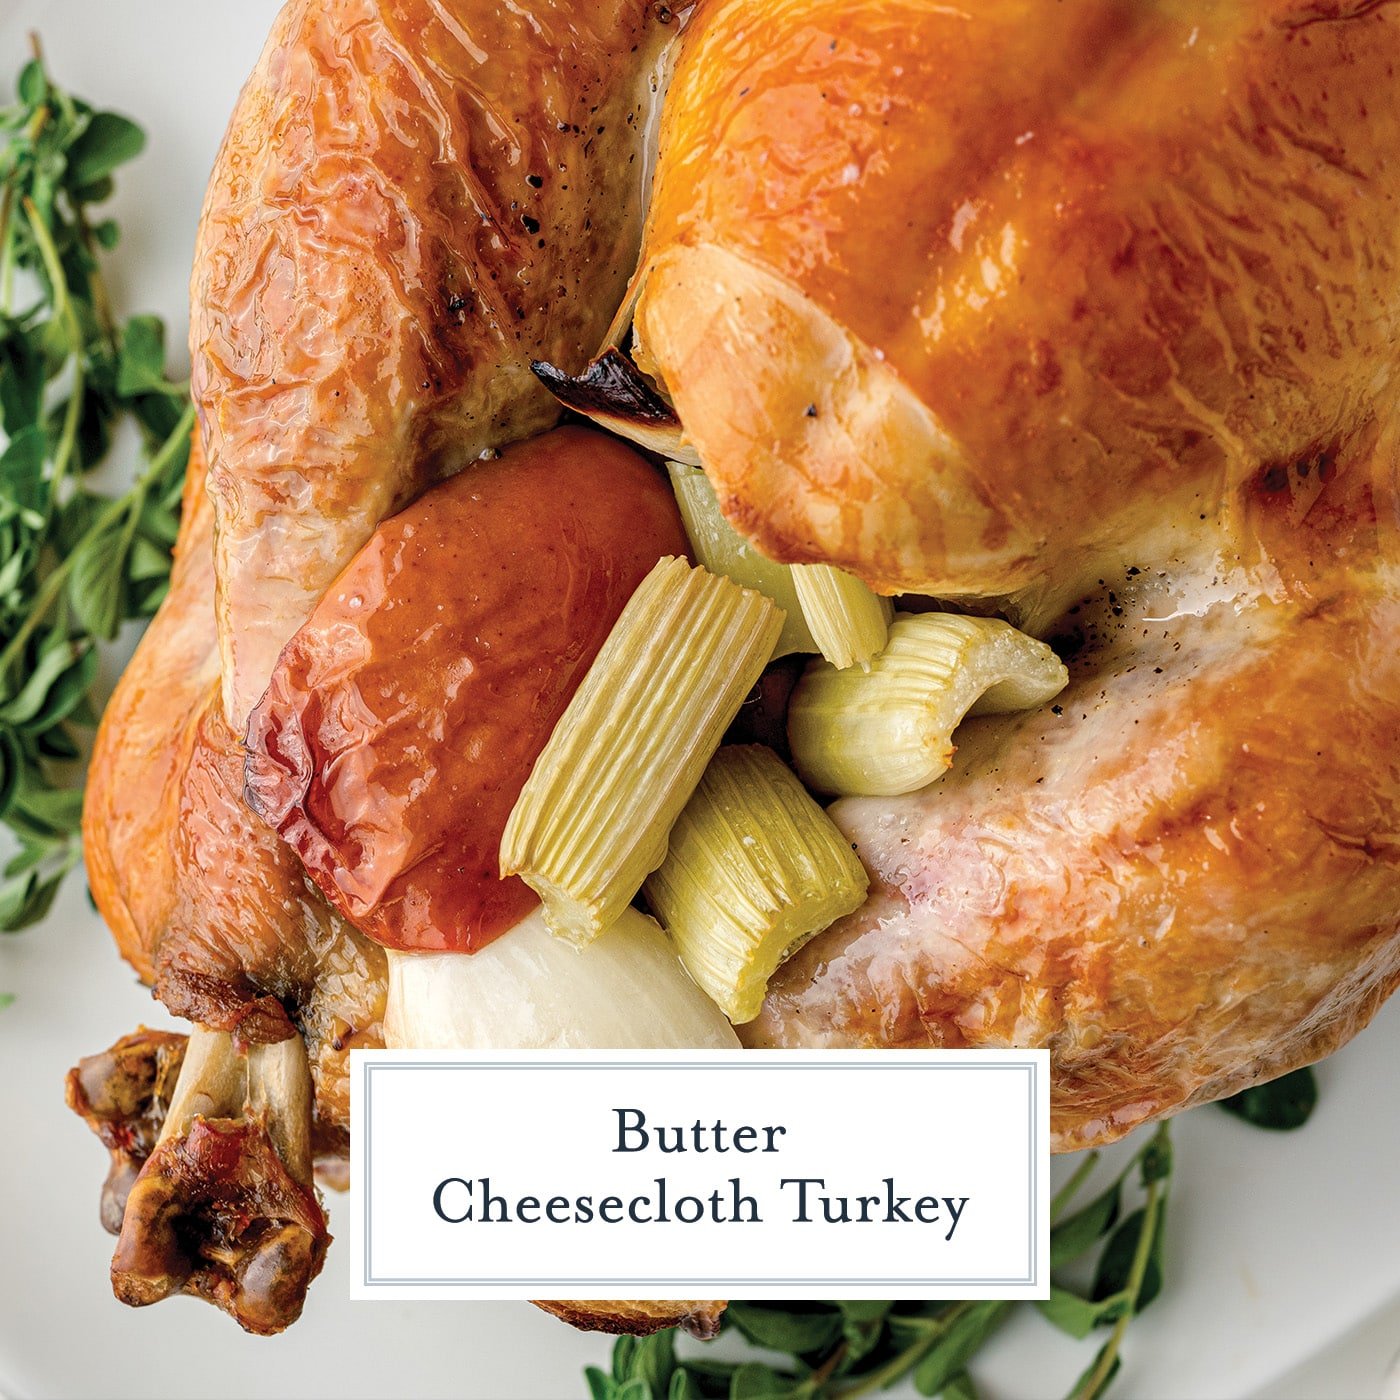
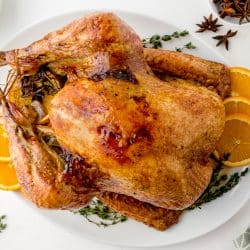
Butter Cheesecloth Turkey is an easy and foolproof way to cook a succulent and flavorful bird. Your guests will be begging you for the recipe. It was made popular by the one and only Martha Stewart and is starting to become more of a food trend than brining- can you beleive it?
What is a Martha Stewart Turkey?
There is nothing sadder than a pale, dry turkey. Not only from a visual standpoint but from a flavor and texture standpoint as well.
That’s where butter, wine, and cheesecloth come into the mix. I like to think of this as the warm blanket method, also known as the mummy method.
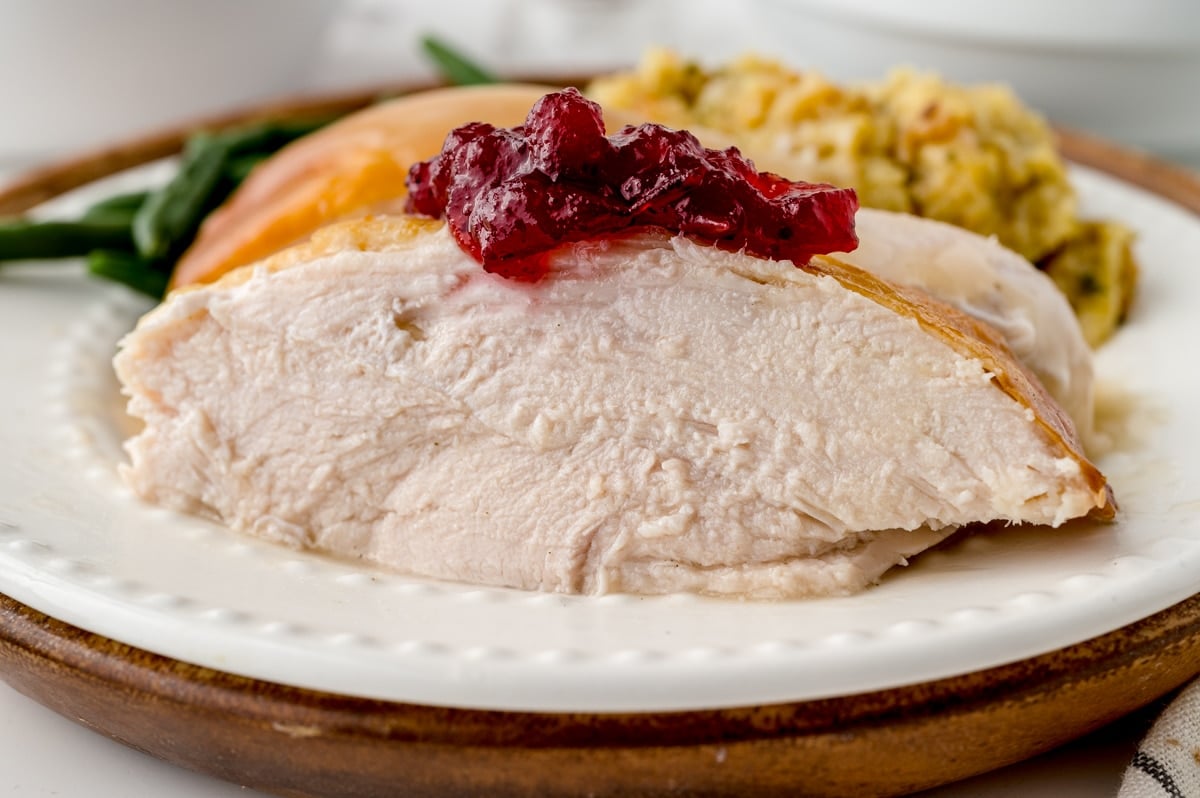
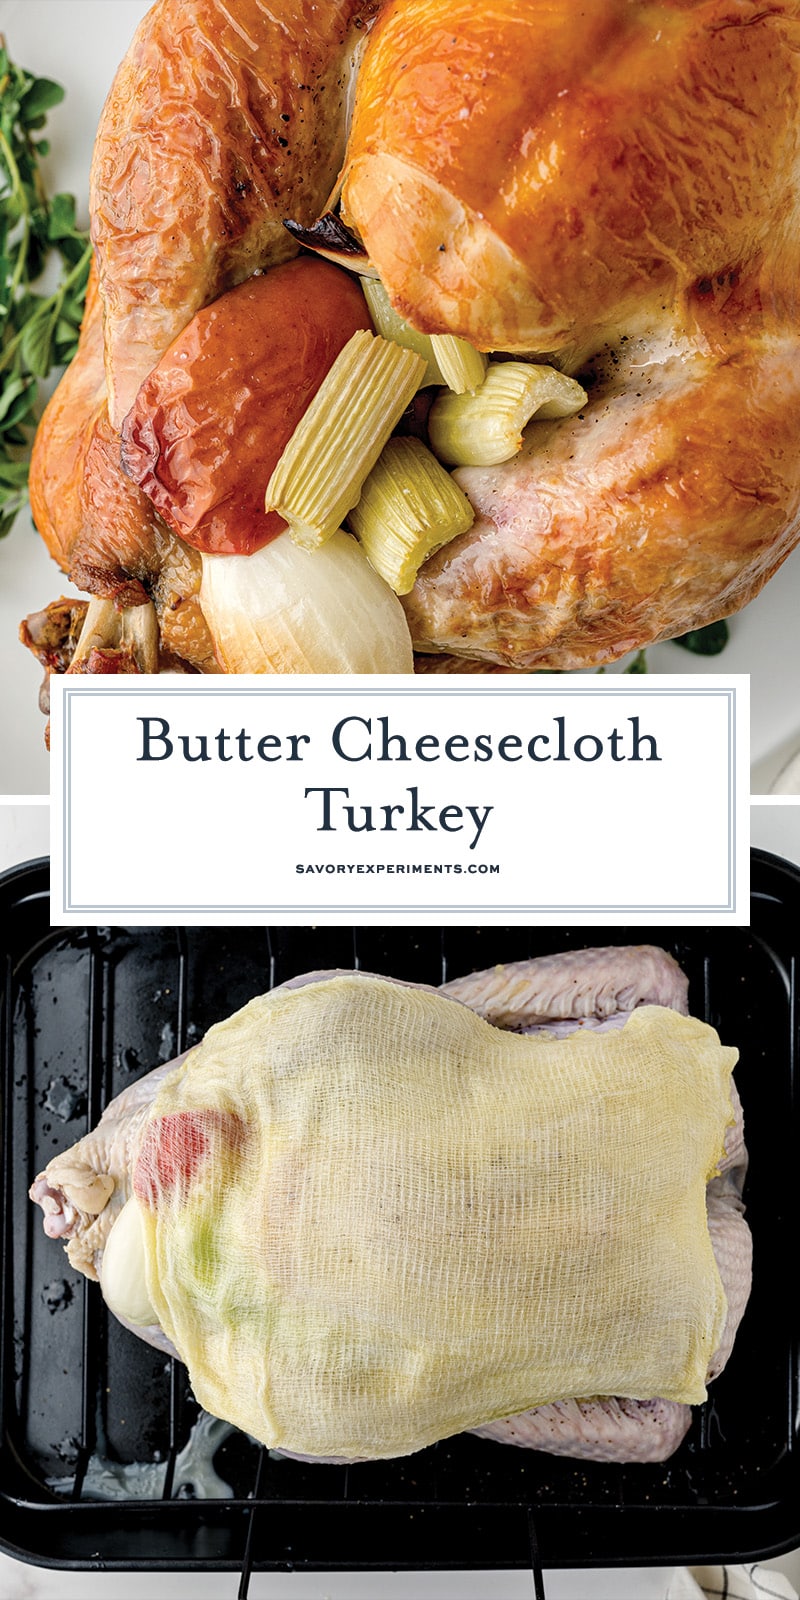
By dunking and soaking the cheesecloth in fat and flavor and draping it over your bird, you are essentially tucking it in all snug for the oven. The cheesecloth ensures that every inch of skin is protected and, more importantly, that every inch of skin has contact with moisture.
Essentially, it is basting when you aren’t there to baste. A true self-basting turkey. Butter has milk solids, which promote browning and flavor, liked brown butter. Double win!
These leftovers taste great in everything from a Turkey Tetrazzini Recipe to Turkey Stuffed Peppers.
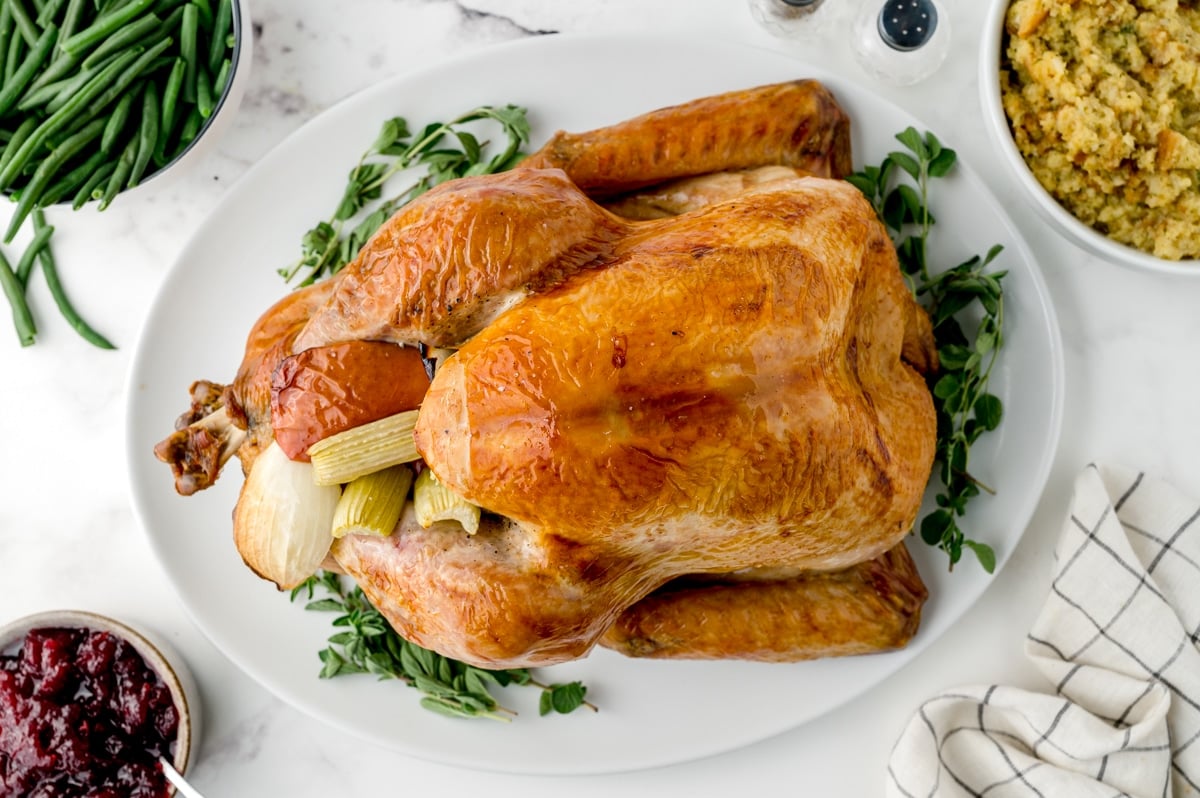
Ingredients you’ll need for a Cheese Cloth Turkey
The ingredient list is fairly short, but keep in mind, you can combine the cheesecloth turkey method with your desired stuffing too, so feel free to get that on in there.
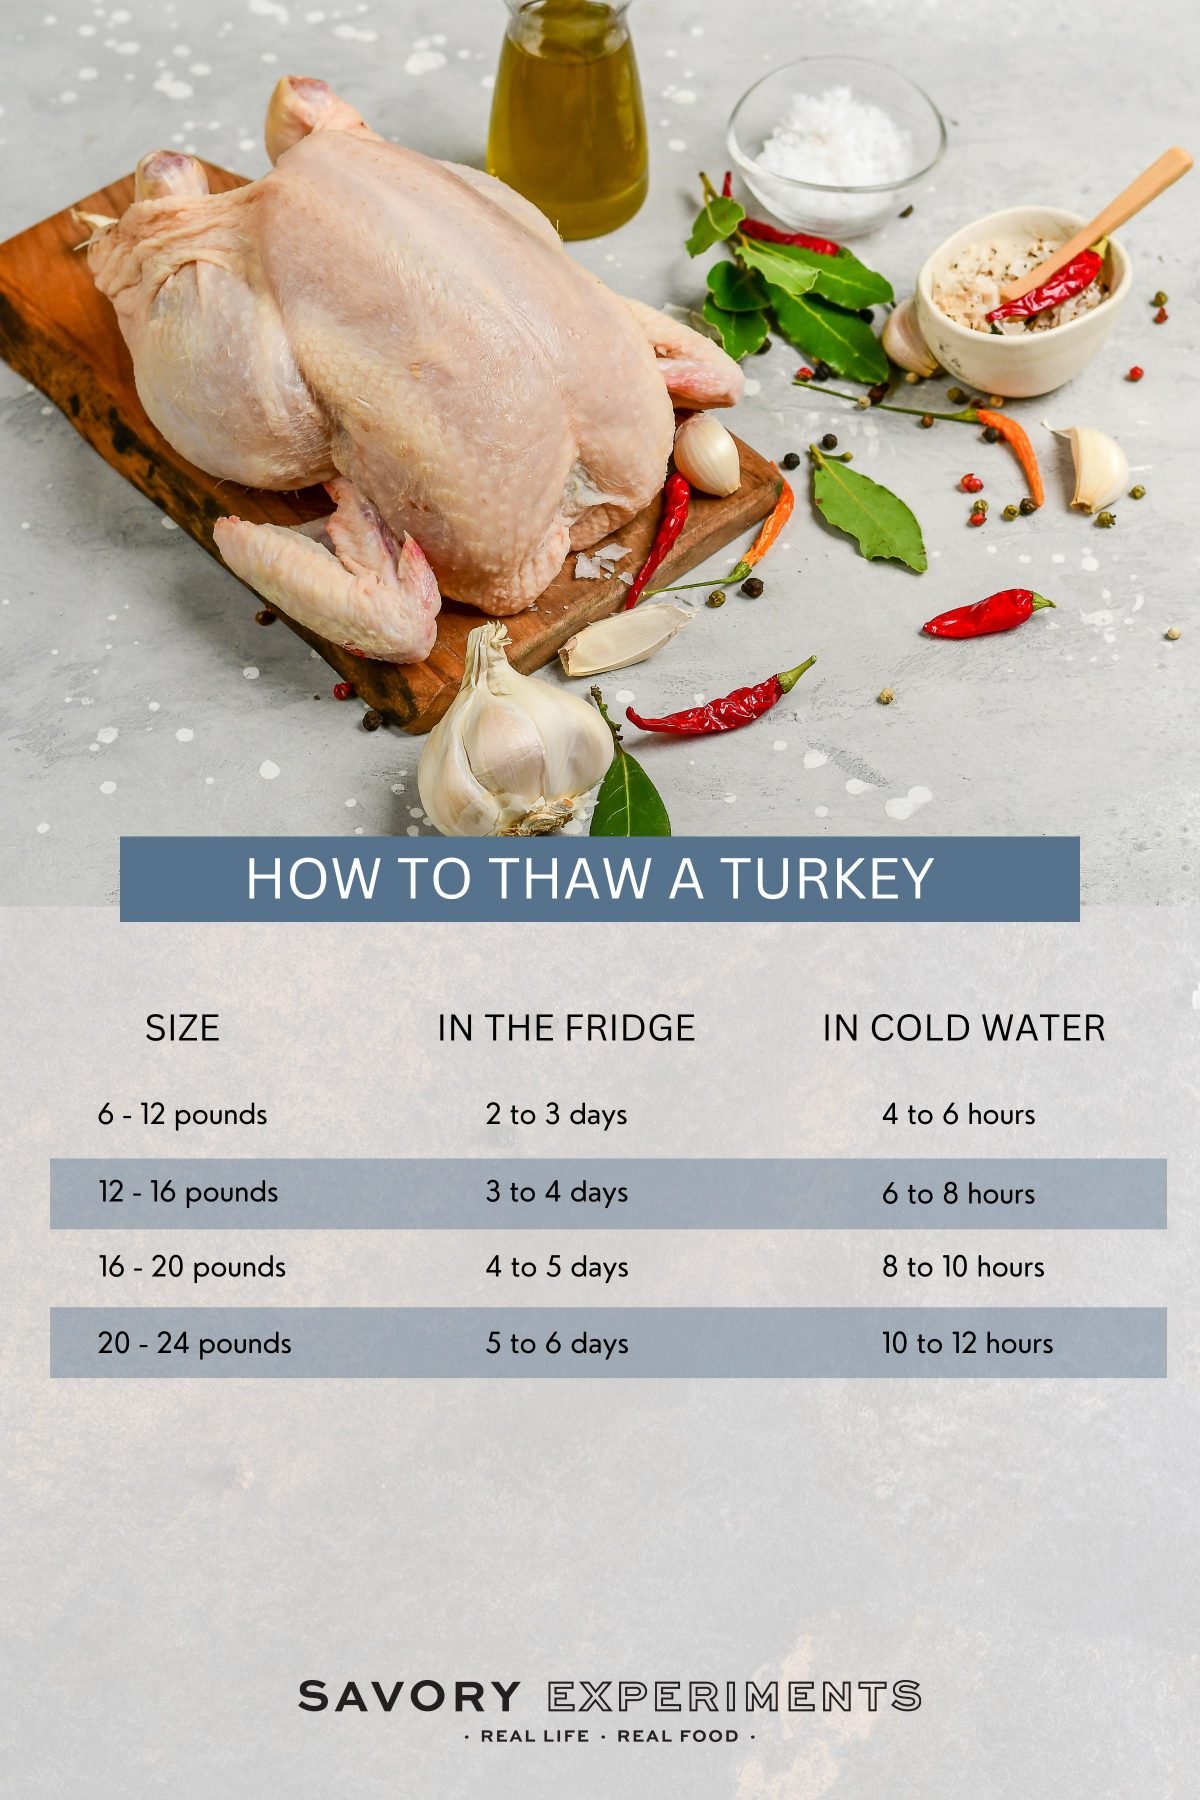
- Turkey– Small to medium turkeys (10-12 pounds) are the best size for roasting to maintain flavor and juiciness. If using a frozen turkey, allow it to fully thaw.
- Coarse Kosher Salt & Freshly Ground Black Pepper– Coarse salt brings out natural flavors, aids in the crisping of skin and keeps the meat moist. Kosher salt provides all of this without being overwhelmingly salty or having a metallic aftertaste.
- Unsalted Butter– Please a good quality, unsalted butter. European butters have a deep yellow hue and good percentage of butter fat without water. Great flavor and less water means more golden brown turkey skin! Also feel free to use an herb butter.
- White Wine– Grab a bottle from the grocery store versus using a store bought cooking wine, which can often be laced with additional sodium to keep it shelf stable. if you aren’t willing to take a swig, then it isn’t good enough for your turkey either. Although not my preference to drink with dinner, a sweet wine is the best flavor affinity for turkey. Champange and Moscato are great for this. With that said, a dry white is also perfectly fine, as is an oaky Chardonnay. Low sodium chicken stock can be substituted for the wine.
- White Onion- We used white for it’s forward flavor, but any type of onion or shallot can be used.
- Celery- You really only need one rib because much more won’t fit!
- Apple– Another sweet flavor that will add tremendous deliciousness to your Thanksgiving turkey.
- Garlic– Use whole cloves that are lightly smashed. Smashing releases the flavor
- Cheesecloth – Find cheesecloth in the cooking aisle at the grocery store or order it online.
If your are using your own stuffing, omit the onion, celery, apple and garlic. If you are using a more robust turkey rub, omit the salt and pepper, yours will likely have these items in it and adding more will be overpowering.
If you feel like adding fresh herbs or to your wine and butter mix or using a compound butter, by all means! Sage, thyme, rosemary, thyme, and garlic are all good choices or you can mimic what is being used in your stuffing recipe if you are going that route.
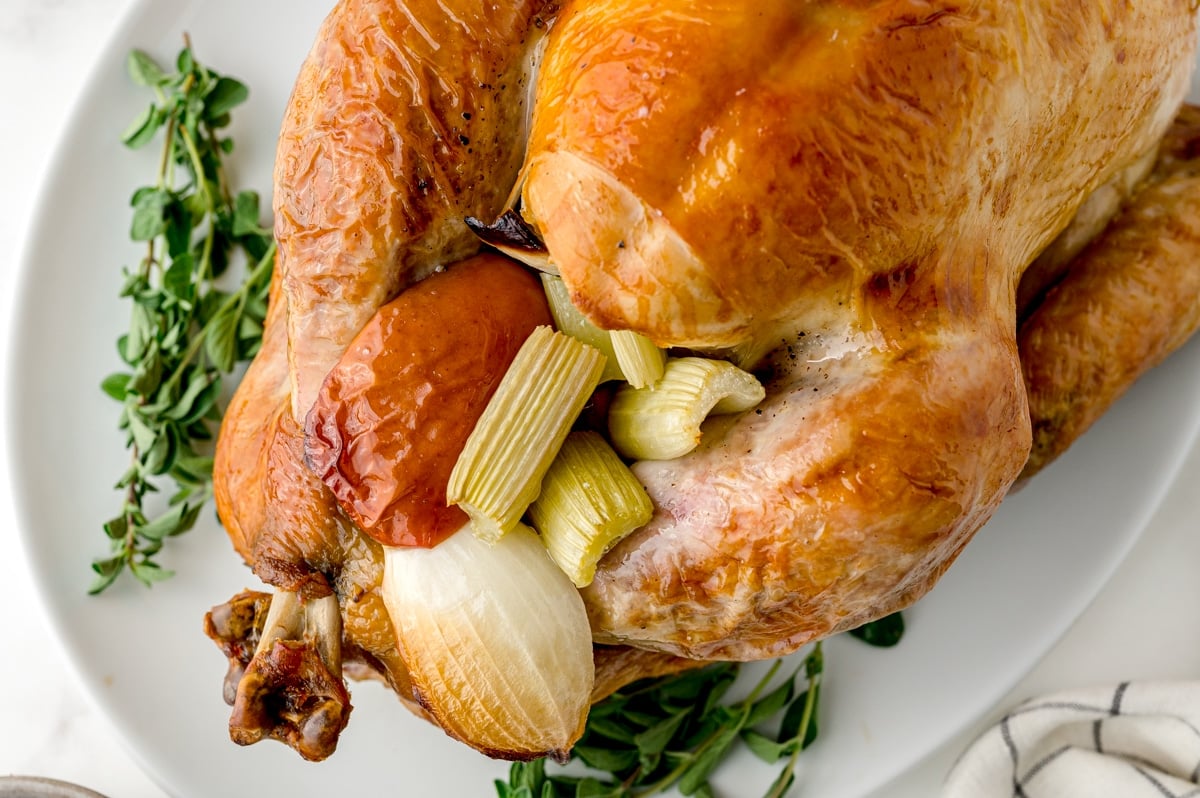
How to make a Martha Stewart Cheesecloth Turkey
- Allow the turkey to sit at room temperature for 1 hour so it isn’t super cold. Make sure it is unpackaged and rinsed so the air can help it take the chill off from the inside out as well.
- Preheat the oven to a higher temp with the rack in lowest position so the turkey will fit nicely into the oven. Prepare a large roasting pan with a rack to keep the bird elevated and set it aside.
- Combine the salt and pepper in a small bowl, rub the inside and outside of the bird with the seasoning, getting under the skin when possible. Use your own rub, if desired, but then omit the salt and pepper.
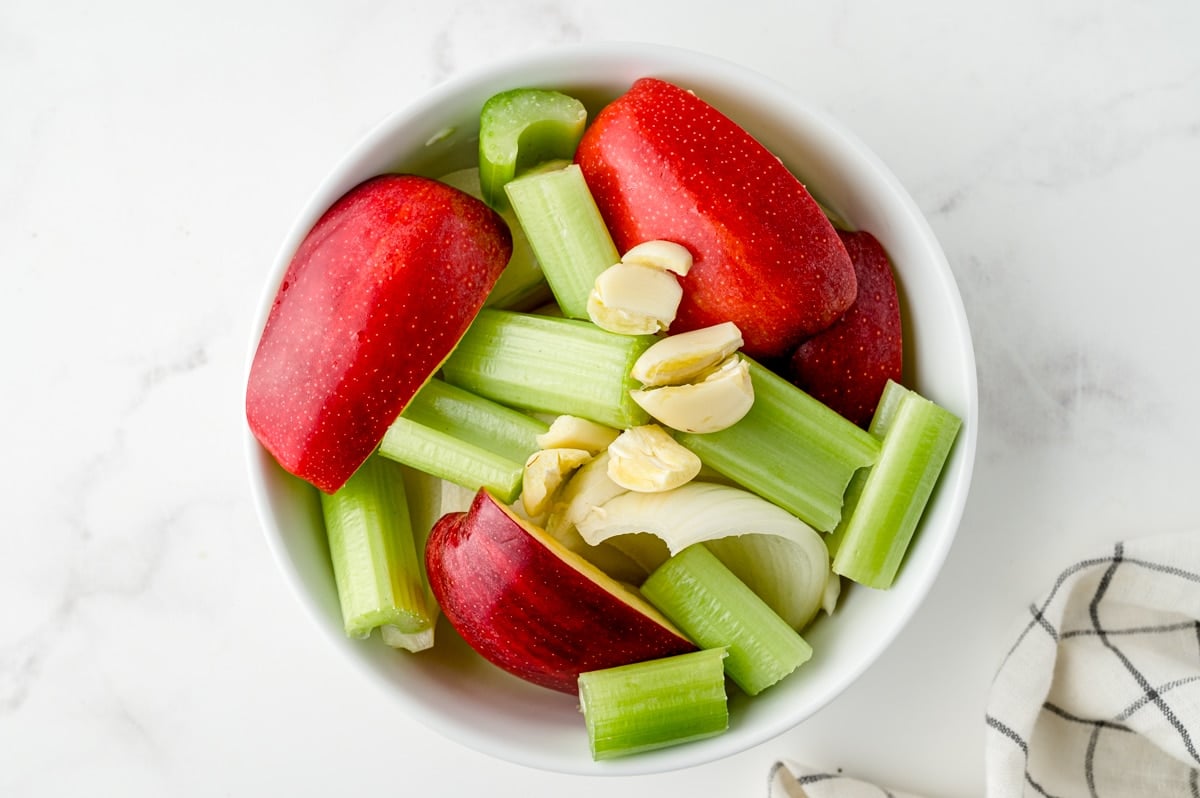
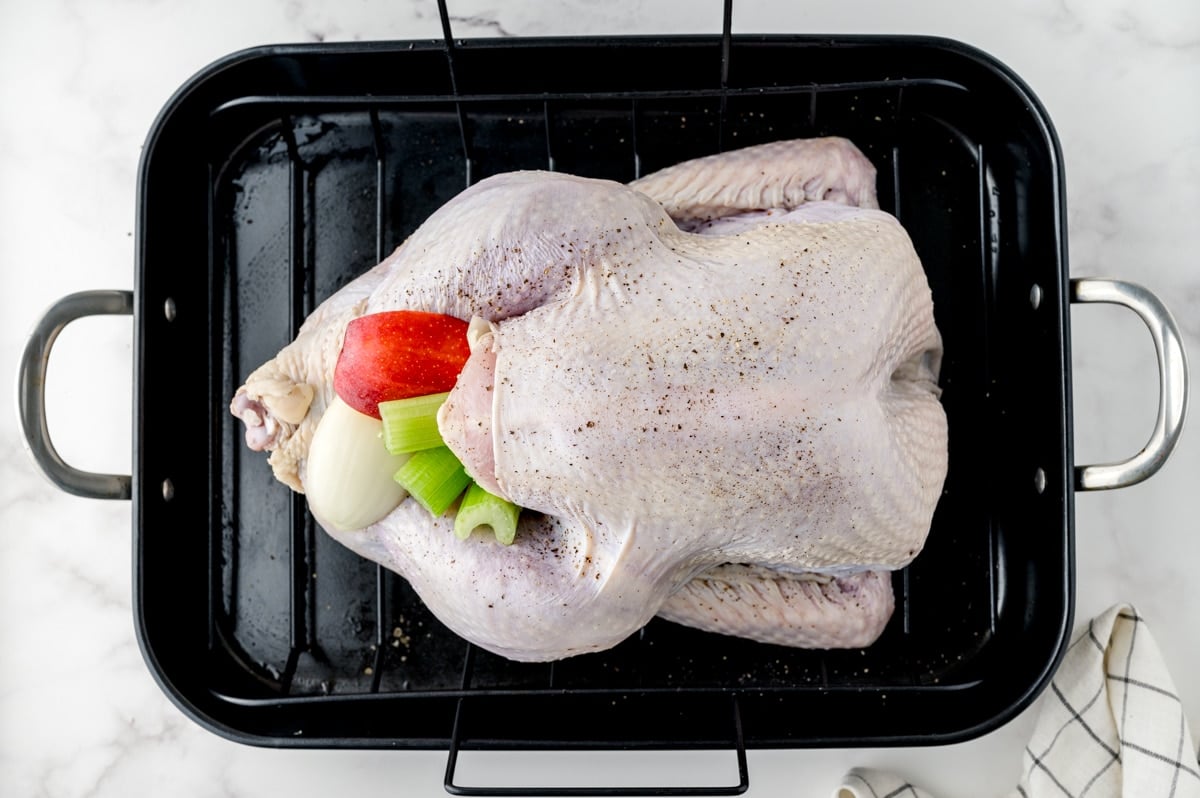
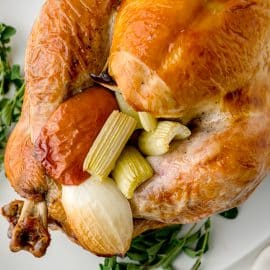
- Stuff the cavity with the prepared onion, celery, apple and garlic cloves. Truss the legs shut with cooking twine. Fold wing tips under and fold neck flap under. If using your using your own stuffing, omit the onion, celery, apple and garlic.
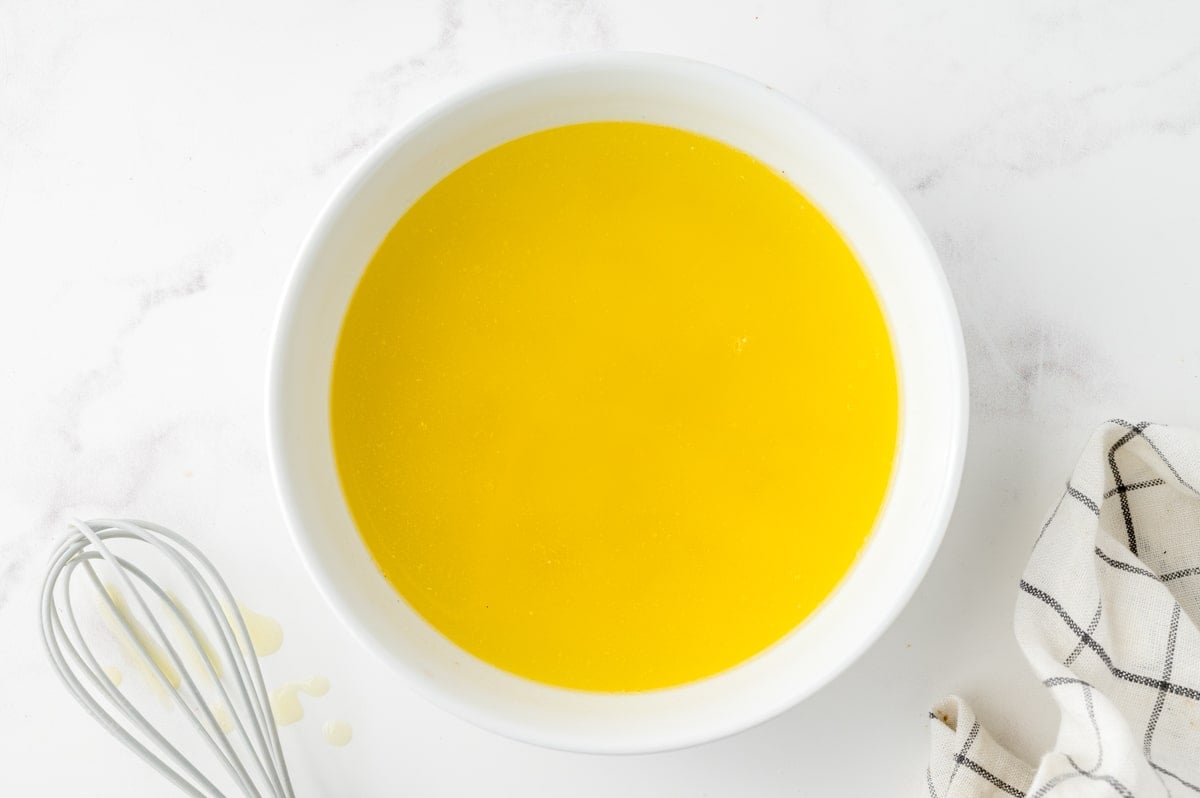
- In a small saucepan or in a microwave safe bowl, melt the butter and then whisk with the wine. Allow to cool a little. The wine should prevent the butter from solidifying.
- When melted, remove from heat and whisk with the white wine.
- Fold the cheesecloth into fourths (should be 4 layers). Carefully, immerse the cloth in the butter mixture; let soak for 2-3 minutes. It is hot, so be careful. I highly recommend using gloves to protect yourself.
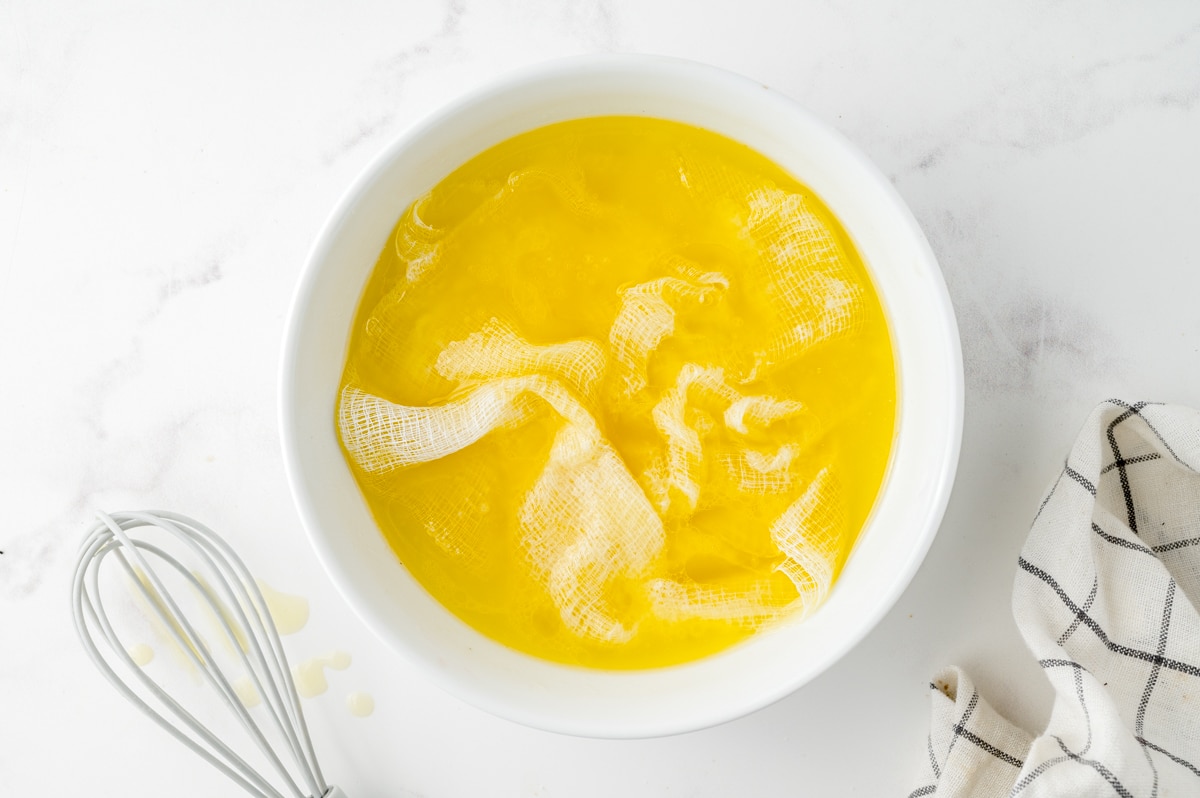
- Place the turkey, breast side up, on the roasting rack. Remove the butter-soaked cheesecloth from butter mixture, letting the excess drip into the bowl. Reserve the butter mixture for basting.
- Drape the cheesecloth over turkey, arranging so that as much turkey as possible is covered. Roast for 30 minutes to get it going and expedite the browning process.
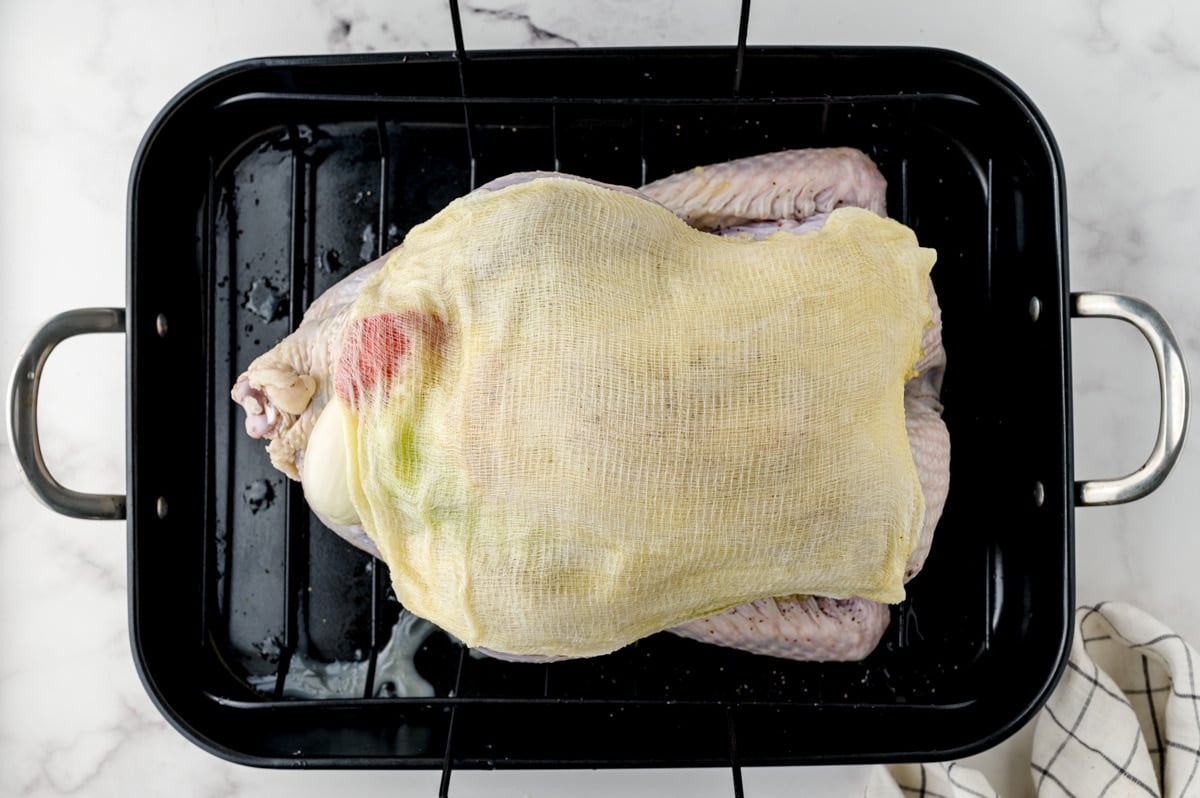
- Baste or spoon the butter over the cheesecloth and exposed turkey with butter mixture. Reduce the oven temperature for the remainder of roasting.
How to Roast a Turkey
- Roast, basting and rotating the roasting pan 180° every 30-45 minutes until the turkey is done. If the top starts to brown, loosely cover with a leaf of aluminum foil. Total roast time is about 2 ½ to 3 ½ hours or 10-12 minute per pound. Exact cooking time will vary. Make sure to rotate for the best even golden skin.
- Remove the roast turkey and discard the cheesecloth. Baste the turkey with pan juices and remaining butter. Reserve some pan drippings if you plan to make gravy.
- Check turkey for doneness using an instant-read thermometer. Turkey should register at 160°F for the breast meat, 180°F in the thickest part of the thigh (away from the bone) and 165°F in stuffing (if using stuffing).
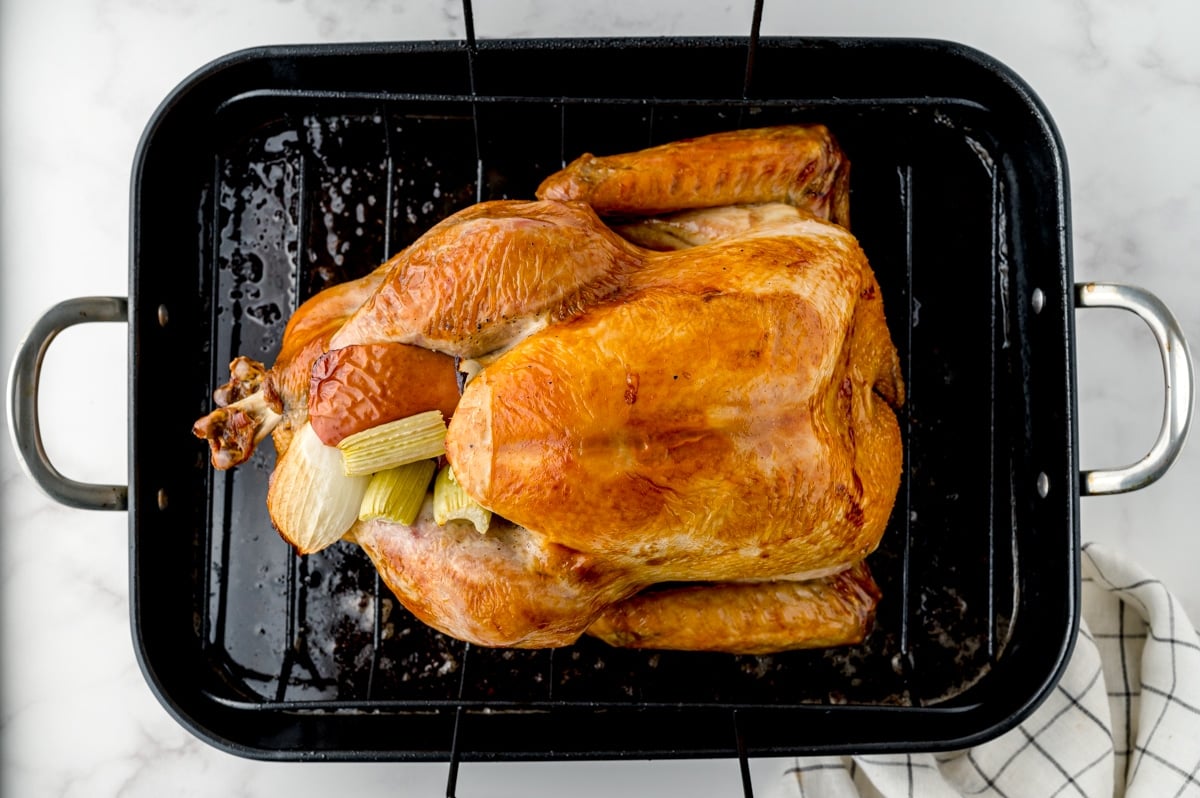
- Tent it loosely with aluminum foil and let the turkey rest for 30 minutes before slicing. I know this seems like a long time, but I promise you some folks would even allow it to rest longer! If you carve the turkey and don’t feel like it adequately held its heat, place sliced pieces covered in aluminum foil back into a warm for 5 minutes.
- Stock– Don’t throw away the carcass! This is a great time to make homemade turkey stock which can be used in any recipe calling for vegetable or chicken stock and freezes well.
Martha Stewart Turkey Cheesecloth Tips for success
How do you keep a turkey moist? I’m so sorry, I know that word can be considered offensive in this day and age. All too often turkey is served so dry that it needs a side of water just to get a bite down.
Brining is the best way to keep a bird super juicy. Turkeys are big and thus, it can take a long time to roast and get the inner meat evenly cooked without ruining the exterior. Using a medium size bird is the first step, but brining can also assist regardless of the size.
Wet brining infuses a turkey with flavor, salt and liquid, which helps it retain all of these things while cooking, regardless of the method. Dry brining is also an option, but this takes time too and differs from a turkey rub seasoning.
Personally, I am partial to the wet brine method where you make a flavored salted water solution and allow the turkey to sit in it overnight. This tactic lets it soak up the water to add more moisture to the meat as well as the salt, to season it from the inside out.
Do I Need to Baste a Turkey Baked in Cheesecloth?
With many cheesecloth turkey recipes, they will tell you NO, but I honestly think the answer is yes. You can certainly choose not to, but by the time the turkey is ready to emerge, there is the risk the cheesecloth will be bone-dry and can even catch on fire if it gets too dry.
So, with this method, I still baste, but not as frequently. It is one of the only ways I have found to make sure the butter stays where it needs to be (on the bird) and doesn’t immediately melt into the base of the pan. Basting can be done with a silicone brush, a traditional baster or just make extra butter and spoon it over top.
Another tip to make sure it stays golden – rotate that bird. Your oven isn’t a calibrated to have an even temp everywhere and by rotating the roasting pan, you are accounting for those hot and cold spots.
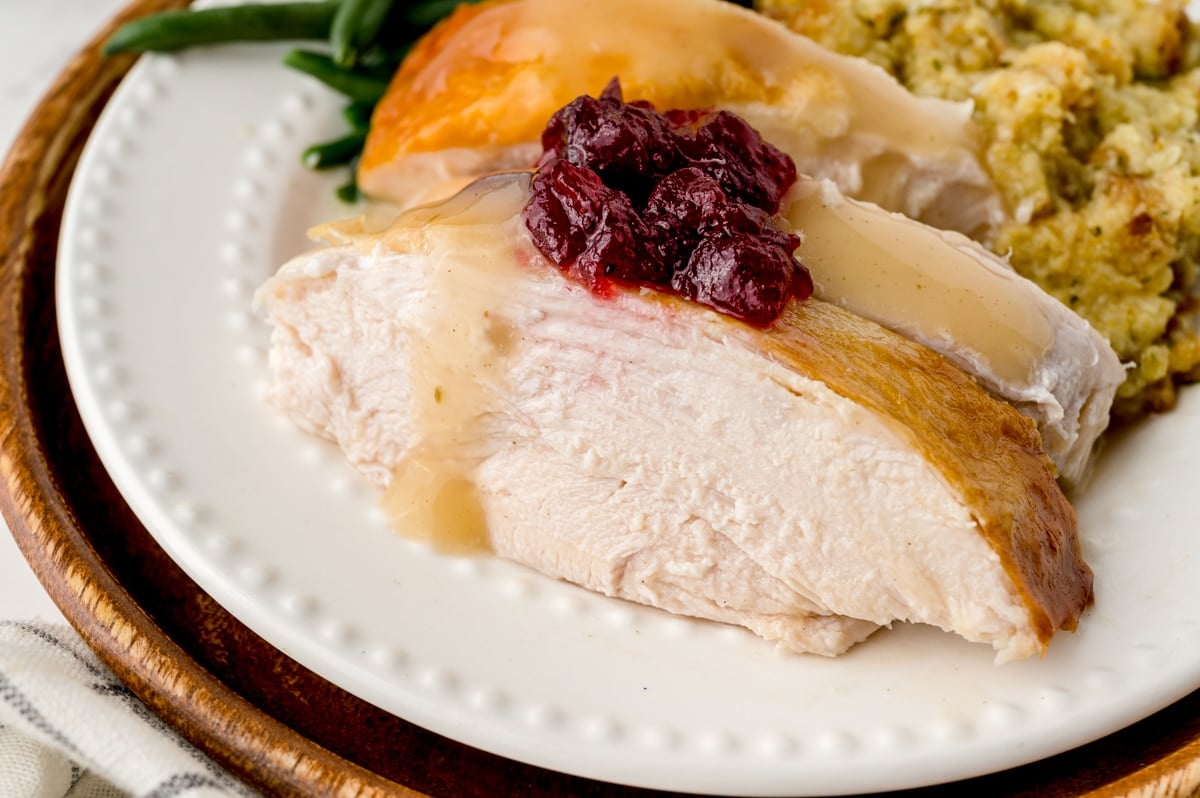
What to serve with this Cheesecloth Turkey Recipe
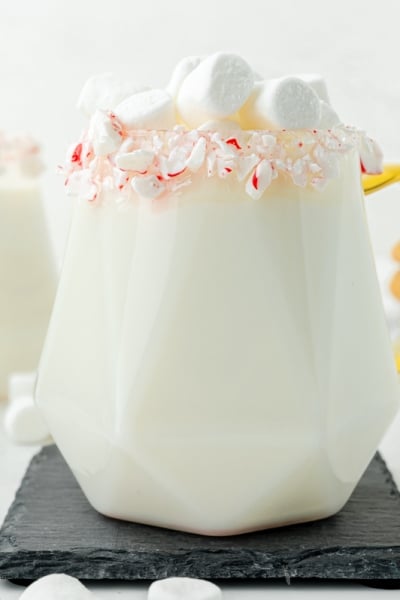
Now that you have a delicious bird, pair it with our favorite Thanksgiving side ideas and check out a few easy dinner ideas for those night leading up to Thanksgiving to keep you less stressed. We also love these flavors with this Christmas Punch Recipe.
Sweet Potato Stacks
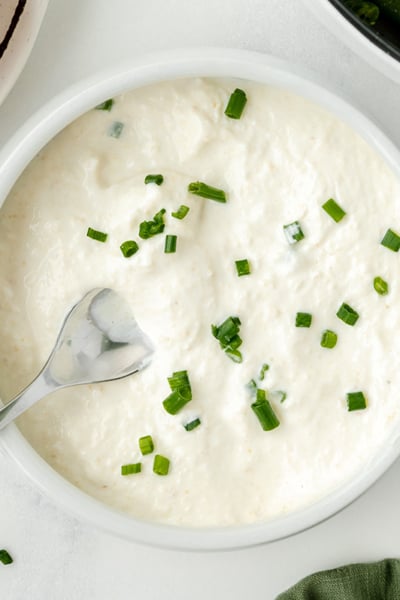
Cream Corn Casserole Recipe
Potato Galette
Or a few fun new Thanksgiving desserts
Pair with Gravy
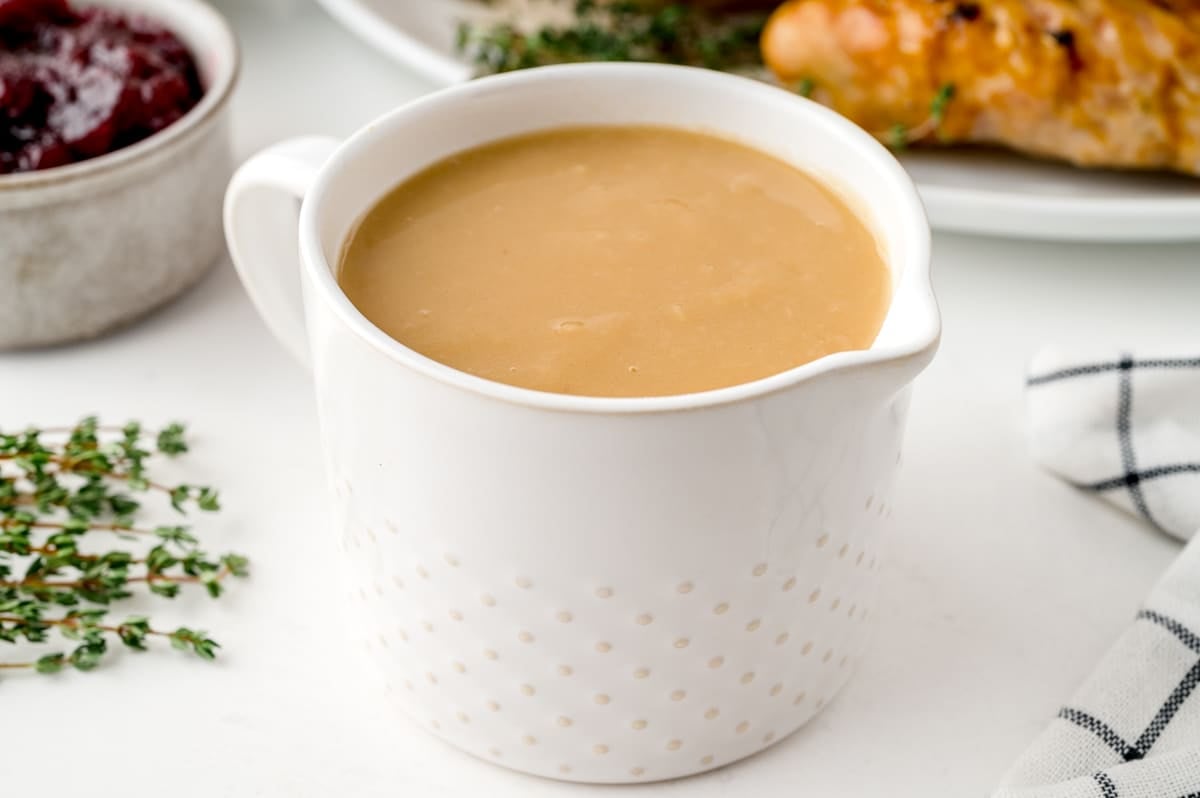
You can use these drippings to make gravy or make a turkey gravy without drippings. Red wine gravy is another family favorite.
And no one will fault you if you grab a jar from the store or make one from a little packet.
How to store leftover Cheesecloth Turkey
To store leftover turkey, place it in an airtight container or wrap it tightly in plastic wrap, and refrigerate it within 2 hours of cooking. Leftover turkey can be safely stored in the refrigerator for up to 3-4 days.
Tips for reheating Cheese Cloth Turkey
- Reheat the turkey in the oven at 325°F in a high-sided dish covered with aluminum foil. This prevents it from drying out and evenly heats without further cooking.
- Add a small amount of liquid to the dish. This can be water, wine, sparkling wine or broth, even gravy!
- Check the temperature only cook to an internal temperature of 165°F to prevent overcooking.
More Turkey Recipes
Best Juicy Turkey Recipe
Orange Sage Turkey Breast with Creamy Sherry Sauce
Roast Turkey with Orange Thyme Rub
Martha Stewart Cheesecloth Turkey Recipe
Equipment
Ingredients
- 12-14 pound turkey
- 2 teaspoons coarse Kosher salt*
- 2 teaspoons freshly ground black pepper
- 1 cup unsalted butter
- ½ cup white wine
- 1 white onion , quartered
- 1 rib celery , cut into 1 inch pieces
- 1 red apple , cored and cut into wedges
- 4 cloves garlic , lightly smashed
- 20-30 inches of cheesecloth
Instructions
- Allow the turkey to sit at room temperature for 1 hour.
- Preheat the oven to 425°F with rack in lowest position so the turkey will fit nicely into the oven. Prepare a roasting pan for turkey. Set aside.
- Combine the salt and pepper in a small bowl, rub the inside and outside of the bird with the seasoning, getting under the skin when possible. Use your own rub, if desired.
- Stuff the cavity with the prepared onion, celery, apple and garlic cloves. Truss the legs shut with cooking twine. Fold the wing tips under and fold neck flap under.
- In a small saucepan or in a microwave safe bowl, melt the butter.
- When melted, remove from heat and whisk with the white wine.
- Fold the cheesecloth into fourths (should be 4 layers). Carefully, immerse the cloth in the butter mixture; let soak for 2-3 minutes. It is hot, so be careful. I highly recommend using gloves to protect yourself.
- Place the turkey, breast side up, in the roasting pan.
- Remove the cheesecloth from butter mixture, letting the excess drip into the bowl. Reserve the butter mixture for basting. It shouldn’t solidify since it has wine in it, but if it starts to seperate or get waxy, reheat.
- Lay the cheesecloth over turkey, arranging so that as much turkey as possible is covered. Roast for 30 minutes.
- Baste or spoon the butter over the cheesecloth and exposed turkey with butter mixture. Reduce the oven temperature to 350°F.
- Roast, basting and rotating the roasting pan 180° every 30-45 minutes until the turkey is done. If the top starts to brown, loosely cover with a leaf of aluminum foil. Total roast time is about 2 ½ to 3 ½ hours or 10-12 minute per pound.
- Remove the turkey and discard the cheesecloth. Baste the turkey with pan juices and remaining butter.
- Check turkey for doneness using an instant digital thermometer. Turkey should register at 160°F for the breast, 180°F in the thigh. and 165°F in stuffing (if using stuffing).
- Tent the turkey loosely with aluminum foil and let is rest for 30 minutes before slicing.
- If you've tried this method, please come back and let is know how it was in the comments or star ratings.
Notes
Nutrition





Ive been making this turkey for years….perfection!
Perfect turkey every time. I have used this several times and it’s my go to.
Worked out great the 1st time! Doing it again this year for Thanksgiving! Thanks and I love Martha Stewart
Whoop! Whoop! Happy Thanksgiving!
This turkey looks incredible, and perfectly cooked. I can’t wait to try it.
This is seriously amazing!! It turned out perfectly!! Will definitely do this method everytime!
Something that I have never tried before, SO delicious. Thanks for sharing
Enjoyed this for Thanksgiving this year and it was a hit all around the table! Turned out perfectly tender, juicy and packed with flavor!
Sooo … my turkey is a lot bigger (21.83 lbs to be exact). I am trying to figure out how to adjust the recipe. If you are able to respond within 48 hours, that would be amazing!
And while we are at it, here are my other questions.
1. I want to brine my turkey. From what I read on your page, I do this for about 24 hours before I cook it, is that correct?
2. I want to inject my turkey. From what I read on your page, I do this about 15 minutes before I put it in the over, is that correct.
Wish me luck, I have only cooked a turkey a couple of times before and the last time was about 15 years ago!
Thank you!
Hi, hope I’m not too late- I am also hosting Thanksgiving and have been very busy.
For brining a large bird, you probably need 48-24 hours. For the butter cheesecloth turkey, there is a dropdown/slider at the top that you can adjust the serving to around 14-16 and it will update the recipe. Doesn’t need to be exact, exact.
If you are brining, you do not need to inject too- there literally won’t be space in the fibers for any more liquid.
And good luck!
Totally my new go-to method! Stuffing the cavity is for sure a must for us and I just love how flavorful it is!
I have a turkey in my freezer that I plan on making during the summer. I’m going to use this recipe because we love it so much!