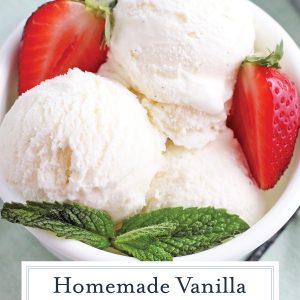
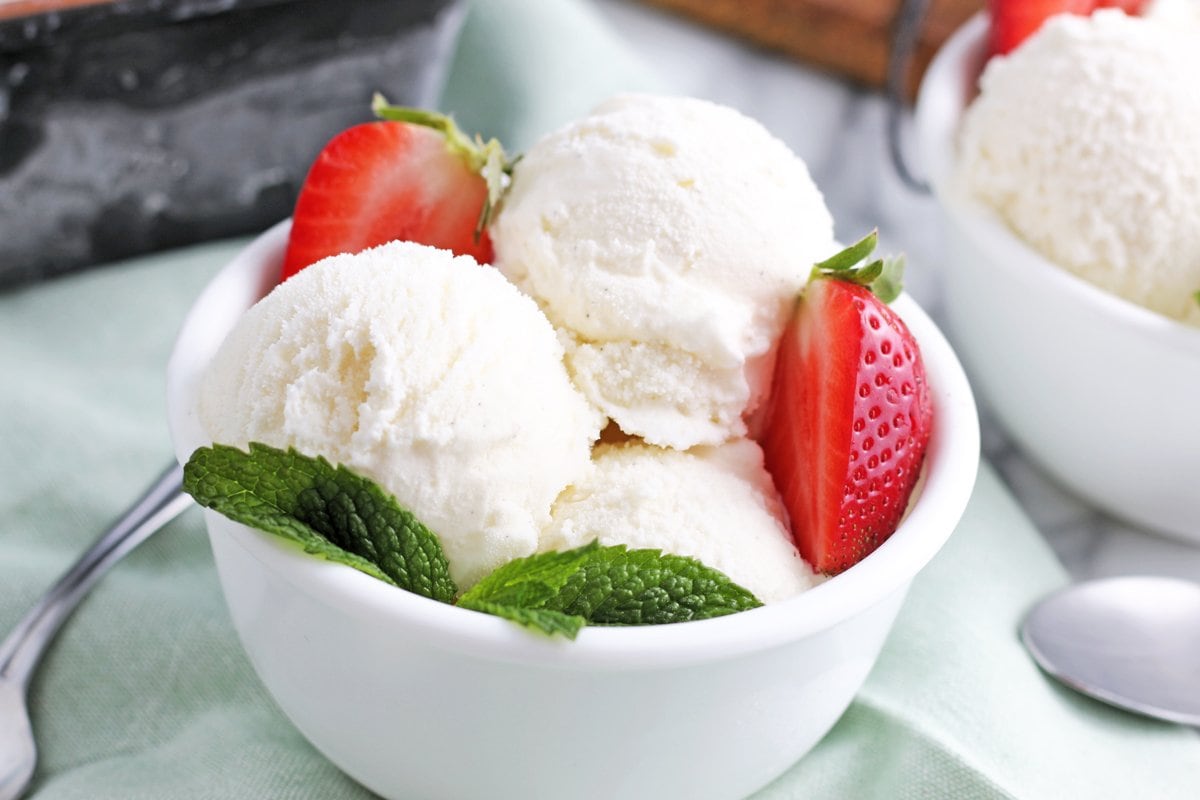
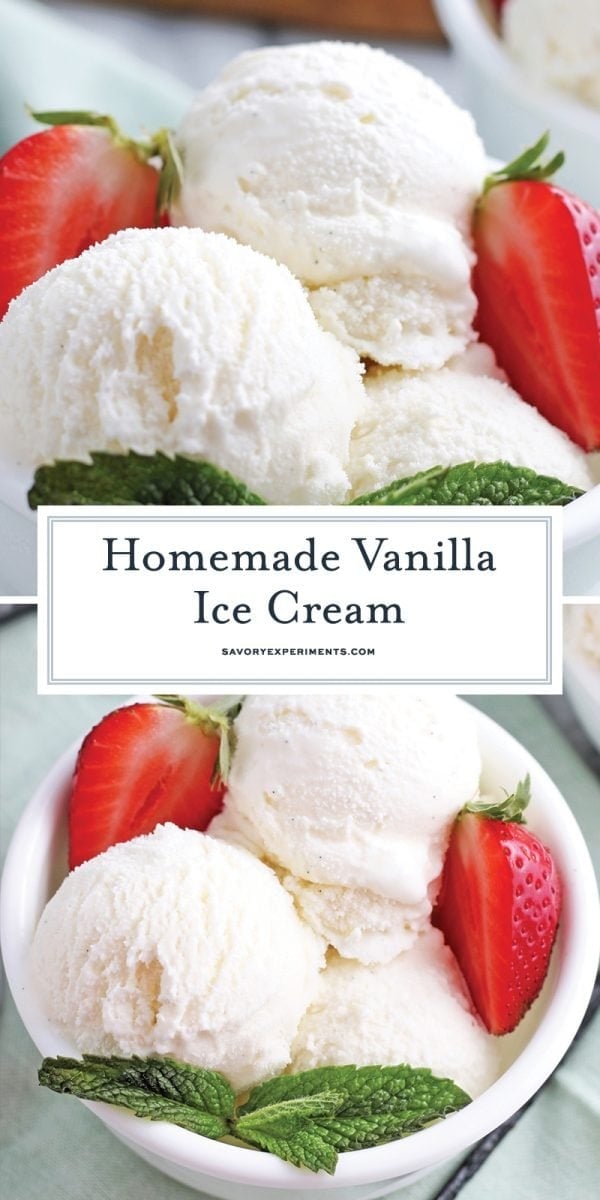
This vanilla bean ice cream is rich, creamy, and packed with real vanilla flavor from a whole vanilla bean. If you’re looking for a classic homemade vanilla ice cream recipe that tastes better than store-bought, this version is simple, elegant, and worth the chill time.
Why You’ll Love This Vanilla Bean Ice Cream
- This recipe uses no egg yolks, which makes it easier and less fussy than custard-style vanilla ice cream recipes.
- A whole real vanilla bean gives this ice cream a deeper, stronger vanilla flavor than recipes made with extract alone.
- The churned base creates the classic creamy, scoopable texture you expect from homemade vanilla ice cream.
- The recipe includes tested timing and freezer tips so you can get the best texture from start to finish.
- This homemade vanilla bean ice cream recipe is perfect for ice cream maker users who want a truly vanilla-forward base recipe.
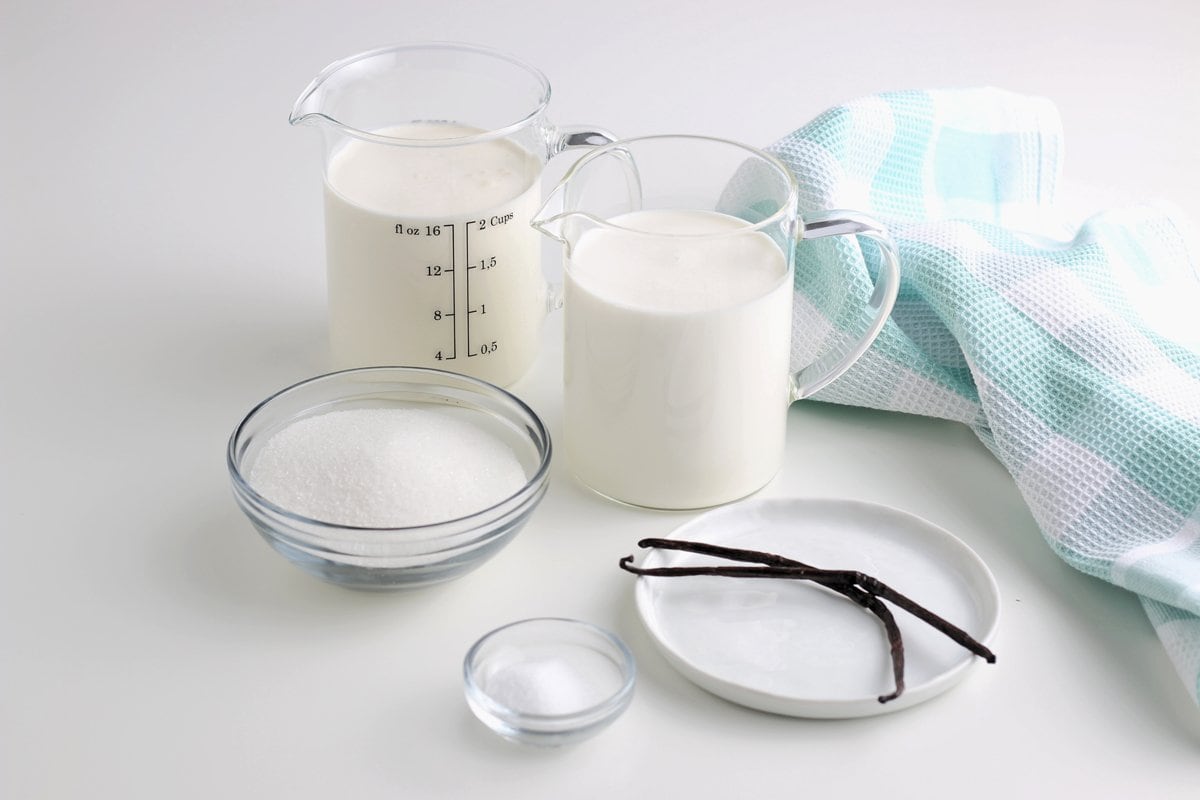
Gather This
A full list of ingredients with measurements for this recipe is available in the printable recipe card below.
- Heavy whipping cream – The fat content in whipping cream helps to achieve a rich, creamy texture while also preventing icy crystals, and providing structure to hold air for a light, scoopable ice cream.
- Half and half
- Sugar
- Vanilla bean
- Coarse kosher salt
How to Make Vanilla Bean Ice Cream (Step-by-Step)
Making homemade ice cream is simple when the ice cream maker does the hard part!
- Combine cream, half and half and sugar. In a medium saucepan, combine the heavy whipping cream, half and half and sugar.
- Add vanilla flecks and simmer. Cut the vanilla bean in half, scrape out caviar (the greasy flecks inside) and add both pod and caviar to saucepan. Bring to a low simmer, but do not boil.
- Add salt, cool fully and chill. Remove from heat, stir in salt if desired, and allow to cool fully before transferring to an airtight container and placing in the refrigerator to cool for a minimum of 4 hours, but up to 48 hours.
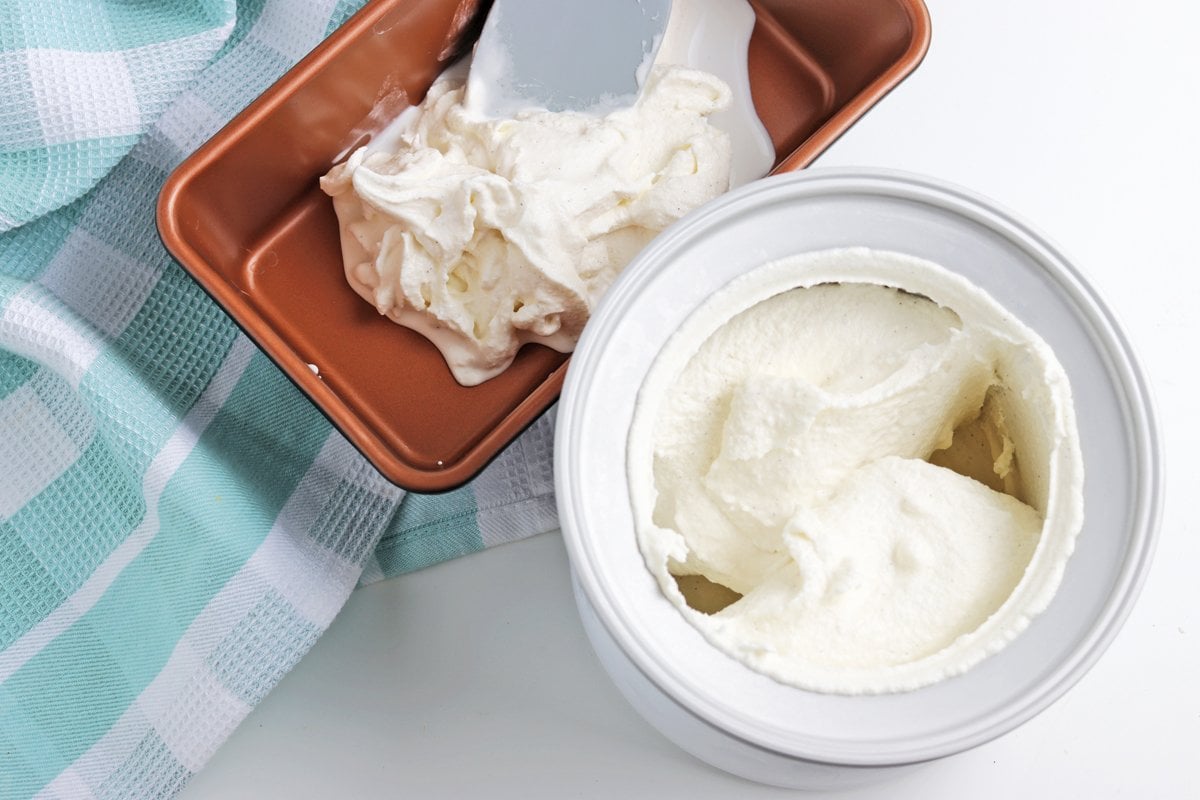
- Add to ice cream maker. Prepare your ice cream maker as directed and add mixture. Prepare according to machine directions.
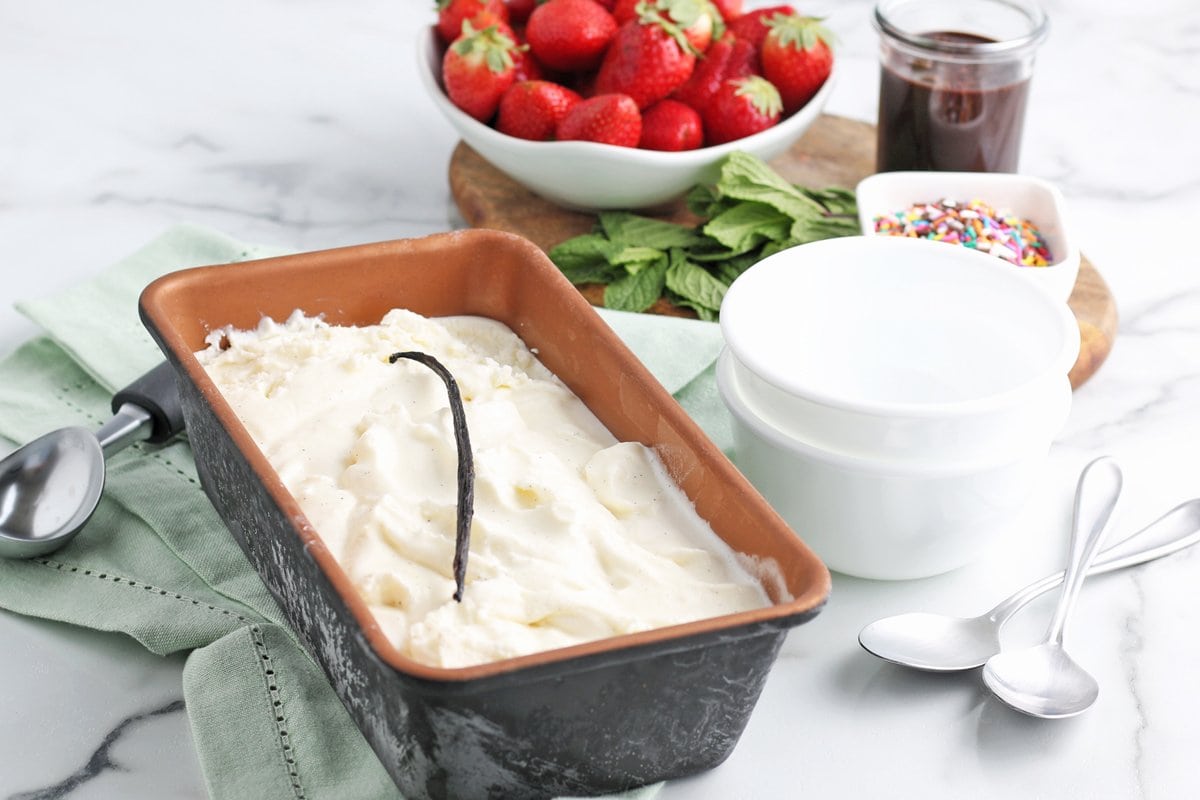
- Freeze. Transfer to an airtight container and freeze to finish.
Why This Recipe Works
This recipe works because heating the cream, half-and-half, sugar, and vanilla bean helps dissolve the sugar fully and infuse the dairy with real vanilla flavor. Chilling the base thoroughly before churning also helps it freeze faster in the machine, which means smaller ice crystals and a creamier texture.
How to Store It
Store homemade vanilla bean ice cream in an airtight freezer-safe container with a piece of parchment or plastic wrap pressed directly onto the surface to help prevent ice crystals. It’s best within 1 to 2 weeks for the creamiest texture. Let it sit at room temperature for 5 to 10 minutes before scooping if it firms up too much.
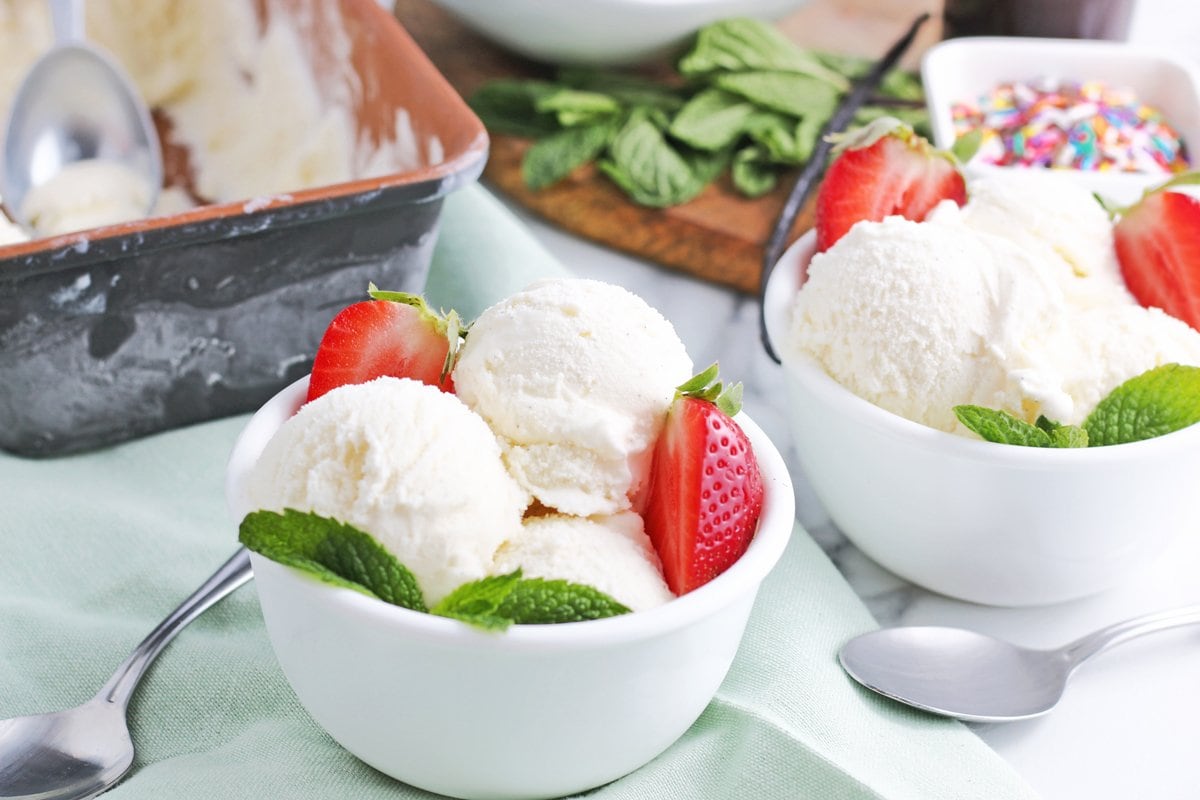
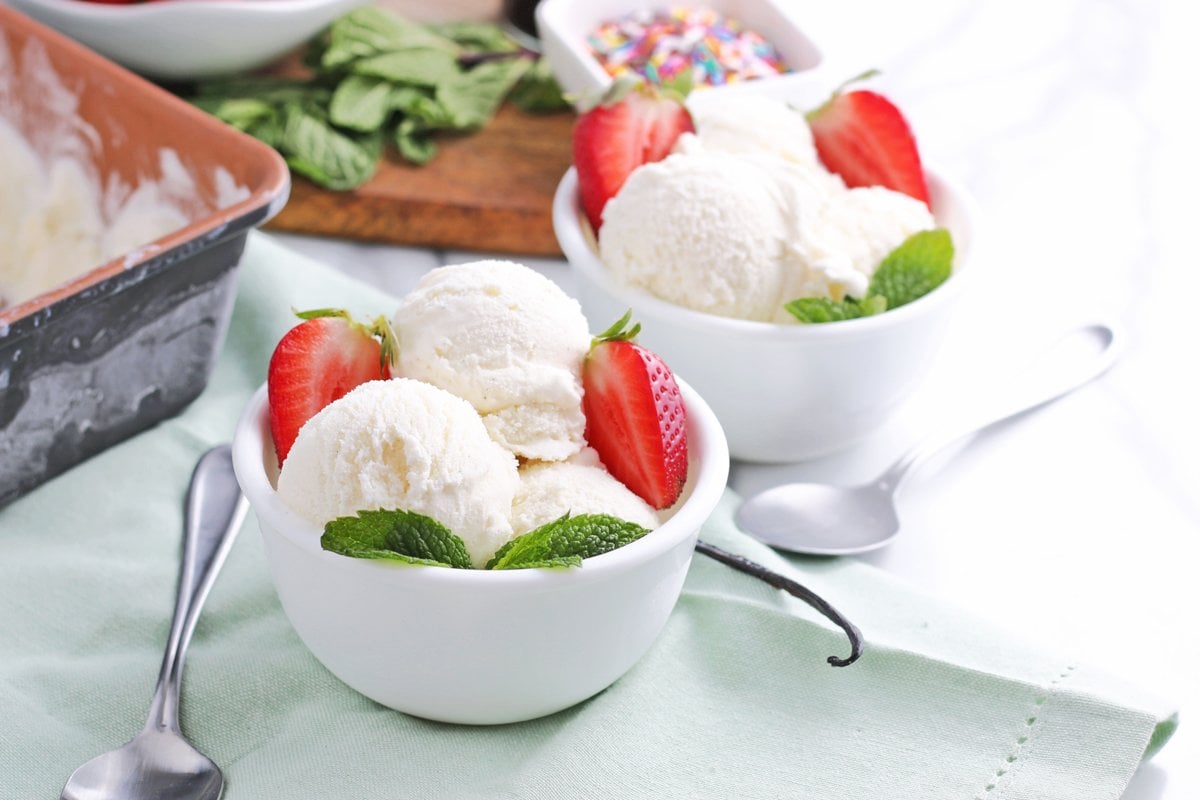
Topping Ideas
After making this classic vanilla bean ice cream, you can add whatever additional flavors you desire, like candy or chocolate chips. Although I think the original recipe is great on its own, my favorite way to step it up a notch is to cover it in Easy Caramel Sauce. Here are a few more options for mix ins:
- Hot Fudge
- Sprinkles
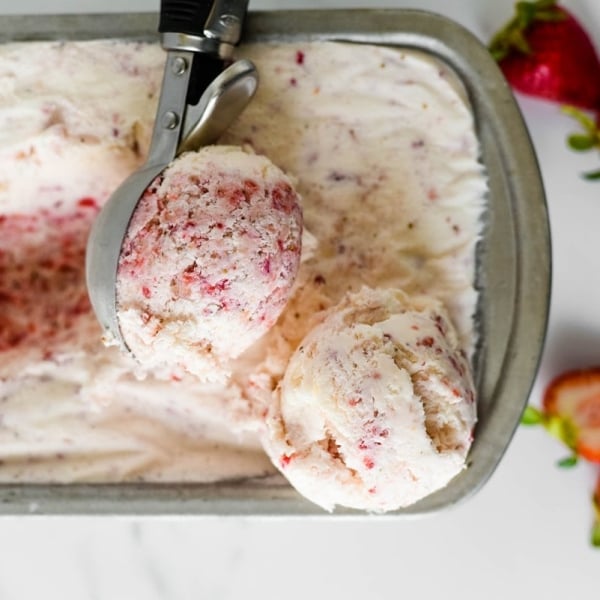
- Fresh Strawberry Topping
- Maraschino Cherries
- Praline Sauce
This easy recipe makes the perfect base to make your own ice cream flavors. Add in some chocolate syrup to make chocolate ice cream. You could cut up some fresh strawberries (or use strawberry syrup) to make strawberry ice cream.
Or you could even get really crazy and throw in some nuts, marshmallows and chocolate and make your very own rocky road ice cream. The options are endless.
Perfect Pairings
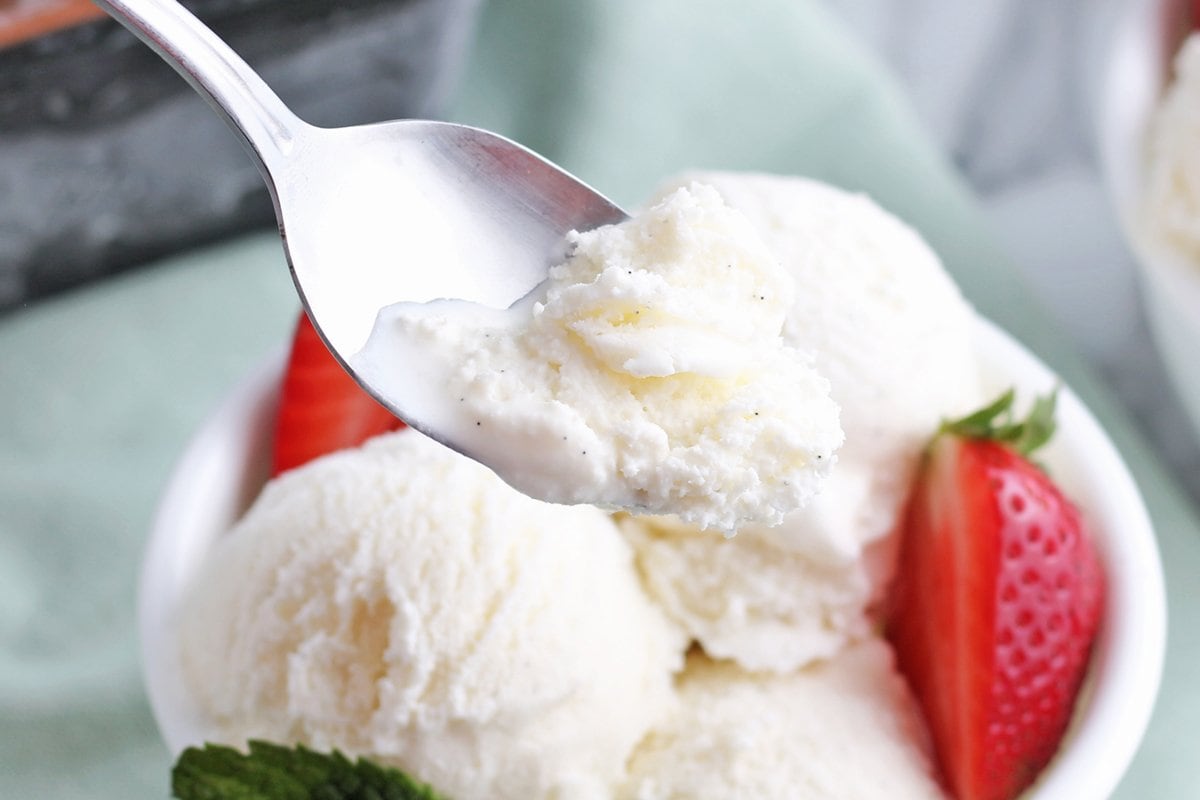
I could totally eat this vanilla bean ice cream with a spoon, no toppings, just ice cream- it’s that good. However, it’s a great base ice cream to pair with any number of other desserts.
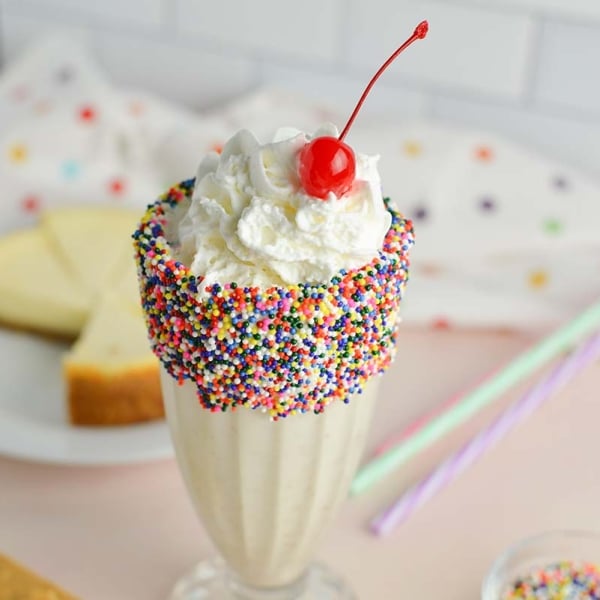
A hot fudge brownie straight from the oven, a mixed berry pie, a cherry cobbler or even an apple crisp are perfect for serving with a big scoop of vanilla ice cream. You can also add it to milkshakes, or sandwich between two cookies for the perfect ice cream sandwich.
Chef Tips
Once you’ve got these tips and tricks under your belt, making homemade vanilla bean ice cream is a breeze!
- Use the whole bean. Scrape out the seeds, then toss the pod into the warm dairy too. That pod still has flavor left in it, and we are not running a vanilla charity here.
- Do not boil the base. A gentle simmer is all you need. Boiling can mute the delicate vanilla flavor and create a weird cooked-dairy note.
- Chill overnight if you can. The flavor gets better and the base churns faster when it’s really cold.
- Freeze your storage container first. It helps the churned ice cream set faster once transferred.
- Turn the machine on before pouring in the base. Otherwise, the liquid can freeze to the sides before it starts churning.
- For easier scooping, rest it 5 to 10 minutes. Homemade ice cream often freezes firmer than expected.
- Want extra vanilla punch? Add 1 teaspoon pure vanilla extract after the cooked base cools.
- Read the Instructions– Read the manufacturer’s instructions before starting and always follow them!
Commonly Asked Questions
Vanilla bean ice cream uses real vanilla bean seeds or pods, which give it visible specks and a more robust vanilla flavor. Vanilla ice cream may use extract, flavoring, or a combination.
Yes. Vanilla bean paste is a great substitute if you don’t have a whole bean. It gives similar flavor and those classic vanilla specks.
Usually because the base wasn’t chilled enough, the dairy was too low in fat, or the ice cream wasn’t stored in a tightly sealed container.
For this specific recipe, yes, an ice cream maker gives the best texture. A no-churn method would need a different formula.
More Delicious Frozen Treats
When the warmer weather rolls around, these frozen treats are enjoyed on repeat!
Homemade Vanilla Bean Ice Cream
Equipment
Ingredients
- 2 cups heavy whipping cream
- 2 cups half and half
- 3/4 cup sugar
- 1 vanilla bean *
- 1 teaspoon coarse kosher salt
Instructions
- In a medium saucepan, combine the 2 cups heavy whipping cream, 2 cups half and half and 3/4 cup sugar.
- Cut the 1 vanilla bean * in half, scrape out caviar (the greasy flecks inside) and add both pod and caviar to saucepan. Bring to a low simmer, but do not boil.
- Remove from heat, stir in the 1 teaspoon coarse kosher salt if desired, and allow to cool fully before transferring to an airtight container and placing in the refrigerator to cool for a minimum of 4 hours, but up to 48 hours.
- Prepare your ice cream maker as directed and add mixture. Prepare according to machine directions.
- Transfer to an airtight container and freeze to finish.
- If you've tried this recipe, come back and let us know how it was in the comments or ratings.
Notes
Nutrition


Perfect.
Delicious! I love using vanilla beans. They add so much true flavor. I made this a couple weeks ago to use on a sundae bar. Everyone loved it. I’m making it again to use inside ice cream sandwiches.
This vanilla bean ice cream was delicious. I did use a real vanilla bean which I thought really made this ice cream. It was simple to make with simple ingredients. I did use my KitchenAid ice cream maker.
Perfect
Thank you for sharing this recipe! I made it a few weeks ago and am making it again. It is so easy and delicious!
First time making churn ice cream, it was really good!
Very delicious! My husband wanted to know if there was extra left in the bowl he could have. He kept saying how good it was. My husband is going to freeze dry half and the other half I had initially wanted to make root beer floats, but I have some chocolate lava cakes and nothing beats cake and ice cream (and sprinkles!!), so we’ll see.
I was looking for a quick vanilla recipe that didn’t need eggs and I’m glad I went with this one. I forgot to start it in advance, so I didn’t let the mixture completely cool, it was still kind of warm when I put it in the ice cream maker. I used a (5lb?) bag of ice and lots of of ice cream salt and it might have taken a little longer than usual, but it did work and it’s super creamy. I usually just throw the vanilla bean into the ice cream maker and take it out at the end. I’ll be using this recipe in the future (omg with apple pie sounds so good too). Thanks for the recipe.
Awesome! And thanks for coming back to let us know.
I completely forgot to add the salt when I made this, but that’s ok. I literally got my vanilla beans in 2 days ago and decided to keep 1 out before I put the rest to alcohol and oh my goodness gracious!!!
Thank you for sharing this recipe. I will be doing this one multiple of times!! P.S. It is going on top of my homemade apple pie for Thanksgiving day dinner tomorrow! HAPPY THANKSGIVING!!
Yummy!!!!! The salt just help bring out natural flavors, it won’t make it or break it. Happy Thanksgiving and ENJOY!!!!