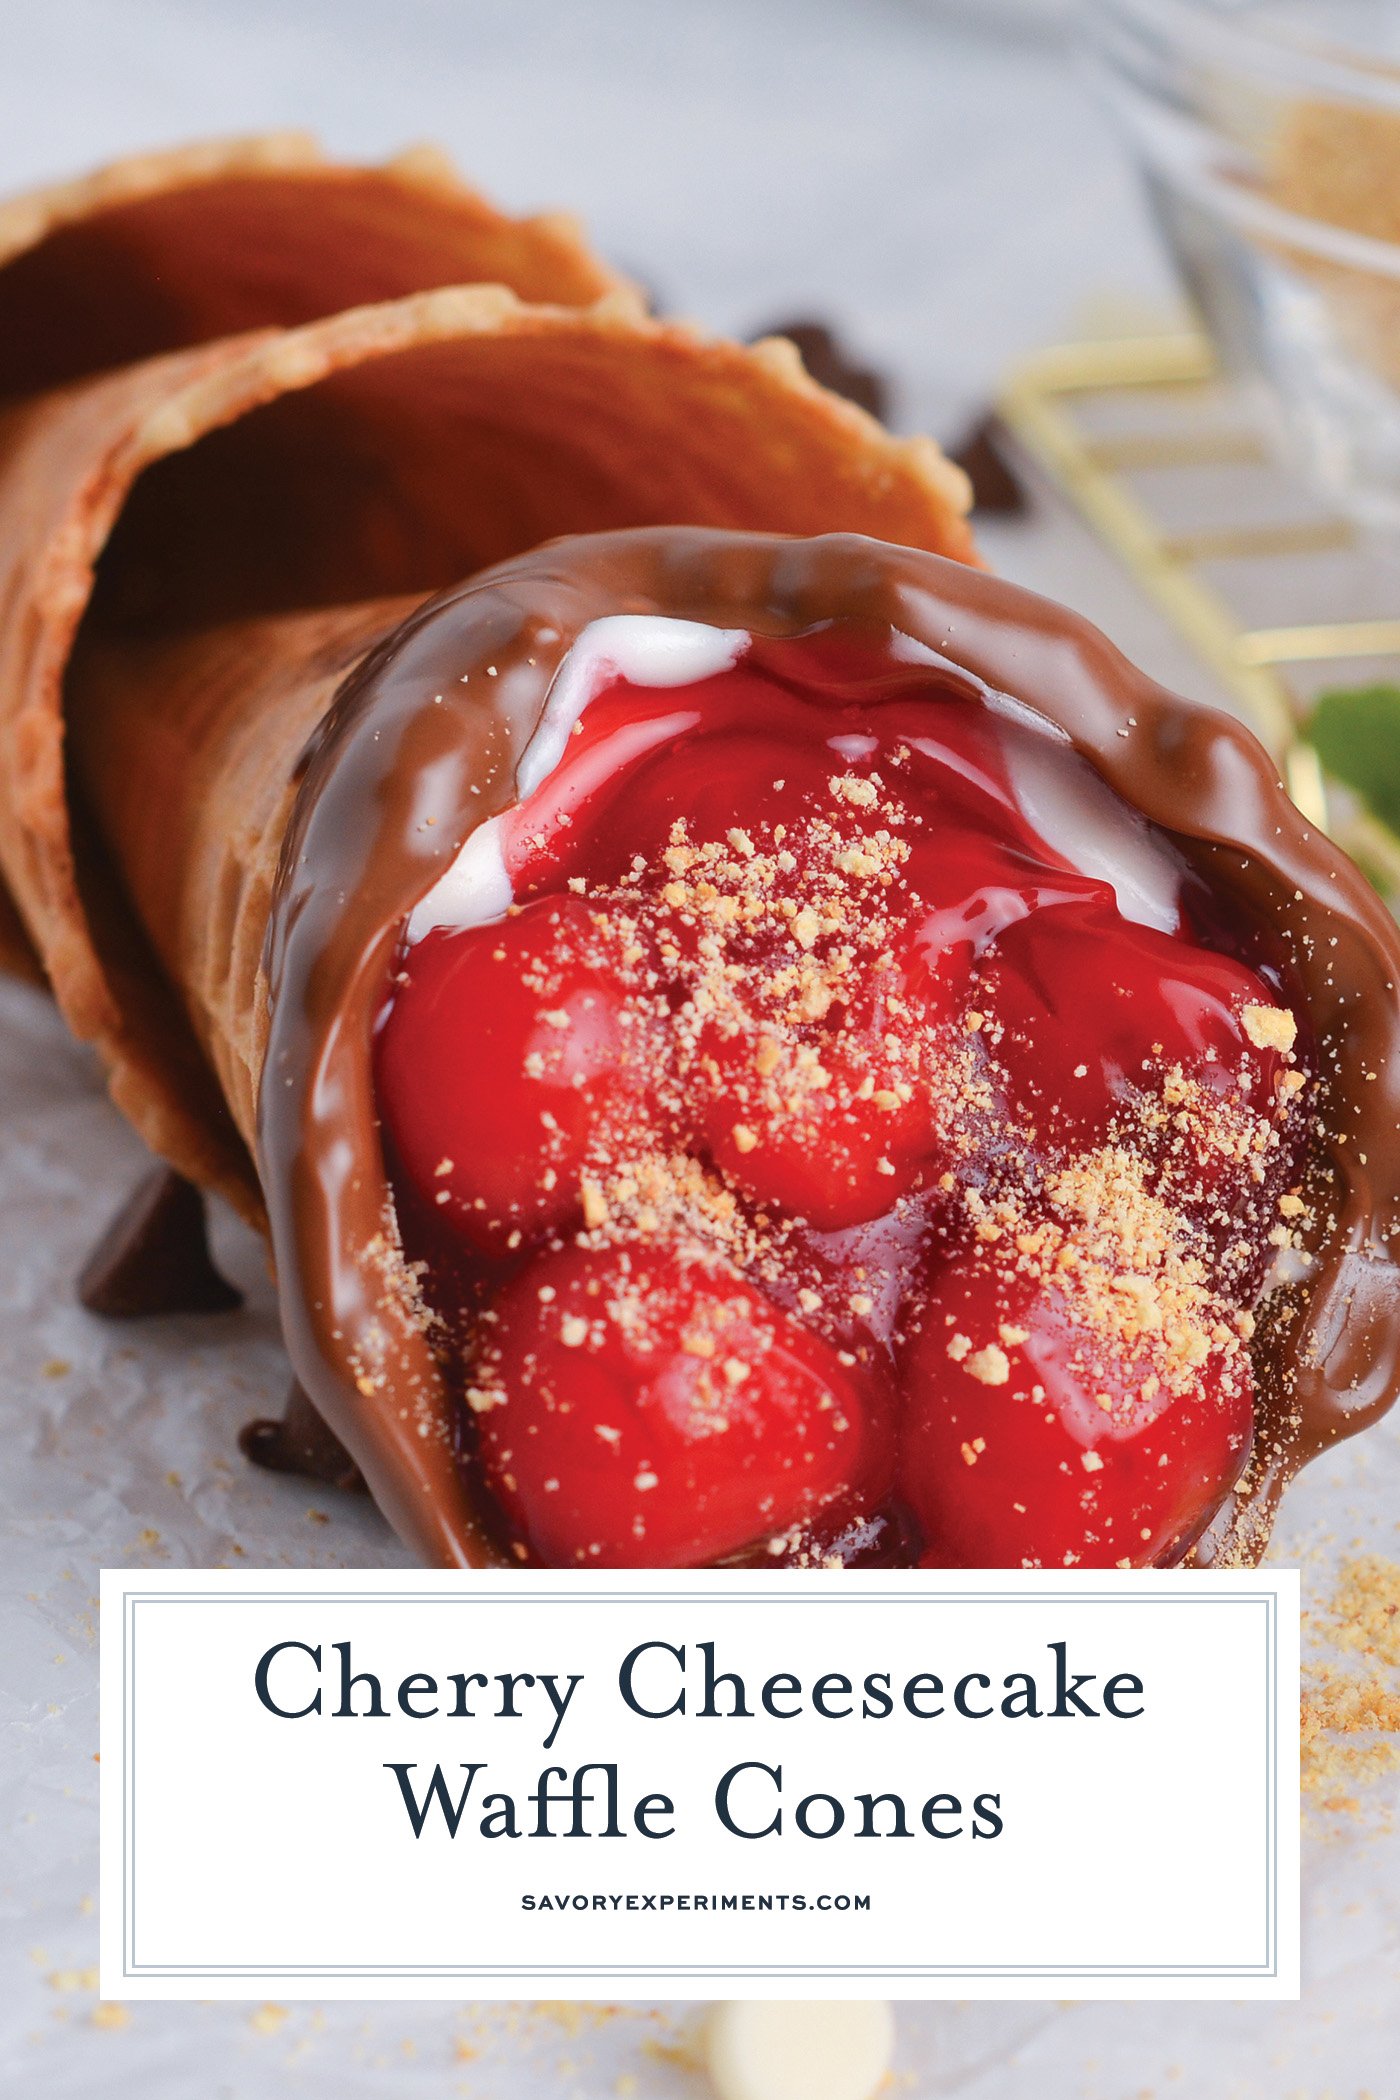
In our household, cheesecake is a staple dessert in all forms so I’m always experimenting with new ways to make it. Inspired by my little ones to find a fun, handheld version I created this cherry cheesecake cones recipe.
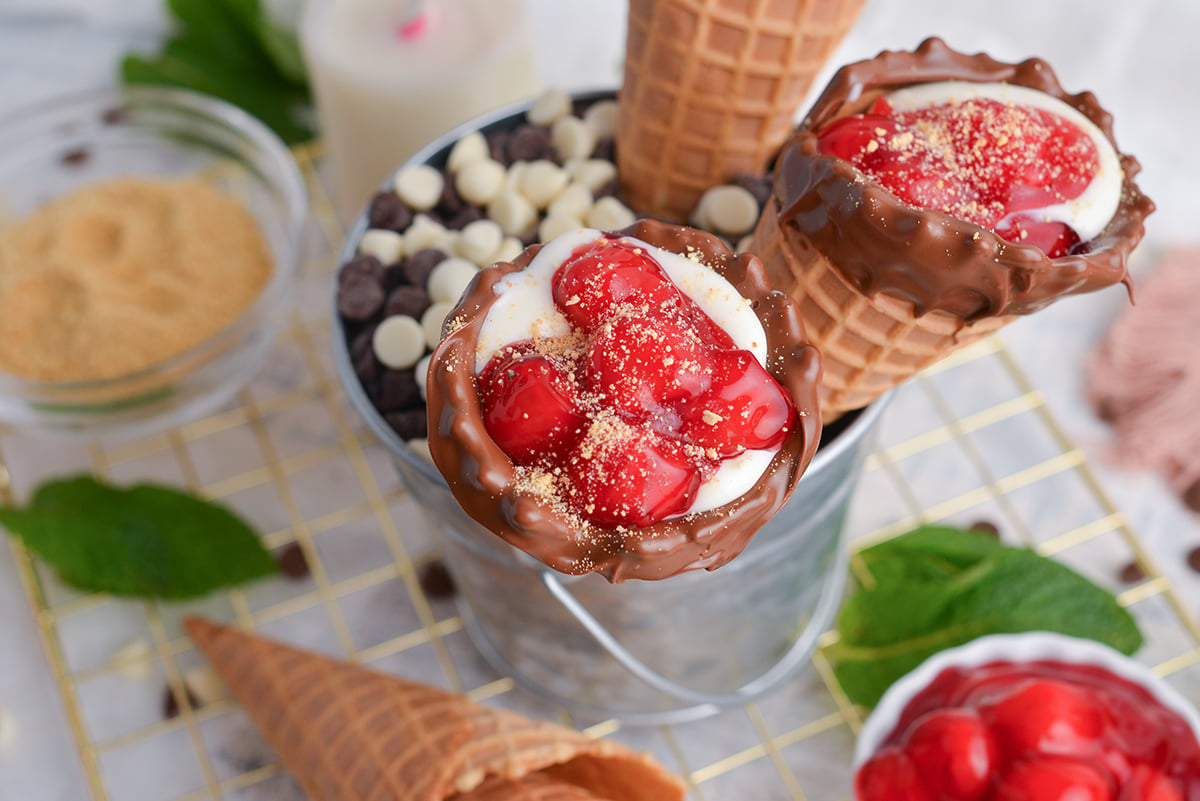
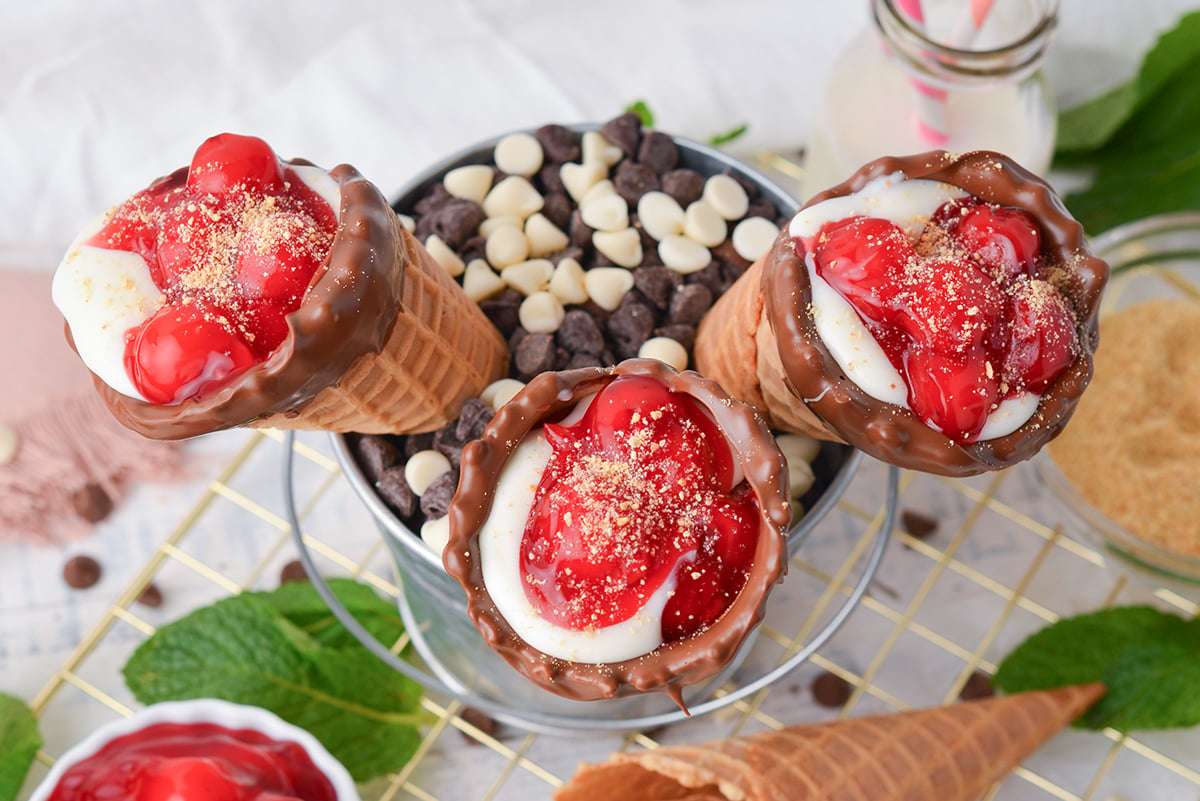
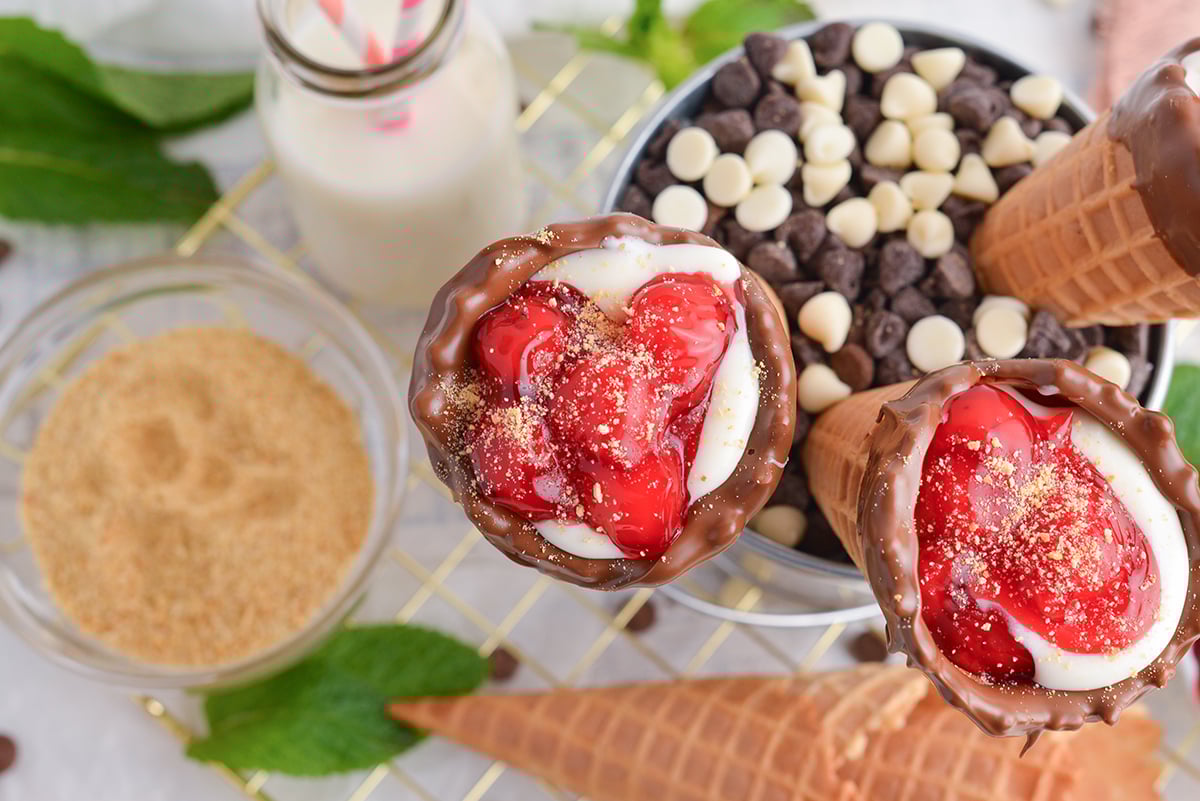
This recipe takes all of the work out of cheesecake! Just rim the crunchy cones with chocolate and whip up an easy no-bake cheesecake filling and layer it in the cones with cherry pie filling and serve. It’s the perfect summer dessert and is always a hit at parties!
What Makes Cherry Cheesecake Cones Irresistible
Anyone who is already a fan of cheesecake is going to love these easy cones!
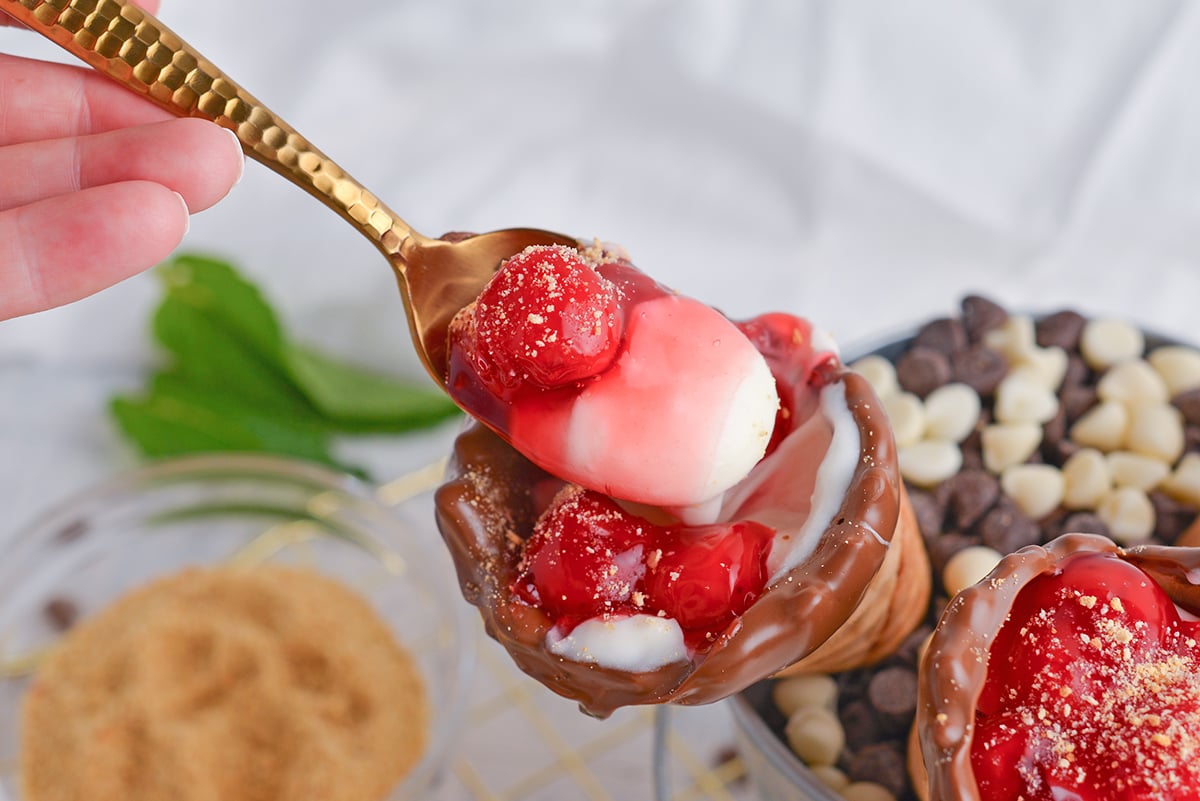
- Flavor and Texture. These cones check all the boxes for both flavor and texture. The creamy, tangy filling pairs beautifully with the sweet cherries while the cones give the treat the perfect amount of crunchy goodness.
- So Simple. This is a no-bake dessert that’s a breeze to make!
- Portable. This dessert has the convenience of being easy to carry around, making it a great choice for cookouts and birthday parties.
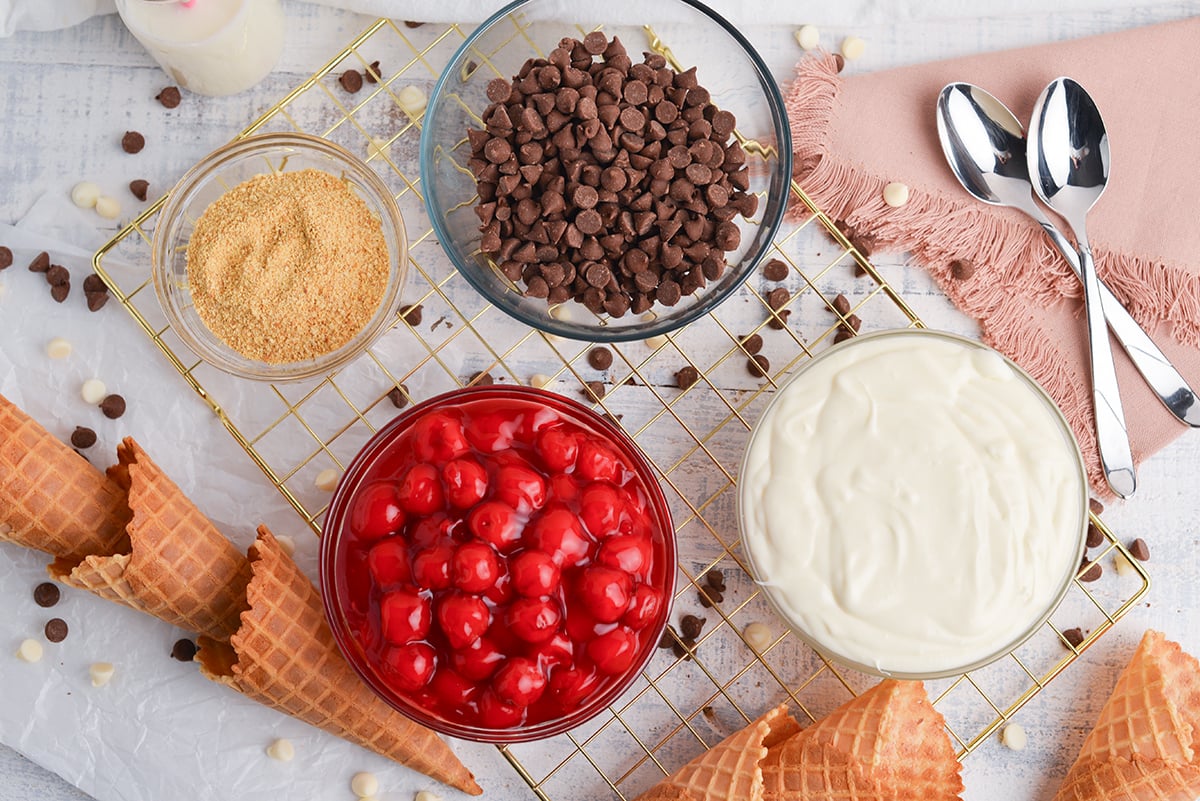
Ingredients
There are three different elements to these cones but the ingredients are all simple and easy to find at the grocery store.
- Waffle Cones – You can find waffle cones at your local grocery store or at big box stores that also sell groceries. They’re also sold online but keep in mind that you might risk having them break during shipping.
- Milk Chocolate Chips – These are easy to melt in the microwave, but you can choose to use a double boiler method if you prefer.
- Vegetable Shortening – This helps to give the melted chocolate its perfectly smooth consistency.
- Cream Cheese – Cream cheese gives the filling its signature slightly tangy flavor and creamy consistency.
- Plain Greek Yogurt – Greek yogurt also adds creaminess and tangy flavor.
- Milk – Milk helps to thin the cheesecake and make it smooth. I prefer to use whole milk but you can use low-fat or skim milk if you prefer — just expect your filling to be a little thinner. What you likely want to avoid, though, is using heavy cream which could make the filling too dense or affect how it sets.
- Vanilla Extract – Vanilla balances out the other ingredients.
- Fine Sea Salt – Adding sea salt helps to bring out the flavors of the other ingredients.
- Powdered Sugar – Powdered sugar adds sweetness and helps to make the filling super smooth.
- Cherry Filling – You can find the filling in the baking aisle at the grocery store or you can easily make your own cherry filling at home.
- Graham Cracker Crumbs – To make these you can simply put them in a sealable plastic bag and roll over them with a rolling pin or crush them using a mallet or meat tenderizer. You can also crush them in a food processor.
Variations
Just like traditional cheesecake, there are lots of ways to switch up these cones.
- Ice Cream Cone – Use sugar cones instead of waffle cones. You may need to adjust the amount of filling.
- Chocolate Chips – Fold dark chocolate or milk chocolate chips into the cream cheese filling.
- Fruit – Add fruit like freeze-dried strawberries to the filling for more fruity flavor.
- Sprinkles – After microwaving the chocolate, fill a separate bowl with sprinkles. First, dip the cones into the chocolate, and then into the sprinkles.
- Cheese – Swap out the cream cheese for mascarpone or use a cheese blend that combines the two.
- Yogurt – Use a flavored yogurt or substitute sour cream for the Greek yogurt.
- Citrus – Add lemon zest or a splash of lemon juice for a bright, citrusy flavor in the filling.
- Fruit Filling – Trade out the cherry filling for another type of fruit filling like blueberry or raspberry.
- Garnish – Instead of graham crackers try crushing other light-colored cookies like golden Oreos or Nilla Wafers to sprinkle on top.
- Oil – Instead of vegetable oil, try using coconut oil to make your melted chocolate. Canola oil and soybean oil are other options.
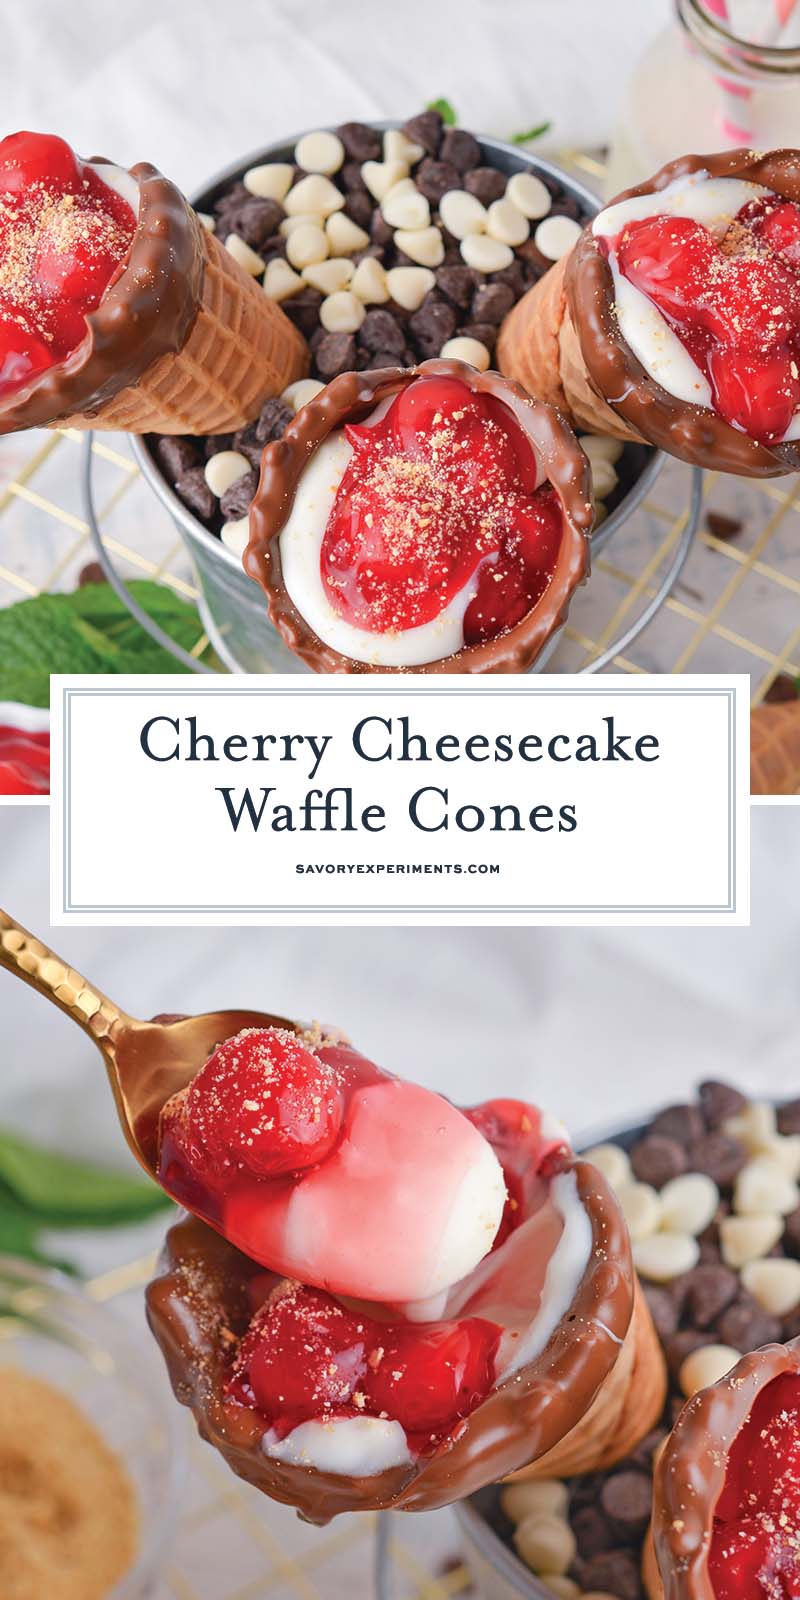
- Serving – Since these cones do run the risk of becoming soggy if they’re assembled in advance, an easy fix is to set up a dessert bar. Dip the cones in chocolate and allow it to set. Then, when ready to serve, create a spread that includes the cheesecake filling, fruit filling, and other add-ins like chocolate chips, white chocolate chips, peanuts, or crushed Oreos (or other cookies) and candy.
How to Make Cherry Cheesecake Cones
These little layered treats are easy to make and come together quickly since you can make the filling while the chocolate sets.
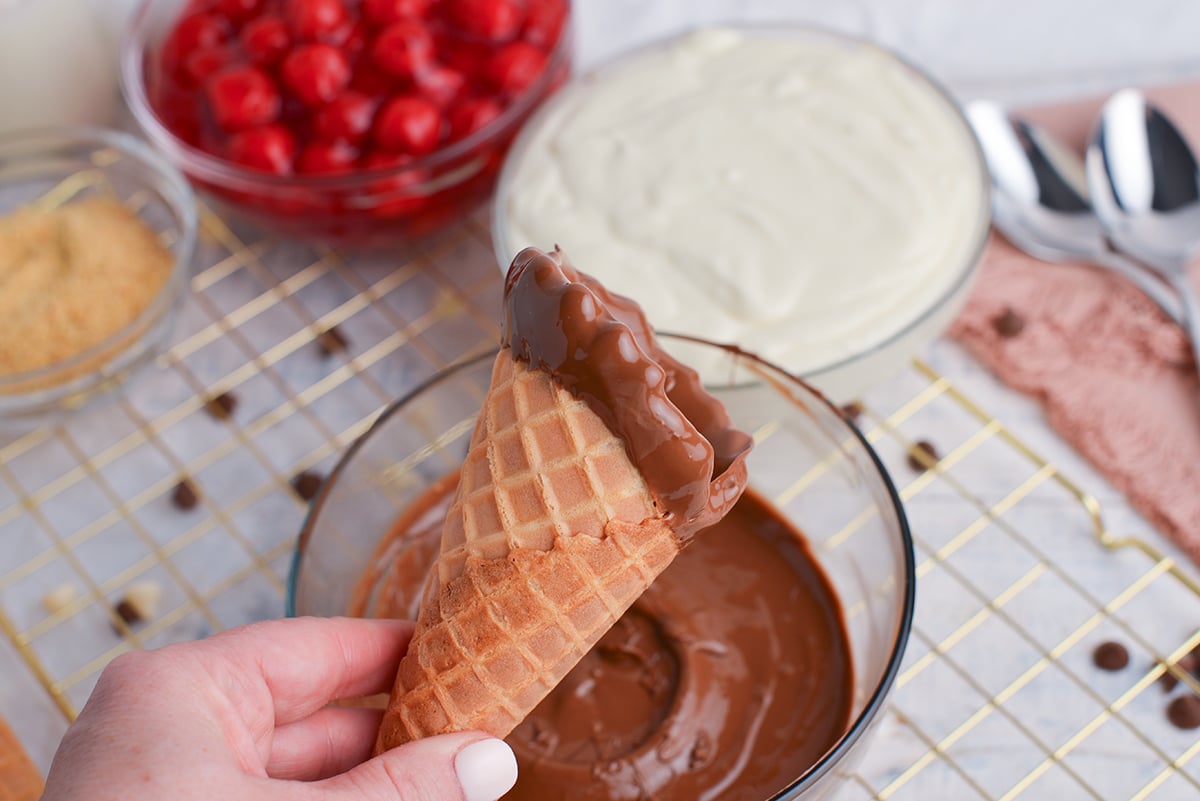
- Melt chocolate. Pour the chocolate chips into a medium bowl and add the shortening. Microwave the chocolate chips and shortening in intervals, stirring after each until the mixture becomes lump-free and silky smooth.
- Dip cones into chocolate. Rim the top edge of the cone with chocolate by dipping it into the chocolate.
- Allow to set up. Place dipped cones on and place them on a parchment paper-line tray. To allow them to set standing up, place aluminum foil over a pan and press the cones through the top after dripping.
- Prepare the cheesecake filling. Add cream cheese to a large bowl of a stand mixer and beating briefly. Once smooth, beat the Greek yogurt into it. Then, blend in the milk, vanilla extract, and salt. Then add half of the powdered sugar to the cream cheese mixture and blend. Then repeat with the remaining powdered sugar.
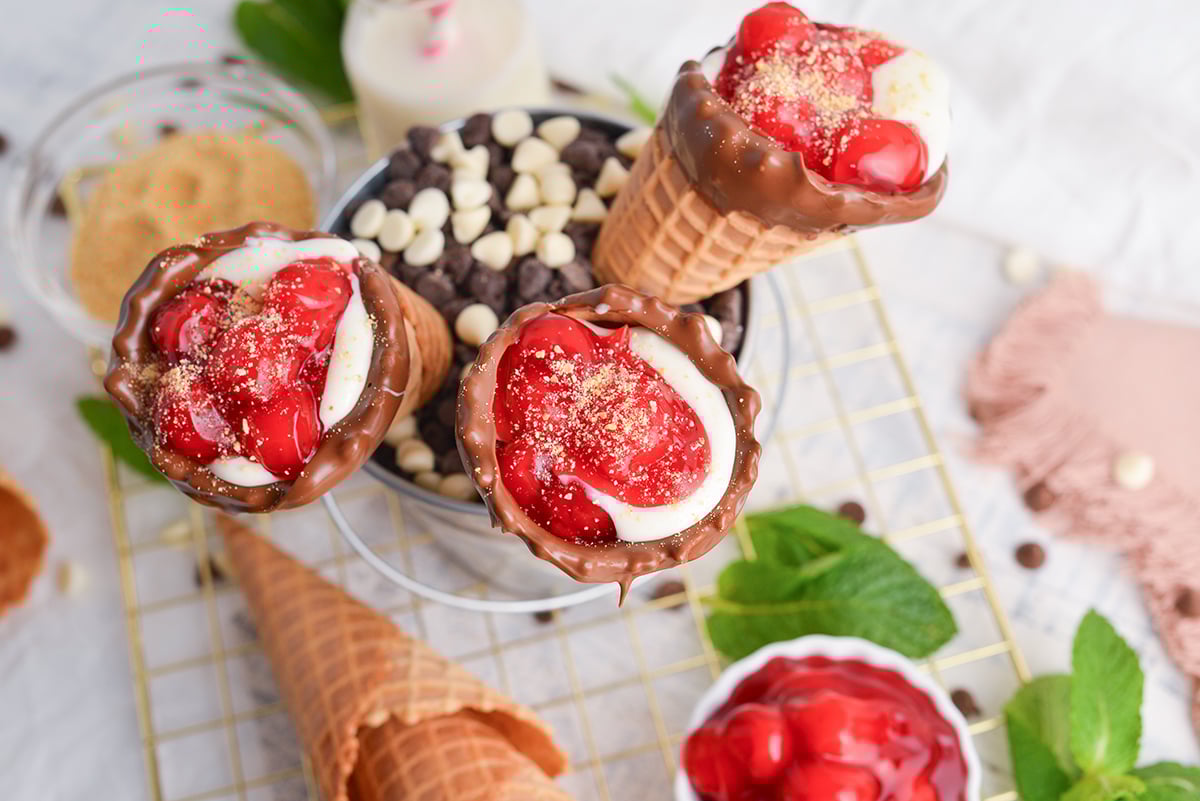
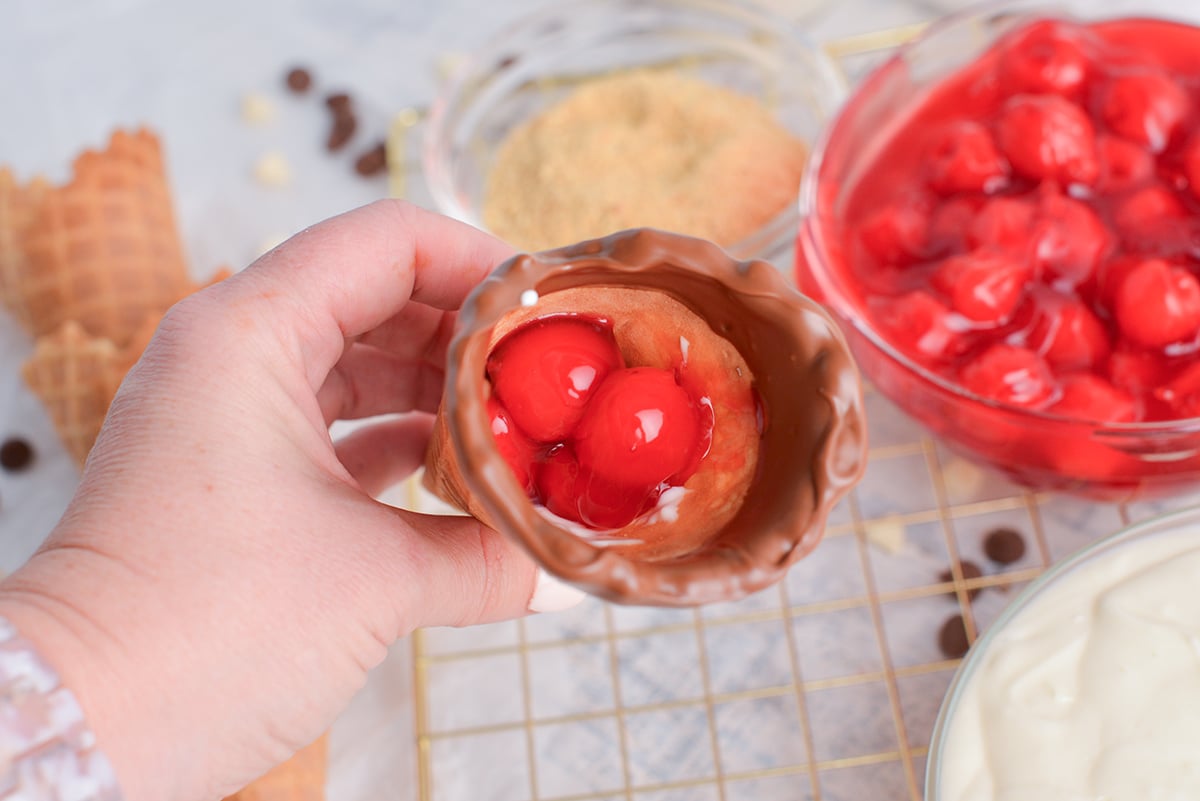
- Add cheesecake and cherry filling to cones. When the chocolate has hardened on the cones, fill with a portion of the cheesecake filling and top with the cherry filling. Then repeat. You can use a spoon to do this or you can pipe the cheesecake filling into the cone.
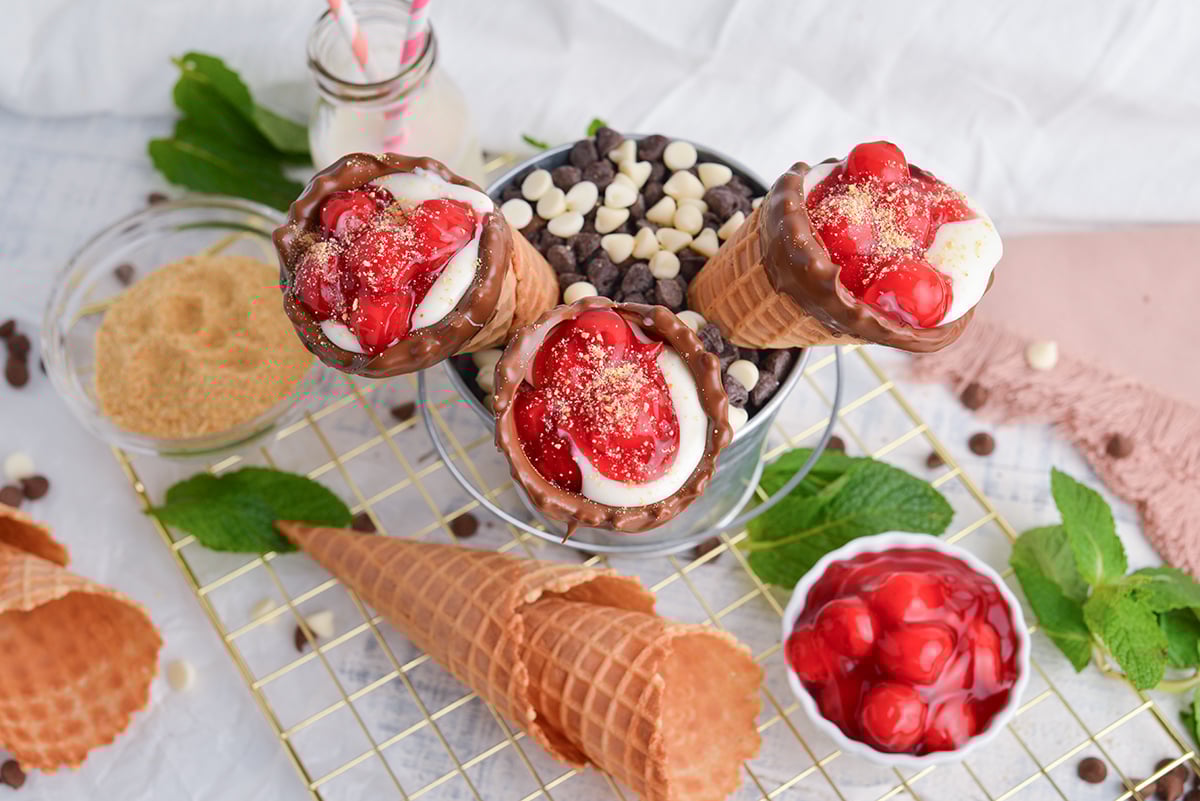
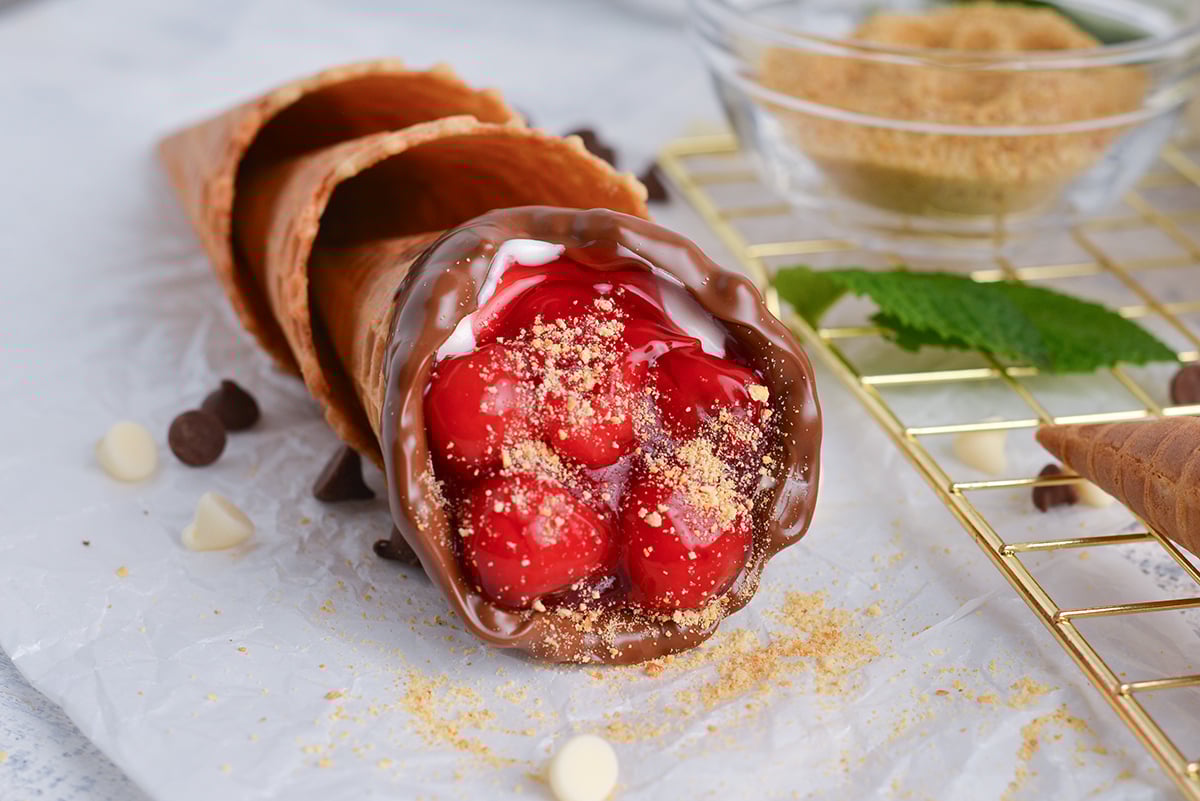
- Garnish with graham cracker crumbs and serve.
What to Serve With Cherry Cheesecake Cones
We find that these little handheld treats are all we need to satisfy a sweet tooth! But, if you want to add more pizzazz to them try a dollop of whipped cream or Cool Whip, or a drizzle of chocolate sauce or fudge sauce on top. Serve them on a dessert display with other summer treats like Summer Sand Pudding Cups and S’mores Cookie Bars.
They’re also a perfect pairing for a big scoop of vanilla ice cream or fruit — lay out some fresh strawberries, blueberries, or cherries to go with them.
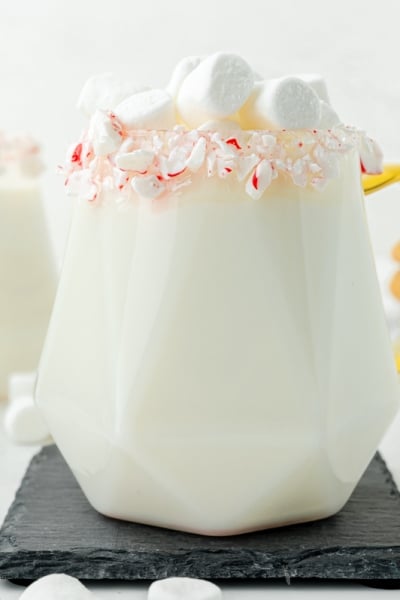
You can also wash them down with a big glass of cold milk, hot chocolate, or whipped coffee. If you’re entertaining adults, try serving them with a creamy espresso martini, milk chocolate martini or even a white chocolate martini.

Storage and Freezing
Be sure to keep the cheesecake cones chilled — since they contain dairy, they will spoil if left out of the fridge or freezer for over a couple of hours.
Make Ahead
One of the tricks to making sure that these are fresh and the cones are still crunchy is to fill them right before serving. You can make the cheesecake filling up to 24 hours ahead of time and fill the cones when they’ve been dipped and the chocolate has hardened (which can also be done ahead of time). Just make sure to give the cheesecake filling a good stir before filling the cones.
How to Store Cherry Cheesecake Cones
While you can safely store the assembled cones in the fridge in an airtight container for 5-7 days, the cones may become soggy.
Can I Freeze cherry Cheesecake Cones?
Freeze the cones in a freezer-safe container or freezer bag for up to 3 months. It may help to flash-freeze them first, then store them in individual freezer bags or separate them with parchment paper to prevent them from sticking together.
Common Questions About Cherry Cheesecake Cones
Since they can quickly become soggy when stored, we recommend only filling as many cones as you think you’ll need. But if you do have leftovers, be sure to keep them in the fridge where they’ll stay safe to eat for up to a week. You can freeze them for up to 3 months but the texture may vary when they thaw.
You can keep waffle cones in the fridge! They’ll stay fresh for 1-2 weeks.
It’s not often that a waffle cone may spoil in the sense that it forms mold but it can become stale. If so, it will be soft and may have an unpleasant aroma.
More Decadent Cheesecake-Based Desserts
Calling all cheesecake lovers! Here are some of our favorite cheesecake recipes. The perfect dessert!
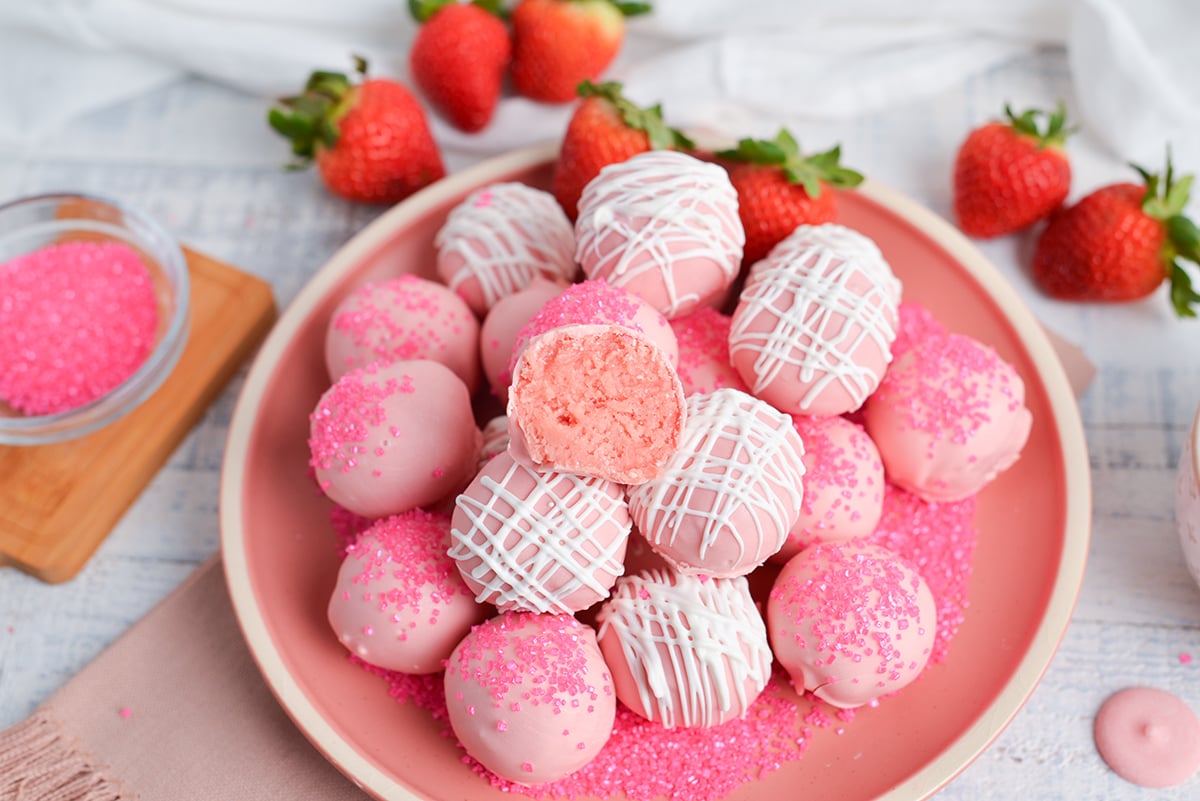
Strawberry Cheesecake Bites Recipe
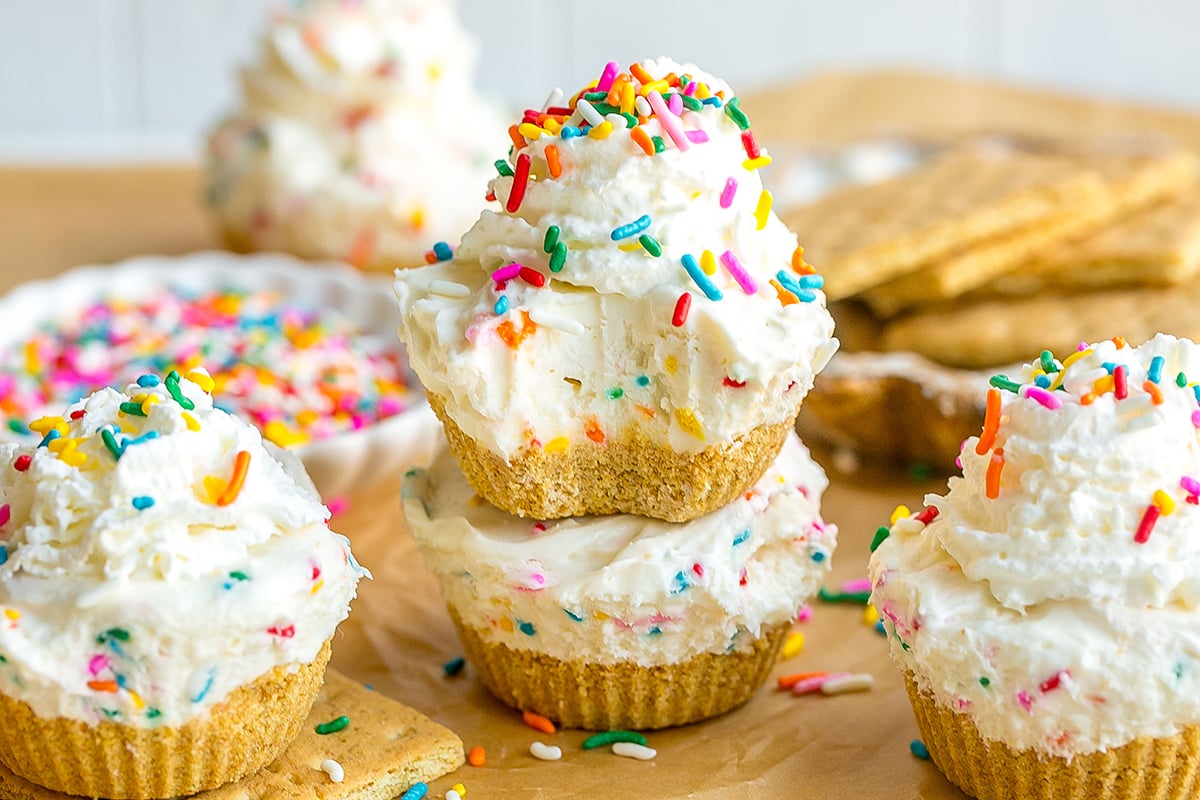
No Bake Mini Cheesecakes
Chocolate Cheesecake Bites Recipe
Cherry Cheesecake Cones
Equipment
Ingredients
Cones:
- 8 waffle cones
- 1 cup milk chocolate chips
- 2 teaspoon vegetable shortening
Cheesecake Filling:
- 8 ounces cream cheese , softened
- 2 tablespoon plain Greek yogurt
- 2 tablespoons milk
- 1/2 teaspoon vanilla extract
- 1/4 teaspoon fine sea salt
- 1 cup powdered sugar
Toppings:
- 2 cups cherry filling
- 1/2 cup graham cracker crumbs
Instructions
- In a microwave safe bowl, heat the chocolate chips and shortening at 30 second increments, stirring between each until smooth.
- Dip the lip of each cone in the melted chocolate. To dry, place flat on parchment or tightly cover a bread loaf pan or bundt pan with heavy duty aluminum foil and poke through to dry standing up. There are also cone holders. Allow the chocolate to set.
- While the chocolate sets, make the cheesecake filling.
- In the bowl of a large mixing bowl or the bowl of a stand mixer, beat the cream cheese until smooth. Add the Greek yogurt and cream again.
- When smooth, add the milk, vanilla and salt, blending again.
- Add the powdered sugar in two increments.
- To assemble, layer a spoonful of cheesecake filling, then cherry filling, then cheesecake and cherry again.
- Top each with a sprinkle of graham cracker crumbs.
- Serve immediately.
- If you’ve tried this recipe, come back and let us know how it was in the comments or star ratings.
Nutrition


Gorgeous and interesting dessert recipe. Thanks alot for sharing.
Wow, amazing one. loved it
This is so cute! I love the look, and I love the combination of flavors and textures.
Not only was this dessert SO good, it was really fun to make with my boys! We will be making these again. Thank you!
These cheesecake cones are absolutely wonderful! Loved having different topping options for everyone too.