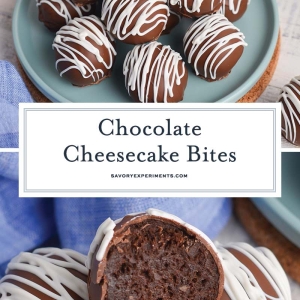
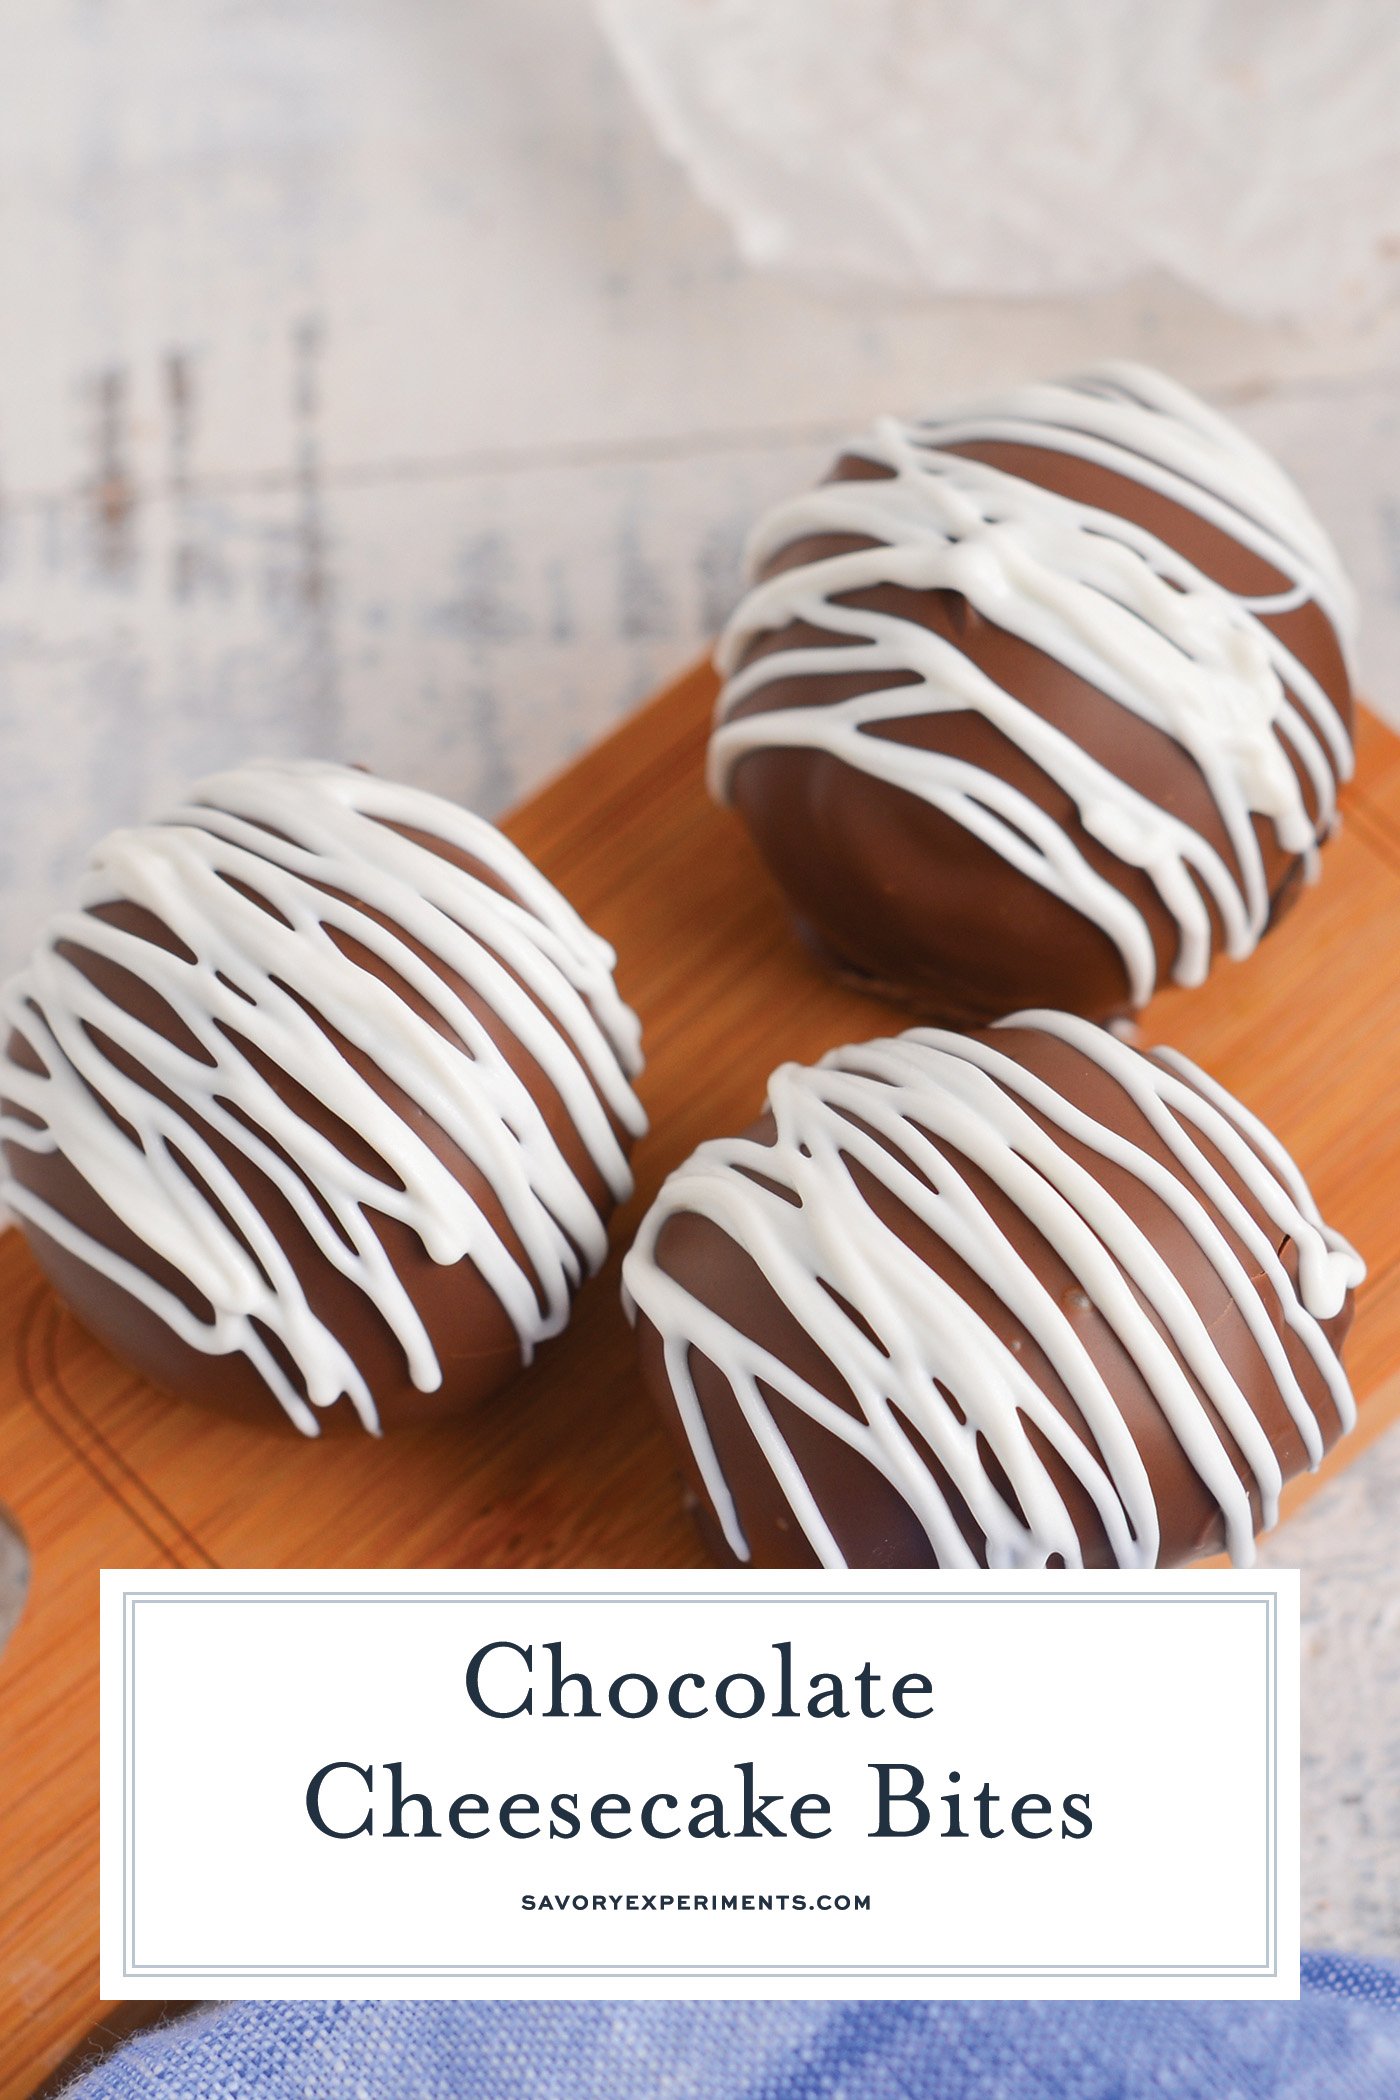
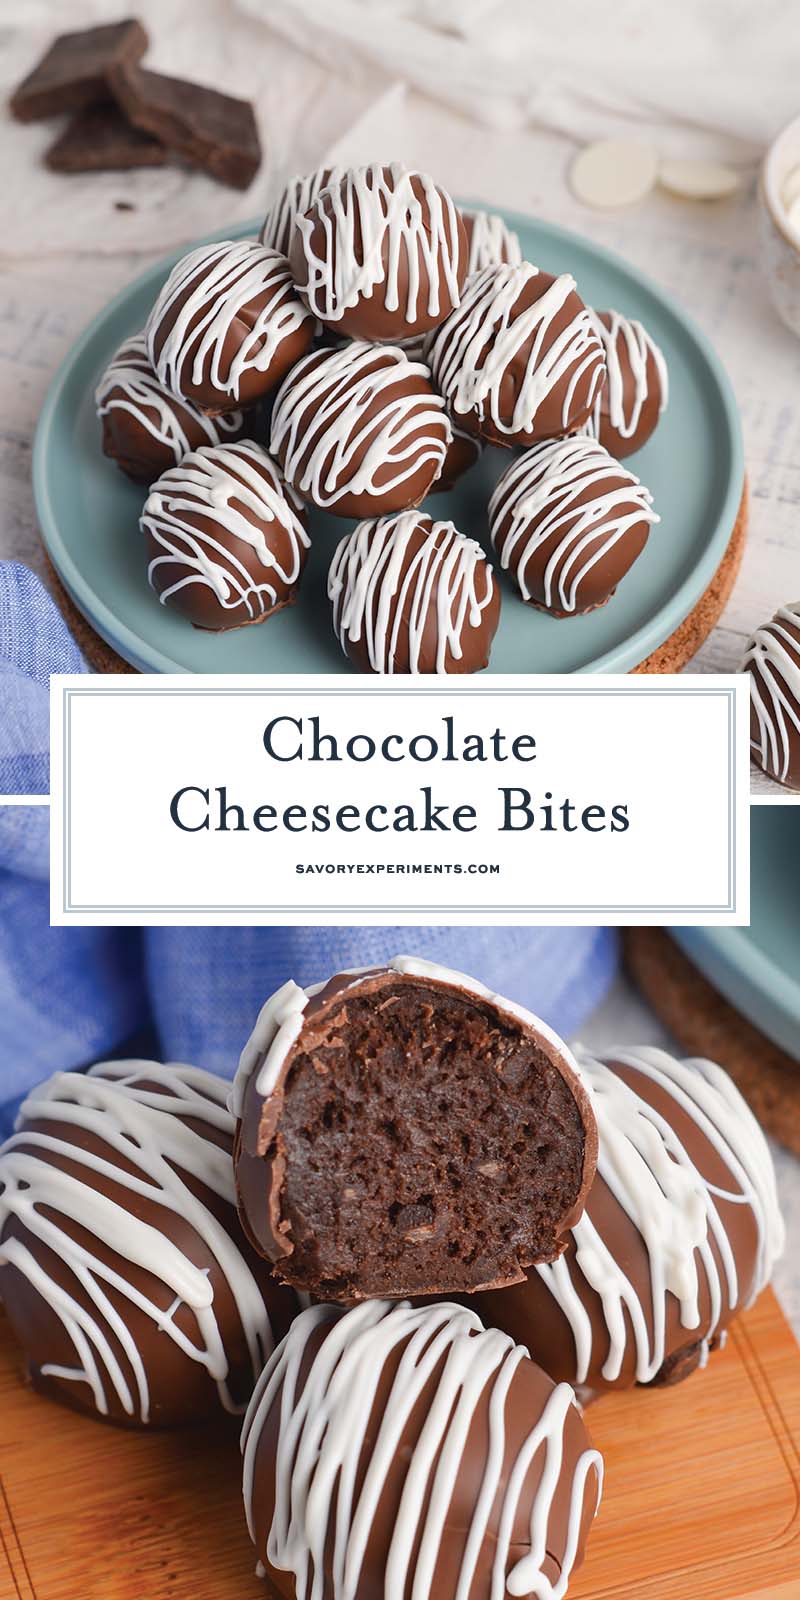
If you’re looking for the ultimate dessert that’s so incredibly easy to make, you’ve found it. No-bake chocolate cheesecake bites are the perfect little piece of heaven (in dessert form) that you need in your life.
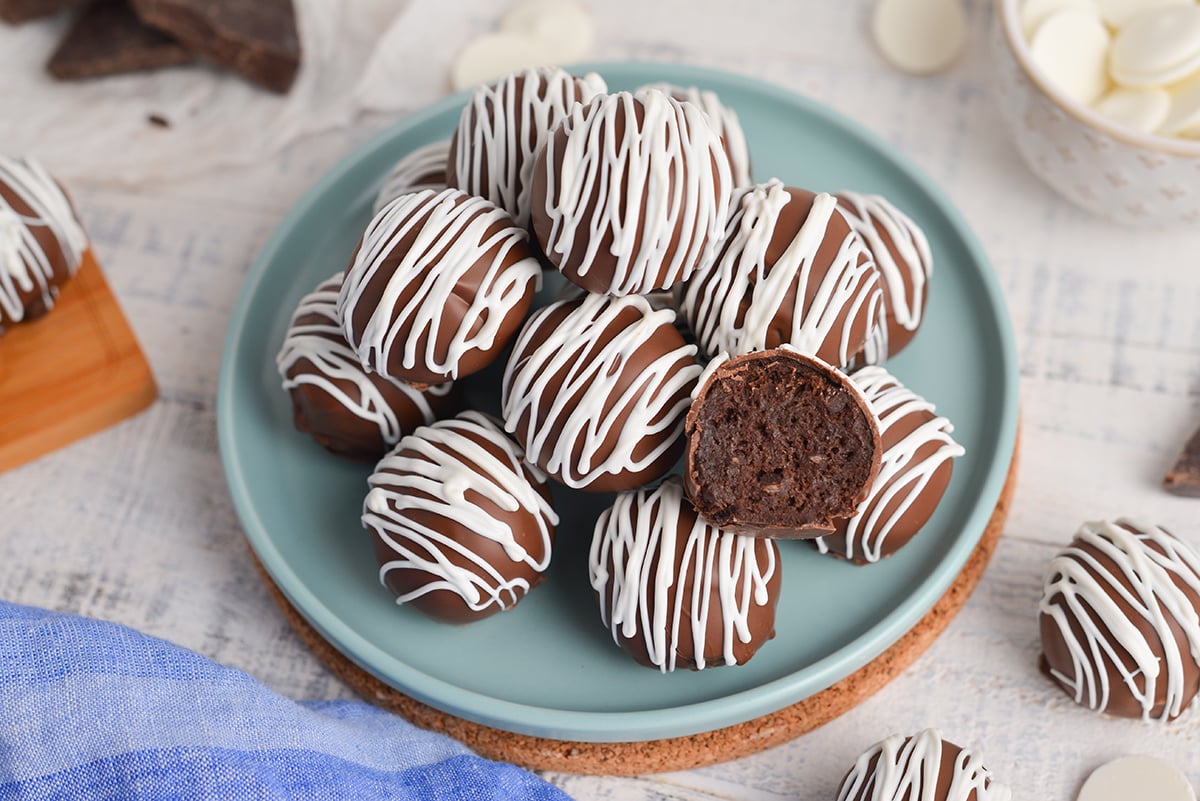
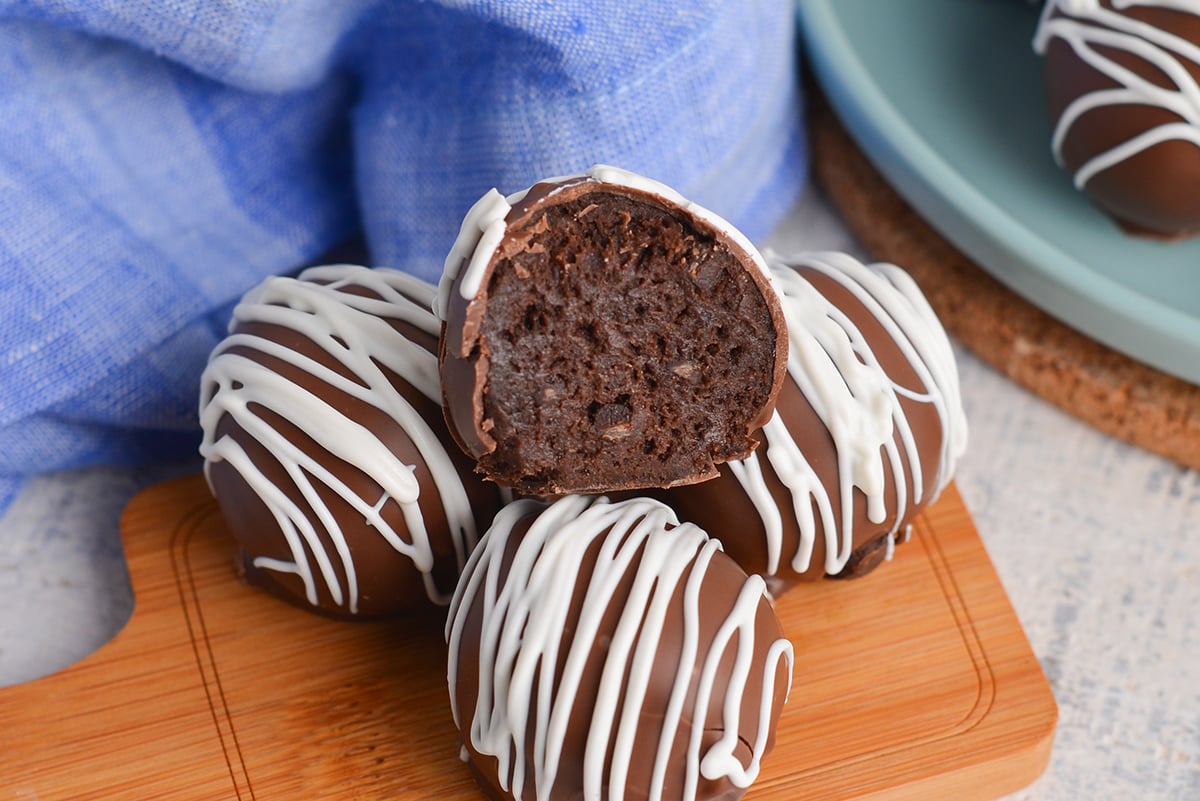
These mini chocolate cheesecakes are filled with the tangy creaminess of cheesecake mixed with chocolatey goodness and wrapped in a warm hug of more delicious chocolate. Whether you’re making a treat for yourself at home or impressing guests at a party, this may become your next go-to dessert.
Why You’ll Love No-Bake Chocolate Cheesecake Bites
From the fact that these delectable no-bake bites are incredible timesavers to their versatility, there’s no reason not to be head over heels for this easy dessert.
- Unique – While many recipes for this type of no-bake bite of goodness call for only cake mix and cream cheese, this recipe is richer and more balanced thanks to the vanilla and salt.
- Perfect For Any Occasion – Whether you’re hosting a party or headed to a potluck, these tasty little bites will please any palate.
- Simple – Is there anything better than a rich, luxe dessert that doesn’t require turning on the oven? We don’t think so! These bites are so easy, and you can even get your little ones involved in the fun of making them.
Ingredients
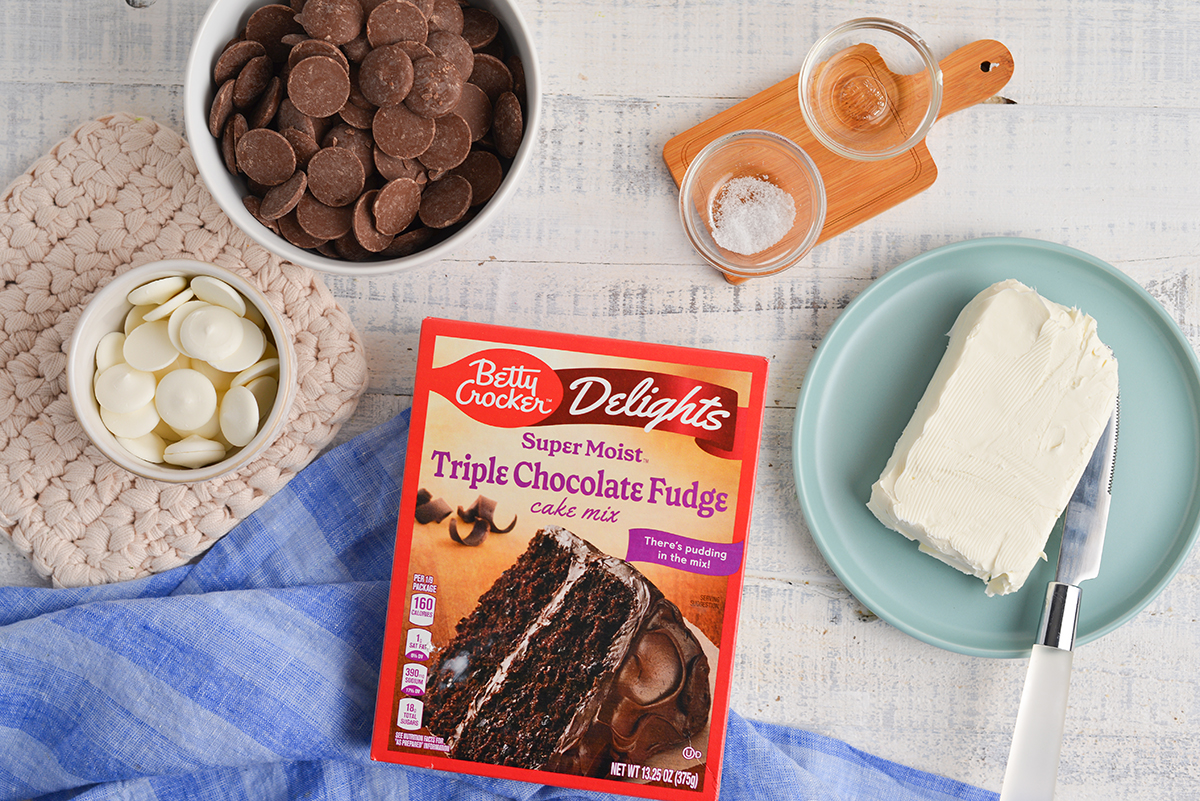
If you’re looking for an affordable way to make a show-stopping dessert, these no-bake cheesecake bites are your new go-to! All you need is a handful of simple ingredients.
Chocolate Cheesecake Bites
- Cream Cheese – Be sure to soften the cream cheese ahead of time so that it mixes easily.
- Fine Sea Salt – Sea salt helps to enhance the flavors of the other ingredients and its fine granules dissolve easily when mixing.
- Clear Vanilla Extract – Vanilla balances out the entire dessert and gives it a warm flavor and aroma. While for fancier desserts you may want true vanilla extract, for this recipe you can use imitation vanilla and it won’t alter the taste.
- Boxed Chocolate Cake Mix – This is the secret way to make this no bake dessert so easy. With the addition of the salt and vanilla extract, no one will know about this simple shortcut.
- Chocolate Almond Bark or Melting Wafers – Either of these will add even richer chocolate flavor in the form of the outside coating for the bites.
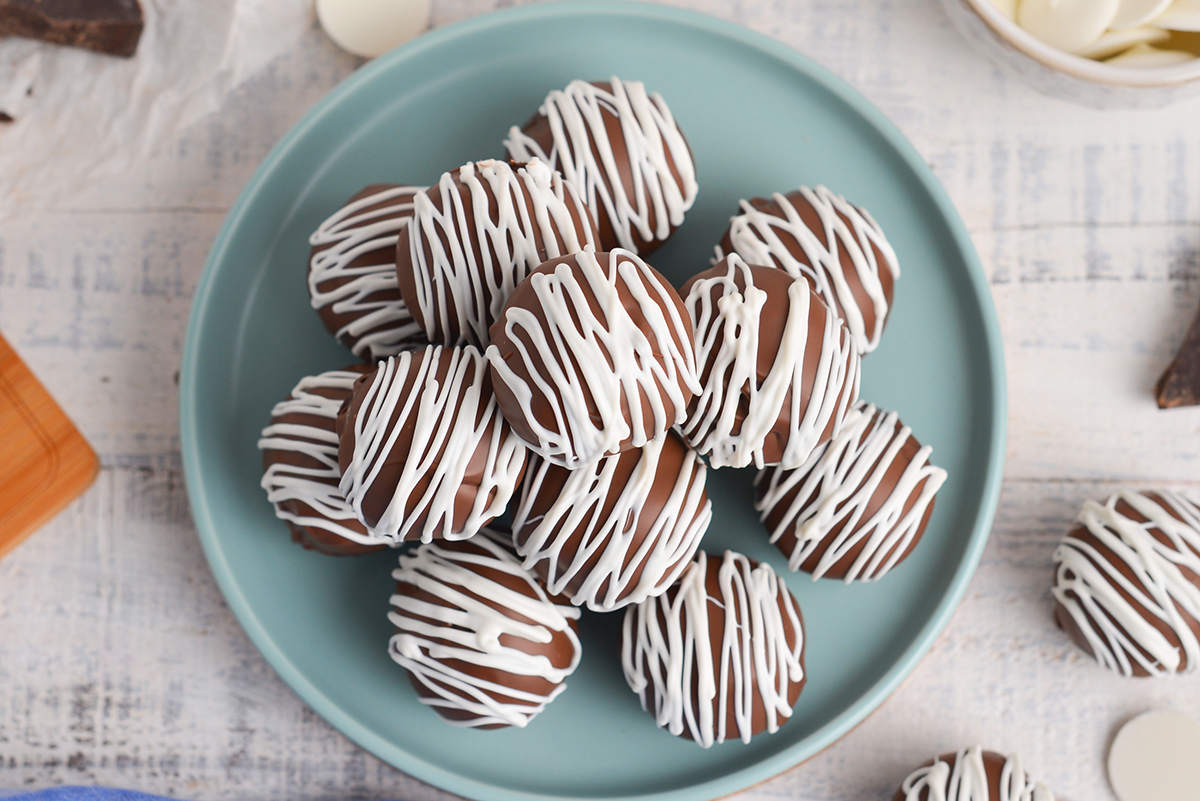
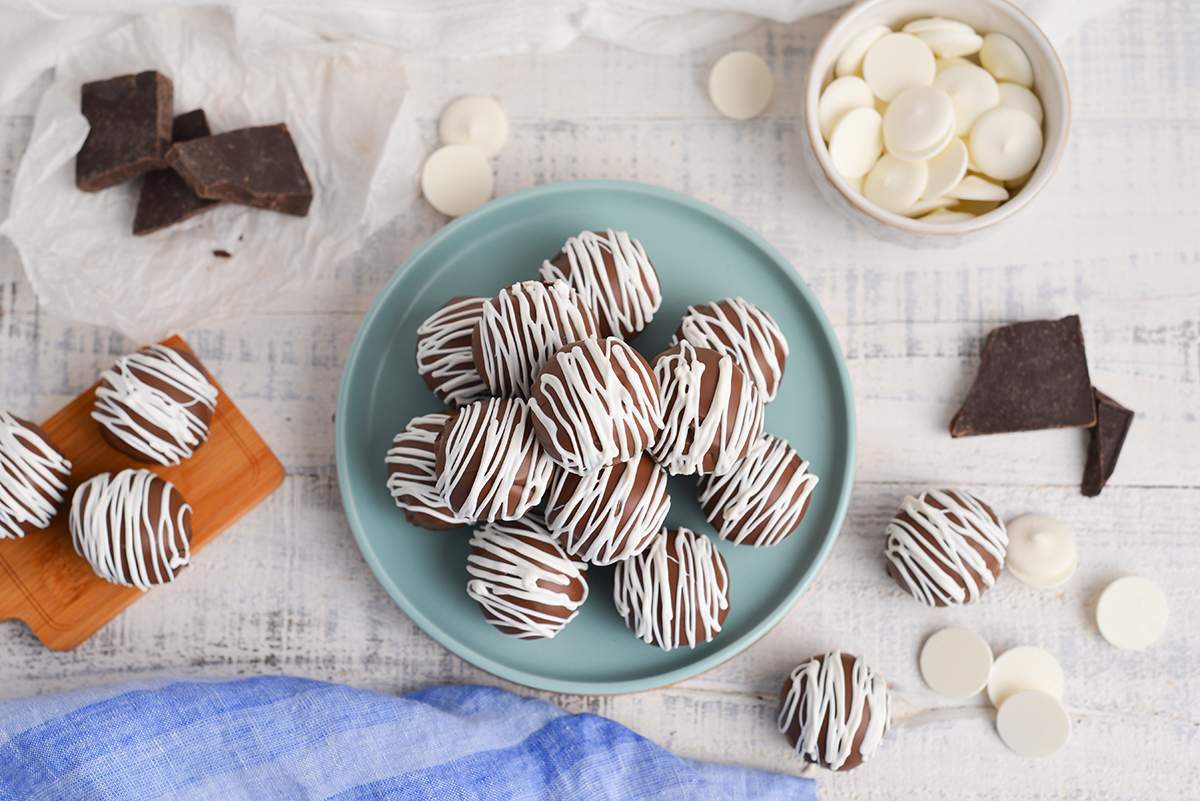
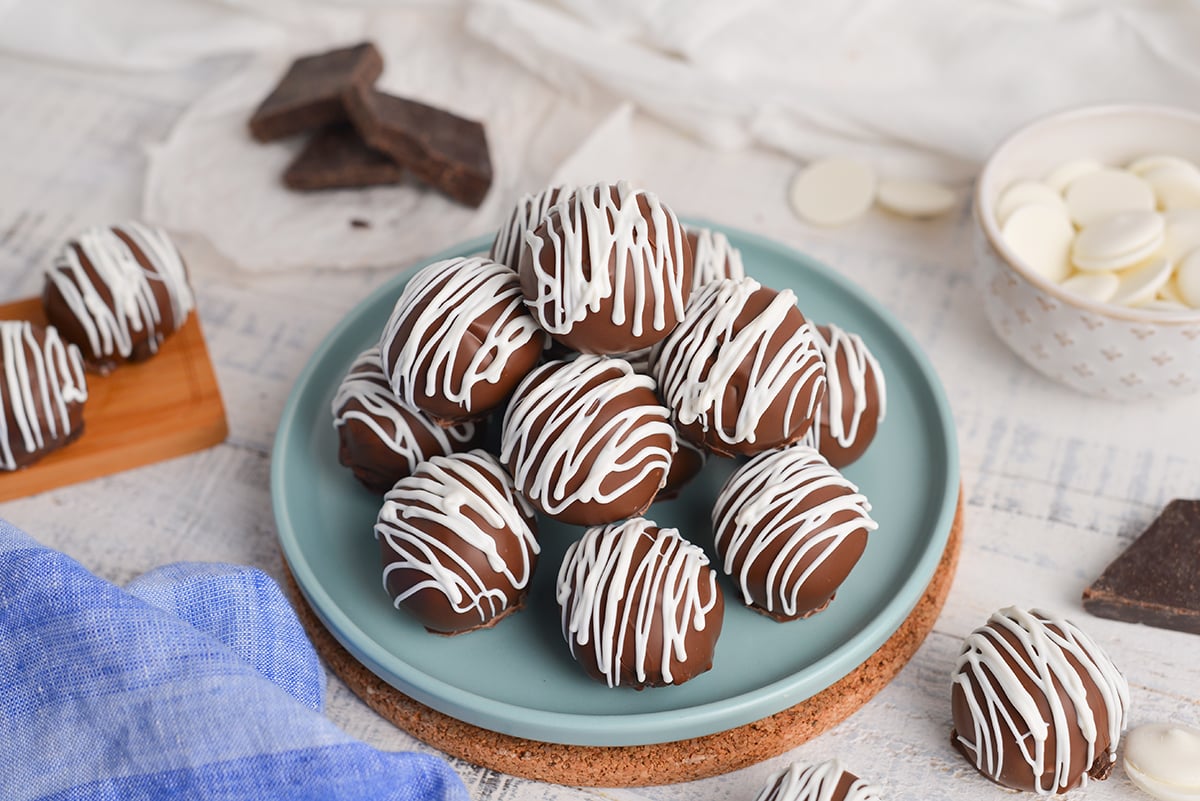
How to Decorate Your Cheesecake Balls
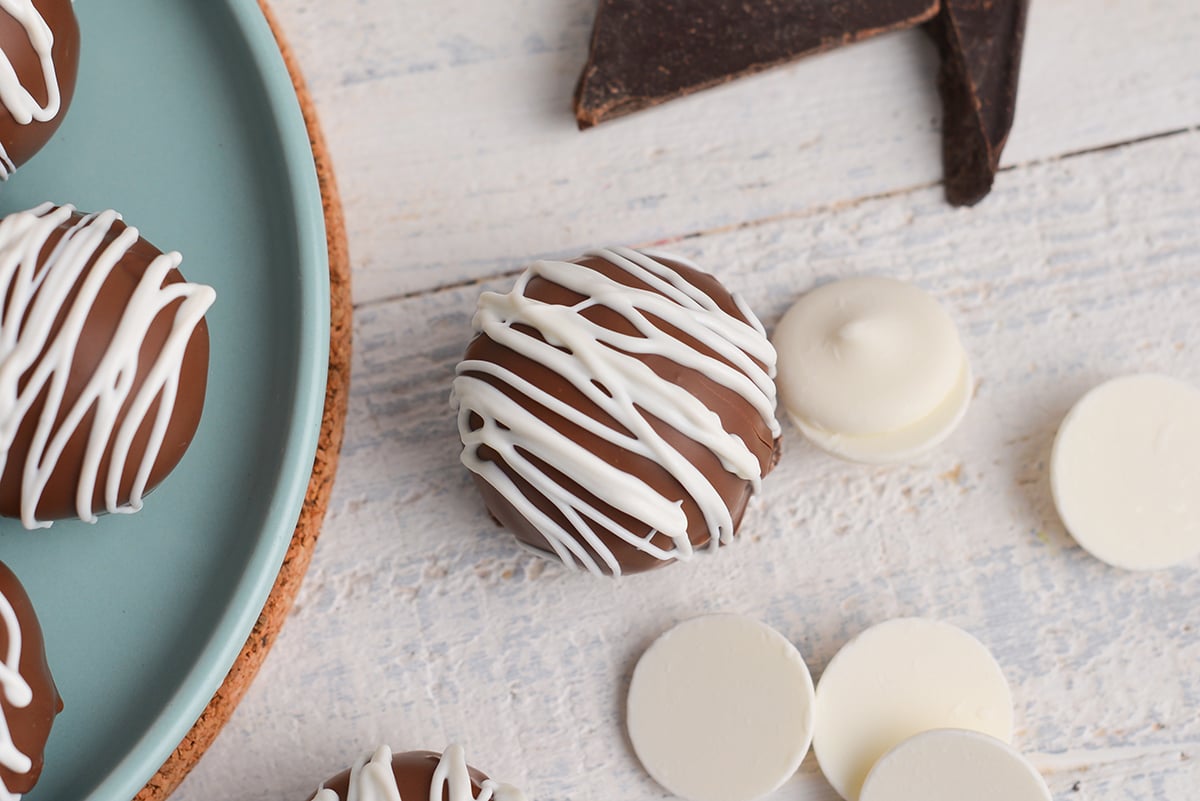
White Chocolate, Dark Chocolate, or Chocolate Sprinkles – All of these garnishes are optional but feel free to drizzle melted chocolate over top to take these bites to the next level. Sprinkles are also a great way to elevate these bites and add a bit of texture.
How to Heat Treat Flour
If we are all being honest with one another, most of you will not heat your flour. And I didn’t either… shhh, don’t tell! There are some things I am willing to roll the dice on and sushi, raw cookie dough, and cake mix are the lot of them.
But if you do want to go through this step, and as a responsible recipe creator I have to implore you to do so… so here is how you do it.
How to Heat Treat Cake Mix In the Oven: To heat treat cake mix in the oven, preheat the oven to 350°F (175°C) and spread the dry mix evenly on a baking sheet. Bake for 5-10 minutes, stirring occasionally, until the dry mixture reaches an internal temperature of 160°F. Allow the cake mix to cool completely before using.
How to Heat Treat Cake Mix in the Microwave: Microwaving cake mix is not recommended as it may alter the texture and flavor. But if you want to use this method, place dry mix into a microwave safe bowl and heat at 50% power for 30 seconds, stirring and repeating twice. Allow the cake mix to cool completely before using.
How to Make No-Bake Chocolate Cheesecake Bites
Between not needing to bake and only needing a handful of ingredients, these cheesecake minis couldn’t be easier to make!
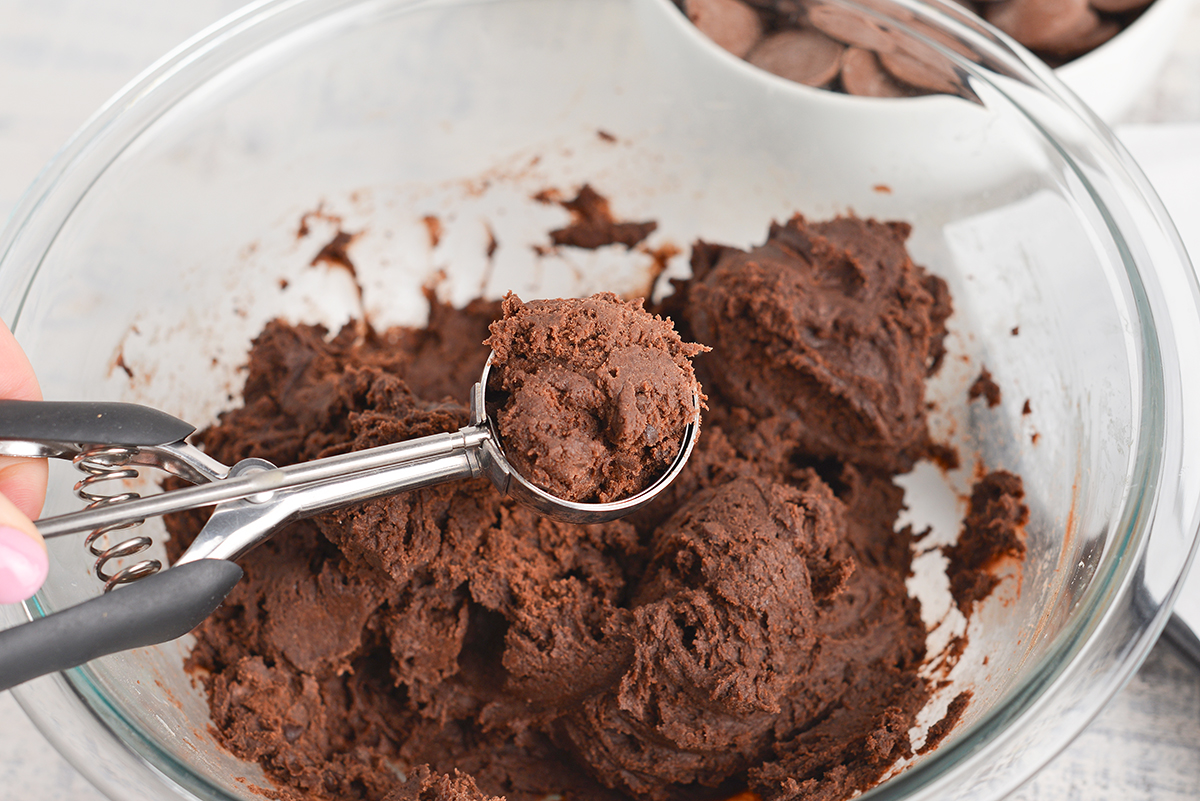
- Mix. Add the cream cheese to a large bowl of a stand mixer fitted with a paddle attachment (or use a large mixing bowl and a hand electric mixer or a food processor). Whip the cream cheese before adding the salt and vanilla extract and beating again.
- Add Cake Mix. Pour the cake mix into the cream cheese mixture and continue to beat until thick and smooth.
- Chill. Cover the bowl with plastic wrap and place in the refrigerator.
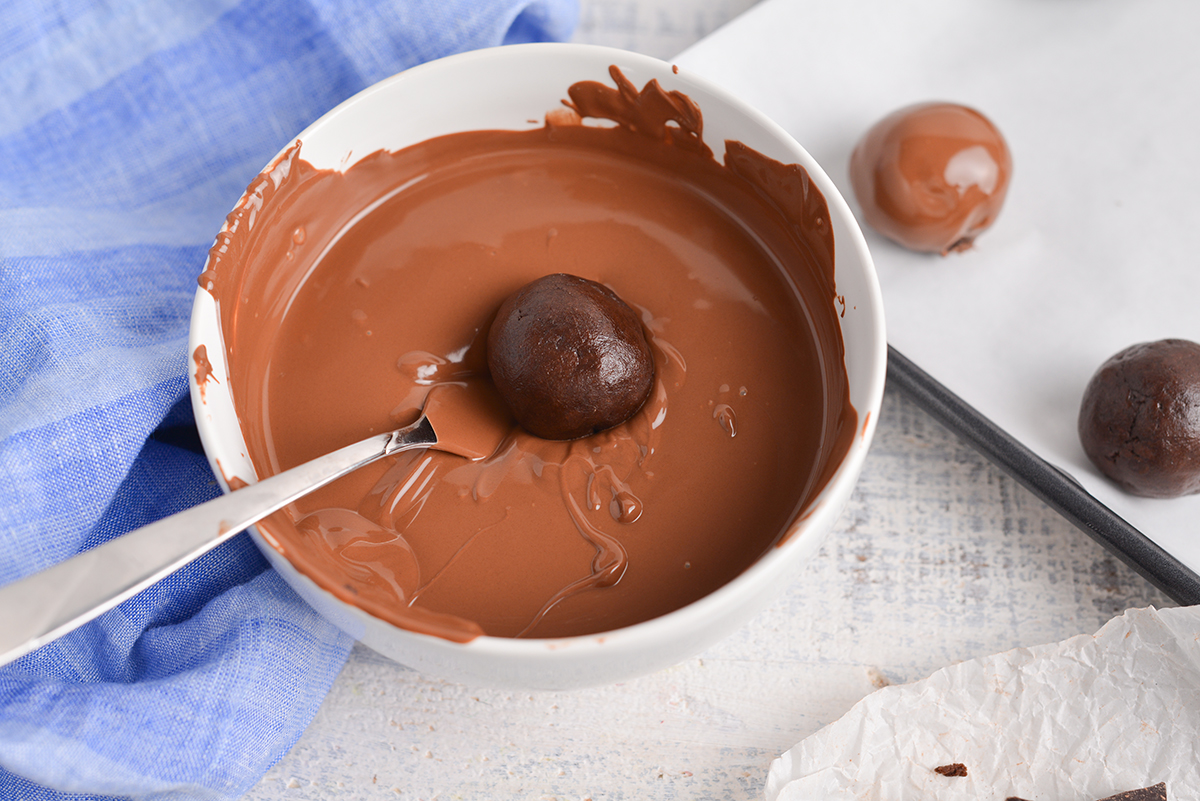
- Prepare The Chocolate Covering. In the microwave, or using a double boiler, melt the chocolate bark or wafers. If melting in the microwave, be sure to use a microwave-safe bowl.
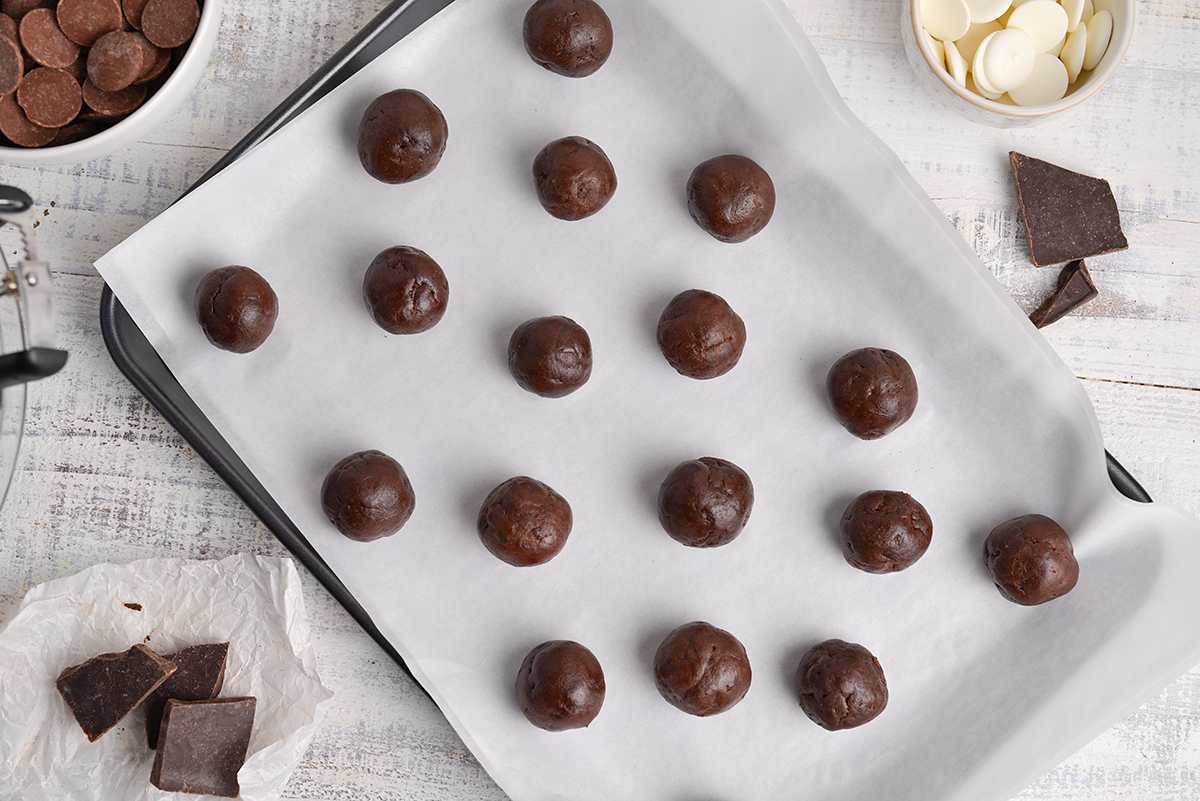
- Make The Bites. Use a cookie scoop to portion the cheesecake batter before piercing with a toothpick or fork and dipping it into the melted chocolate. Tap the bite on the bowl to remove excess chocolate. Place on the prepared cookie sheet or pan with parchment paper. Repeat until all of the cheesecake filling has been used.
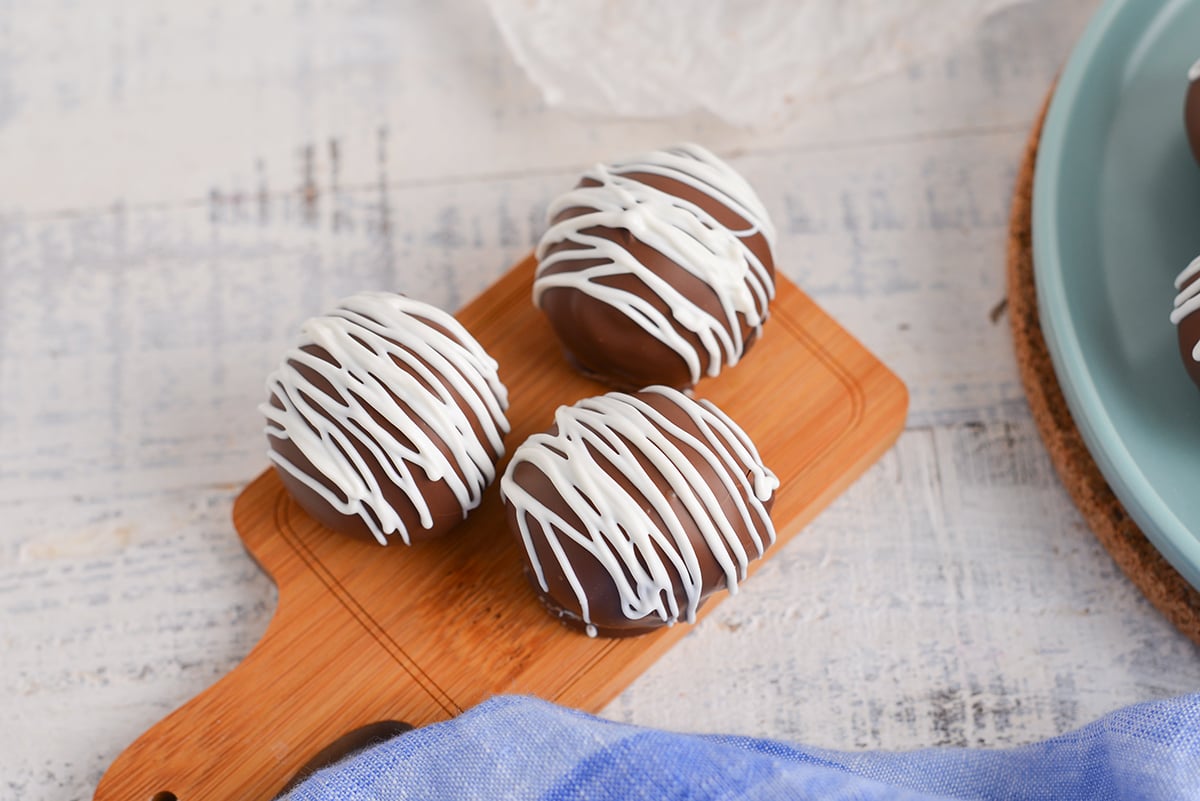
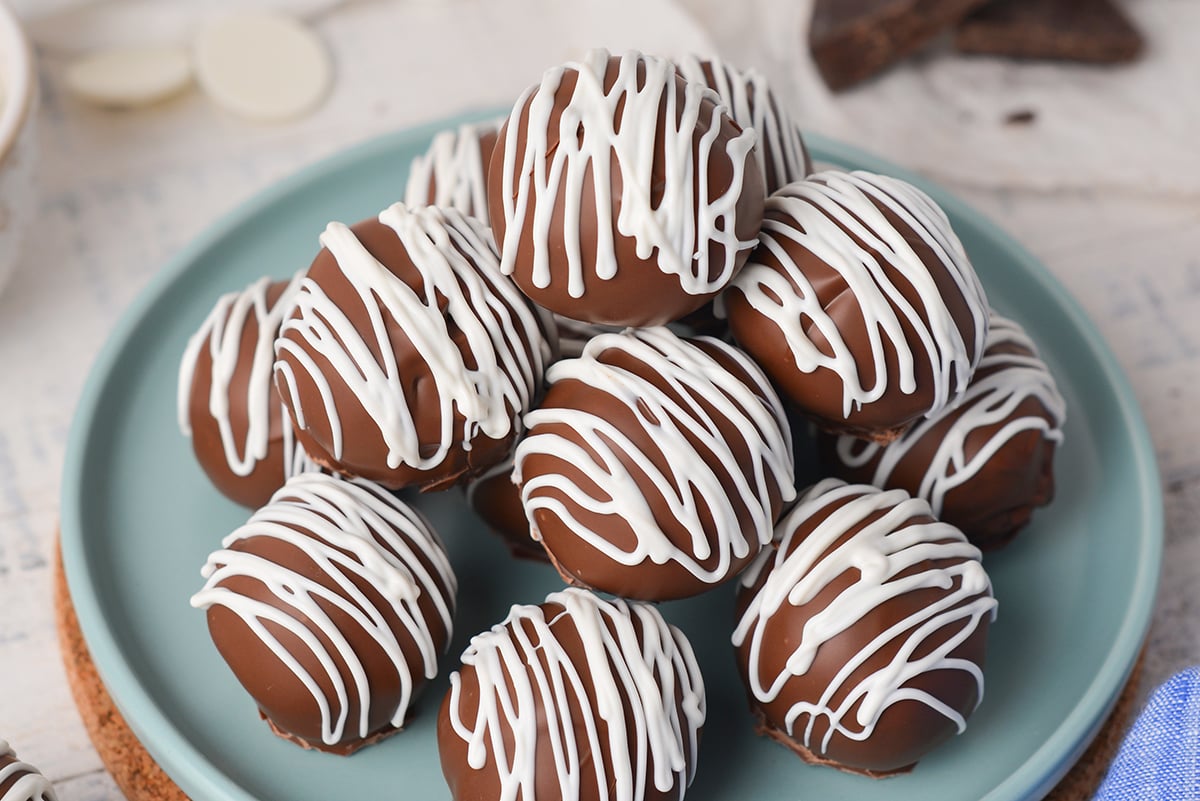
- Garnish. Add sprinkles while the chocolate is still warm or drizzle melted chocolate after finishing the coating on all of the bites and allowing the chocolate to set.
- Store. Place in an airtight container and place in the refrigerator.
What to Serve With No-Bake Chocolate Cheesecake Bites
Do you need to serve anything with these mini cheesecakes? Nope! They’re an incredible treat all on their own. Make them on a larger tray with our classic no-bake cheesecake bites, red velvet cheesecake bites and strawberry cheesecake bites.
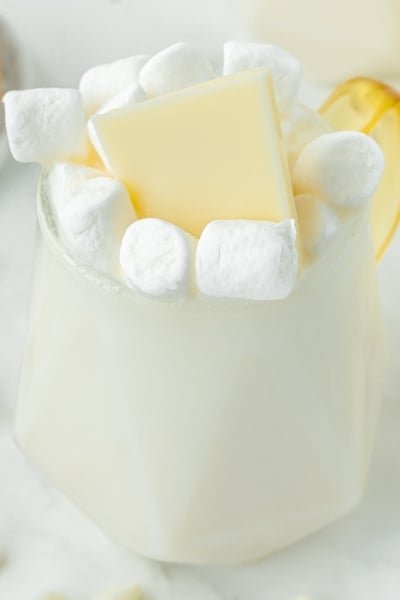
But if you do want something to enhance or complement these sweet little bites, we love dalgona whipped coffee or white hot chocolate. You can also try them with a side of vanilla bean ice cream or a dollop of homemade whipped cream.
Variations
You can switch up these delectable bites with any number of modifications to create your own sweet one-bite treats!
- Chocolate Chips – Add 1-2 tablespoons of milk chocolate chips, semi-sweet chocolate chips, or dark chocolate chips to your dough.
- Nuts – Add chopped walnuts, pecans, peanuts, or pistachios for nutty flavor.
- Sprinkles – Use colored sprinkles for a fun flair.
- Other Chips – Add peanut butter chips, caramel chips, or any others to change up the flavor.
- Garnish – Use other garnishes like crumbled graham crackers or Oreos. Or dust powdered sugar or cocoa powder over top.

Storage
Since these cheesecake bites do contain dairy, they’ll need to be refrigerated. Make sure to keep freshly made bites as well as leftovers in the fridge.
Can These Be Make Ahead?
You can make the filling ahead of time and chill it in the refrigerator for up to 24 hours before dipping it in chocolate.
How to Store Cheesecake Bites
Keep these bites in the fridge for three to five days in an airtight container or a resealable plastic bag.
Can I Freeze Them?
Freeze the bites for up to 3 months in a resealable freezer bag or freezer-safe container.

Answers to Commonly Asked Questions
It’s like we know how to read your mind…
Fillings for no-bake cheesecake recipes will get firm in the fridge. You can take just a couple hours, but up to 6 hours is ideal.
The temperature of the ingredients is important. For no-bake cheesecake to be perfectly set, you’ll need to start with room temperature ingredients, but ensure that they are not too warm.
If you’ve frozen cheesecake bites, don’t worry that you won’t be able to enjoy them immediately. You can eat them right out of the freezer. But if you prefer them to be softer, place in the fridge overnight to thaw.

More Chocolatey Treats
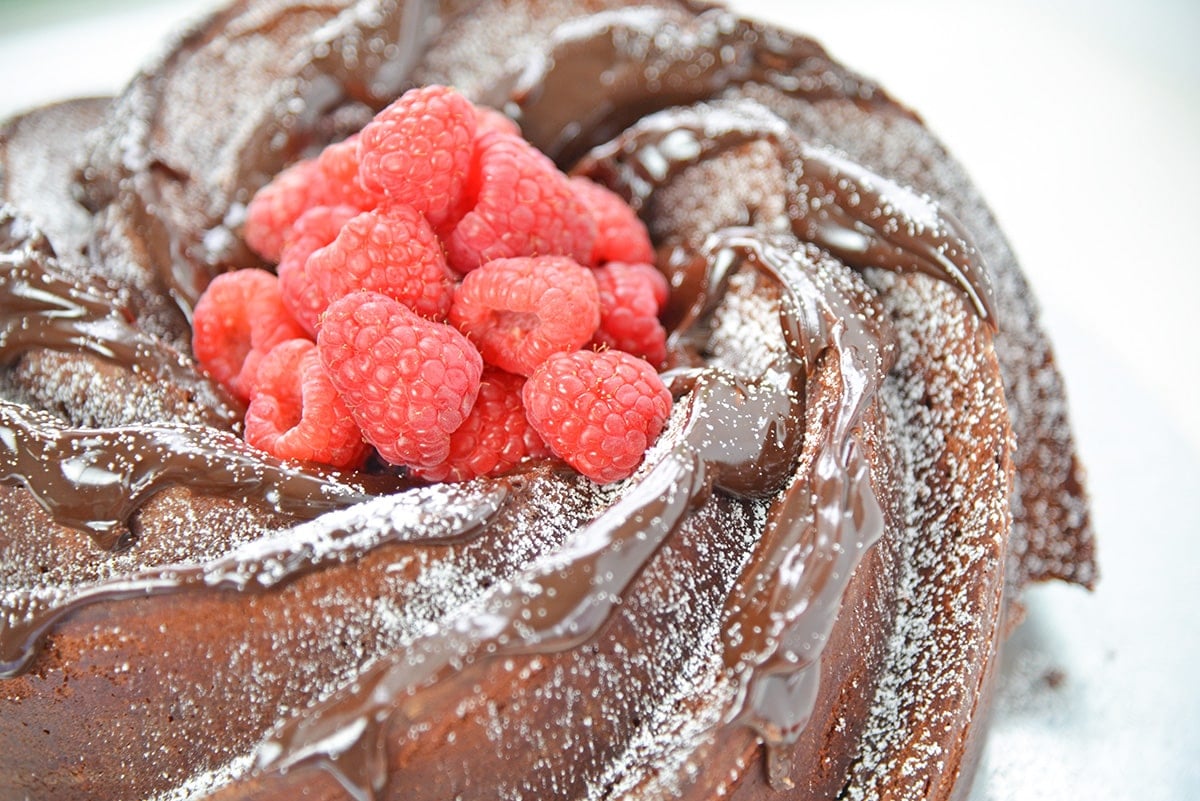
Chocolate Bundt Cake
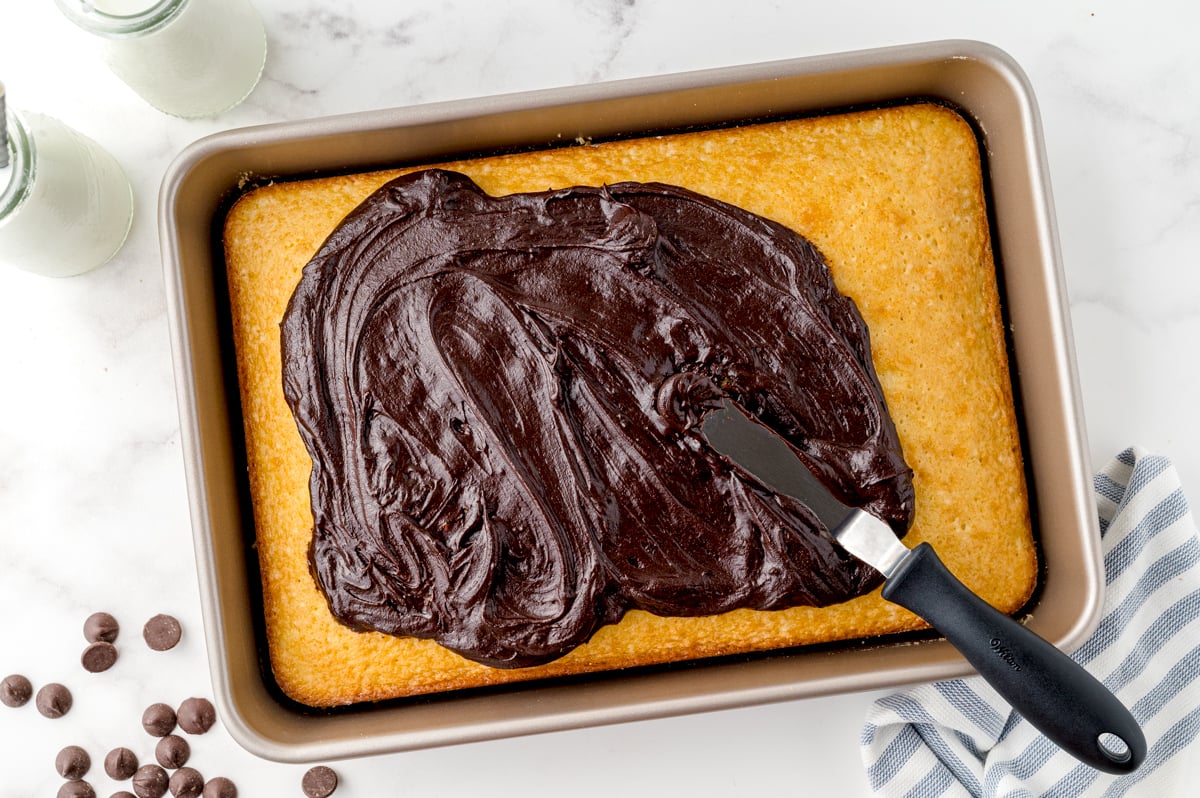
Chocolate Fudge Frosting Recipe
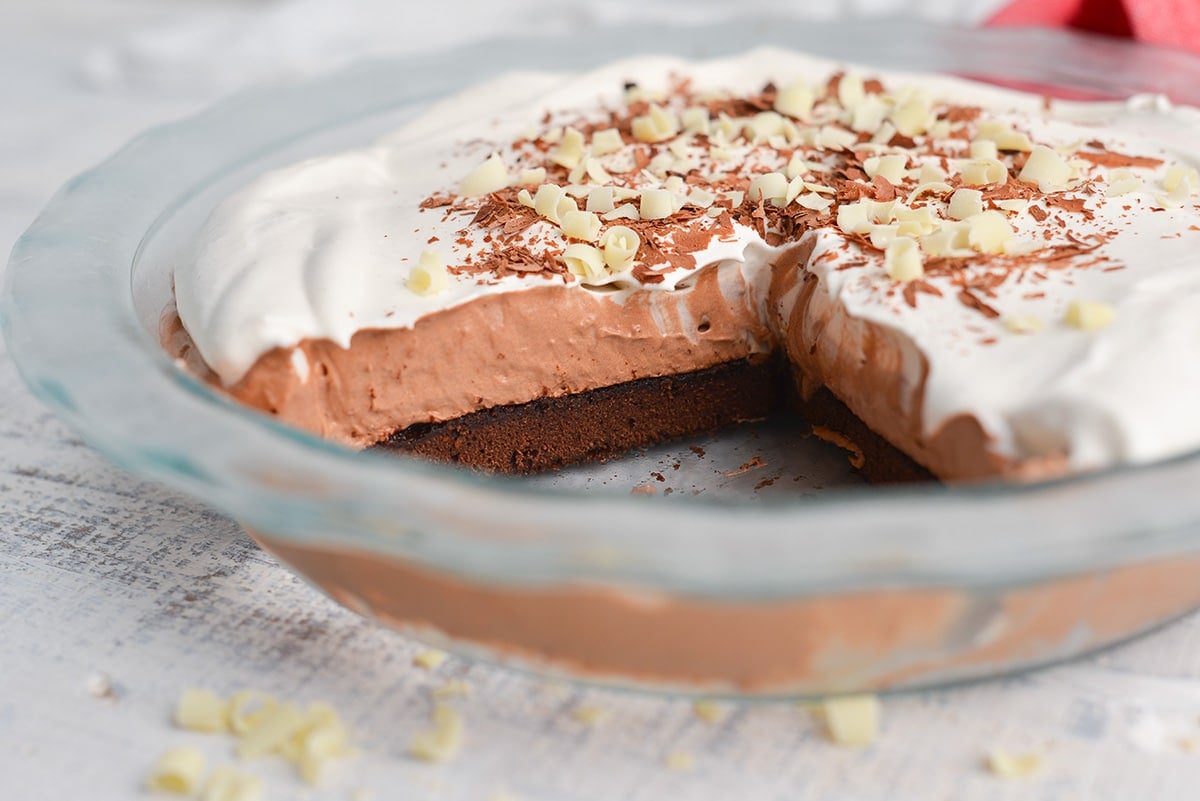
Chocolate Cream Pie Recipe
Chocolate Cheesecake Bites Recipe
Equipment
Ingredients
Chocolate Cheesecake Bites:
- 8 ounces cream cheese , softened
- 1 teaspoon fine sea salt
- 1 teaspoon clear vanilla extract
- 13.25 box chocolate cake mix
- 12 ounces chocolate almond bark or melting wafers
Decoration:
- white chocolate , optional
- dark chocolate , optional
- chocolate sprinkles , optional
Instructions
- In a large mixing bowl using an electric hand mixer or the bowl of a stand mixer fitted with the paddle attachment, beat the cream cheese until smooth. Add the salt and vanilla extract until combined.
- Add the dry cake mix and continue to beat until smooth. The mixture will be very crumbly, but will come together eventually and be smooth, but thick.
- Cover and chill for at least 2 hours, but preferably overnight.
- Line a baking sheet with parchment paper. Set aside.
- At 30 second intervals, melt the chocolate almond bark, stirring between each until smooth. Alternately, use a double boiler.
- Using a 1 tablespoon cookie scoop, make a ball of the dense dough. Using a toothpick or fork, dip this into the melted chocolate, tapping on the side to smooth and shake off excess, then gently place onto the parchment paper.
- If adding sprinkles, top while the chocolate is still tacky. Repeat with remaining dough.
- Allow the chocolate to set and then, if desired, drizzle with more melted white or dark chocolate. To set faster, chill for 10-15 minutes.
- Store in an airtight container in the refrigerator until ready to serve. Store leftovers chilled as well.
- If you’ve tried this recipe, come back and let us know how it was in the comments or star ratings.
Notes
Nutrition


I love how easy this is! It will surely quench my chocolate craving! Bookmarked to make this weekend!
I made these with my daughter. They turned out perfect. I loved the touch of salt to bring out the flavor
Bite-sized chocolate cheesecake that I don’t have to bake? You know I’m all in on this!
Delicious! I made this with regular vanilla because that’s what I had on hand — is there a reason you recommend clear vanilla over pure vanilla extract? I could see if we wanted to maintain a white color, but since these are already brown I’m unsure.
I can’t wait to make these. I mean, I’ve never seen cheesecake bites before, so I am pretty excited!