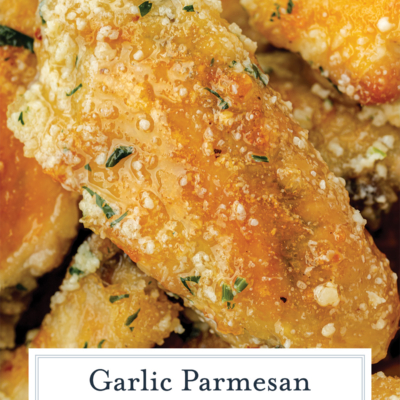
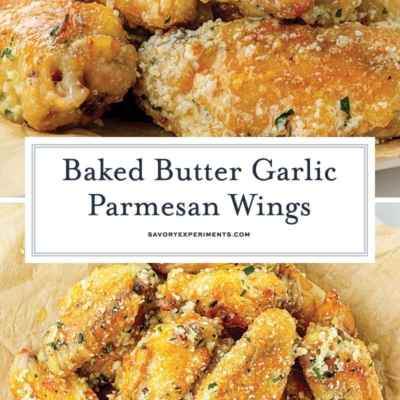
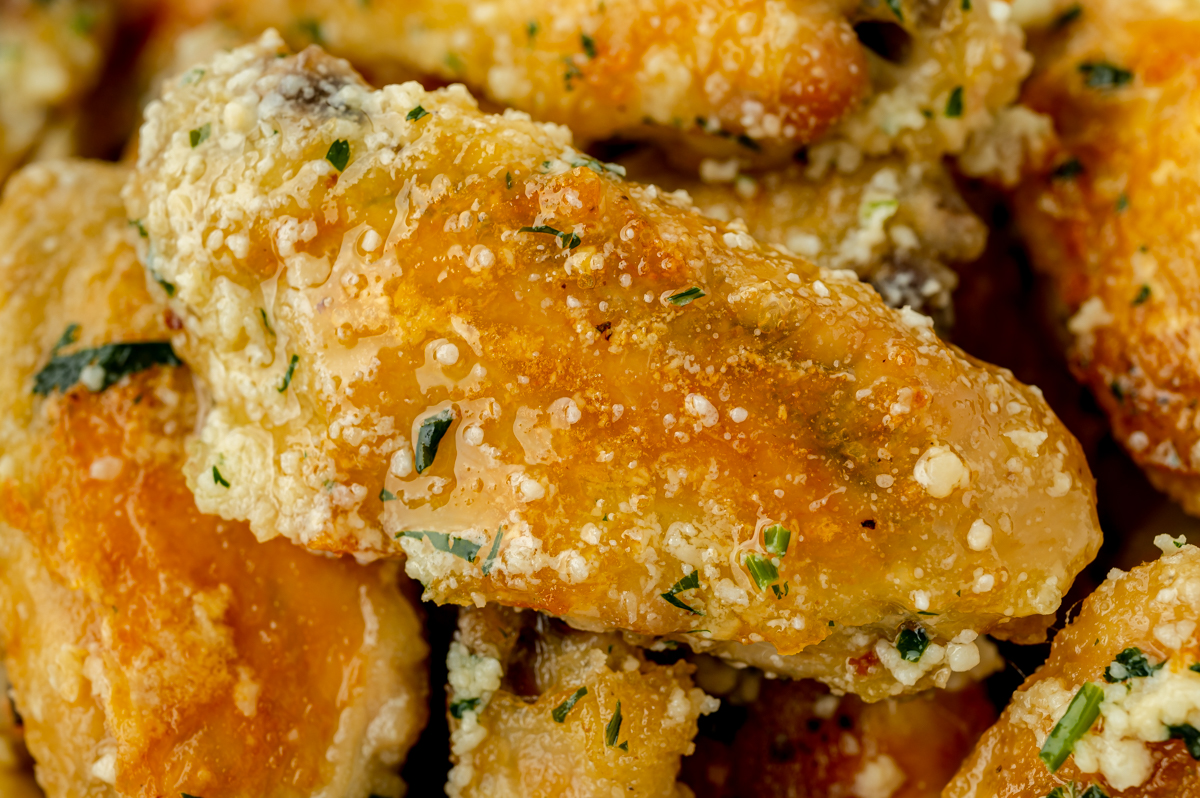
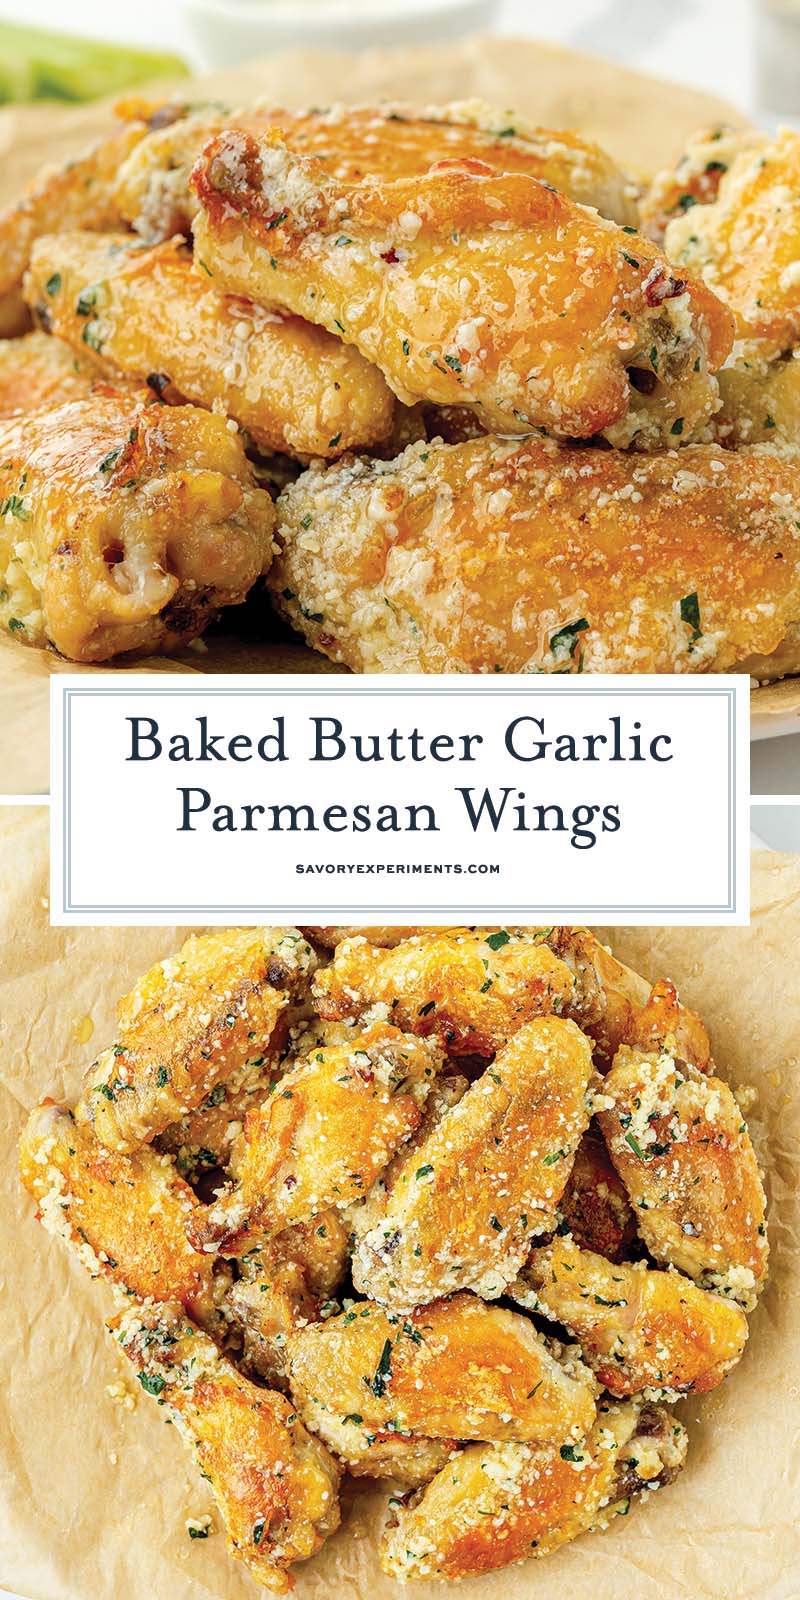
These garlic parmesan chicken wings deliver shatter-crisp skin and a rich buttery garlic-parsley parmesan finish—no deep fryer needed. A simple cornstarch spice rub and quick broil lock in crunch while the warm sauce melts into every nook.

Why You’ll Love This Recipe
Crispy wings that you don’t have to fry and also pack a big flavor punch. They are finger-licking good.
- Pantry ingredients and minimal cleanup – Chances are, you have most of the ingredients you need to make these already in your kitchen.
- Oven-baked, not fried – Even though we bake these wings instead of frying them, we still get ultra-crispy wings.
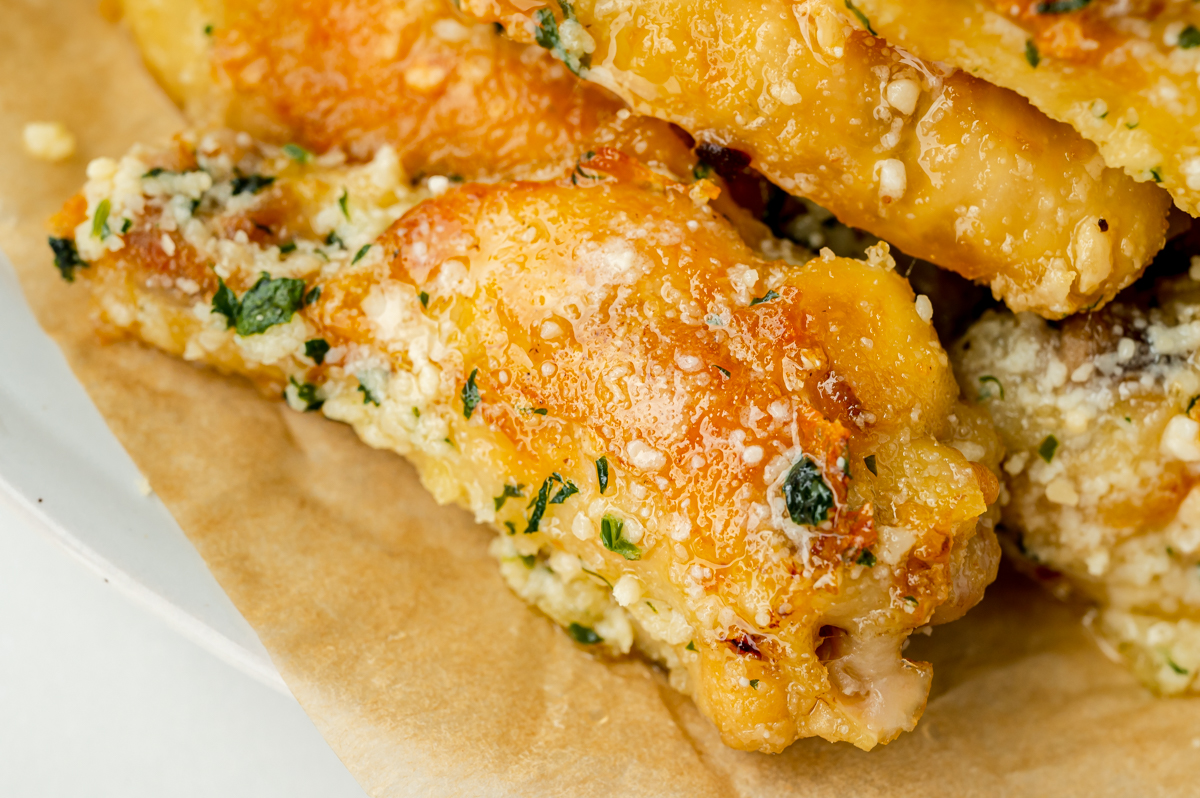
- Big garlic-parm flavor – It’s like a flavor explosion in your mouth from the warm butter sauce. This sauce clings to the wings instead of just running off.
Gather This
These garlic parmesan chicken wings only require a few basic ingredients and spices. A full list of ingredients with measurements for this recipe is available in the printable recipe card below.
- Chicken wings – I like to use a combination of drumettes and wings, but choose which you like best. If you buy wingettes, you’ll have to trim them yourself. Make sure they are very dry. Follow my tips below on how to do that.
- Shaker Parmesan Cheese- While I am generally against shaker cheese (or any cheese that is shelf stable) this is one recipe where it actually works better for traditional texture and flavor.
- Cornstarch
- Garlic powder
- Onion powder
- Ground black pepper
- Red pepper flakes
- Unsalted butter
- Fresh garlic
- Flat parsley
- Coarse kosher salt
How to Make Garlic Parmesan Chicken Wings (Step-by-Step)
Making these wings couldn’t be easier! Just follow these simple steps.
- Prepare oven and baking sheet. Preheat the oven and line a large rimmed baking sheet with parchment paper for easy clean up. Set aside.
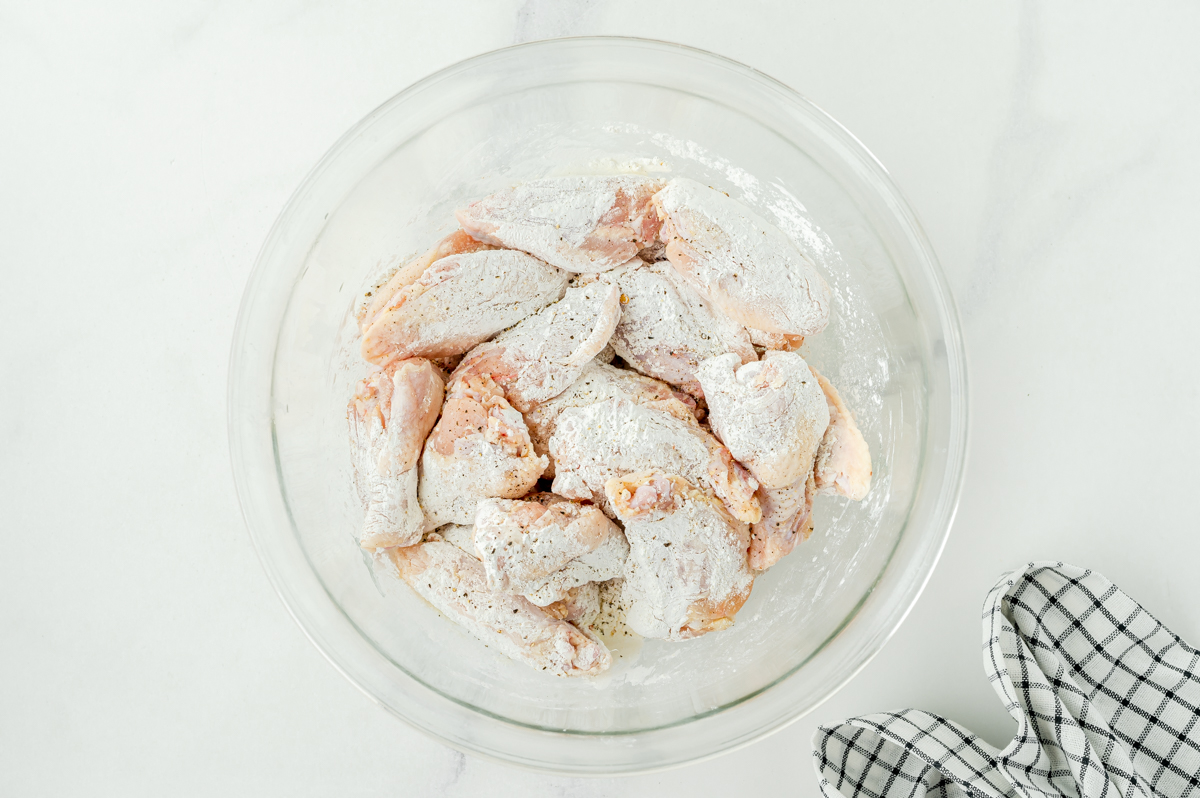
- Dry wings. Pat the chicken wings dry using a paper towel. Press and blot any excess liquid from the skins.
- Toss wings in seasonings. In a medium mixing bowl combine the cornstarch, garlic powder, onion powder, coarse kosher salt, ground black pepper and red pepper flakes. In two batches, toss the chicken wings in the cornstarch mixture, tapping off any excess. Arrange in a single layer on the prepared baking sheet. Continue with the second batch.
- Bake the chicken wings, turning wings half way through, until an internal temperature of 160°F. Chicken will come up to the target temperature of 165°F during carryover cooking.
- Broil. Set the oven to broil and place the wings under broiler for a few minutes per side. Watch closely so they do not burn, this varies greatly by oven.
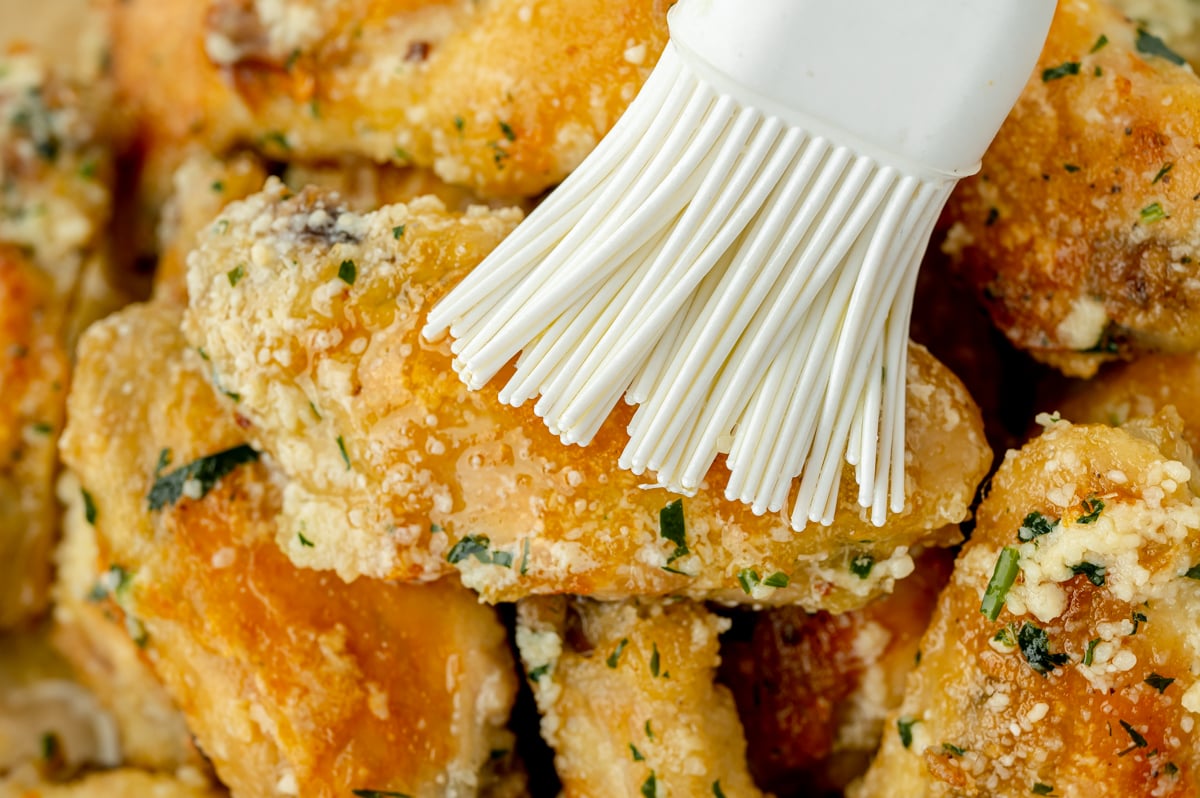
- Combine sauce ingredients. In a small saucepan, combine the butter, fresh garlic, flat parsley and coarse kosher salt.
- Add cheese. Stir until melted and then remove from the heat allow to cool slightly before stirring in the shaker parmesan cheese.
- Toss wings in sauce. Remove wings from the oven and allow them to rest for 5 minutes- this let’s the temp come up and the team to release to capture the crunch you worked so hard for. Toss in the garlic parmesan sauce in a large mixing bowl OR drizzle the sauce over on a serving platter.
Tips for Making Crispy Baked Chicken Wings
You want that deep fried crispy texture so make sure to follow these easy tips for the perfect crispy wings:
- Dry the Wings: I like to pat a paper towel on wings to absorb any extra liquid. I find the better you dry the wings the more crispy they become.
- Toss in Corn Starch: The cornstarch will naturally absorb liquid, but hopefully your wings are dry that the cornstarch will coat the wings and still have a nice white coat on them. This also helps the sauce stick and then to a perfectly silky garlic butter sauce.
- Oven Temperature: 400°F. A nice hot oven makes a difference. Let your oven preheat before baking for the perfect golden brown. Seasoning the wings while baking gives the meat flavor, but adding the sauce after prevents it from burning and packs and garlic-forward punchy flavor.
- Cookie Sheet or Baking Rack: Cook on Baking Sheet or Baking Rack. I like to line cookie sheet with parchment paper for easy clean up. Shallow rims (opposed to a deeper baking dish) ensure that your wings don’t steam and get mushy.
- Don’t Over Crowd: Leave space in between each wing. This allows heat to reach everywhere and makes for the best crispy baked chicken wings.
Chef Tip
Cornstarch is your crispy wing cheat code. It soaks up surface moisture and forms a thin, dry coating that bakes into a crackly shell- kind of like the world’s lightest armor for your chicken skin. Then the quick broil at the end is basically a mini heat blast that dries and browns the skin fast, giving you that fried-style snap without dunking anything in oil.
Pro move: Pat wings really dry, don’t crowd the pan, and broil just until the skin turns deeply golden- then sauce right before serving so you don’t steam away your crunch.
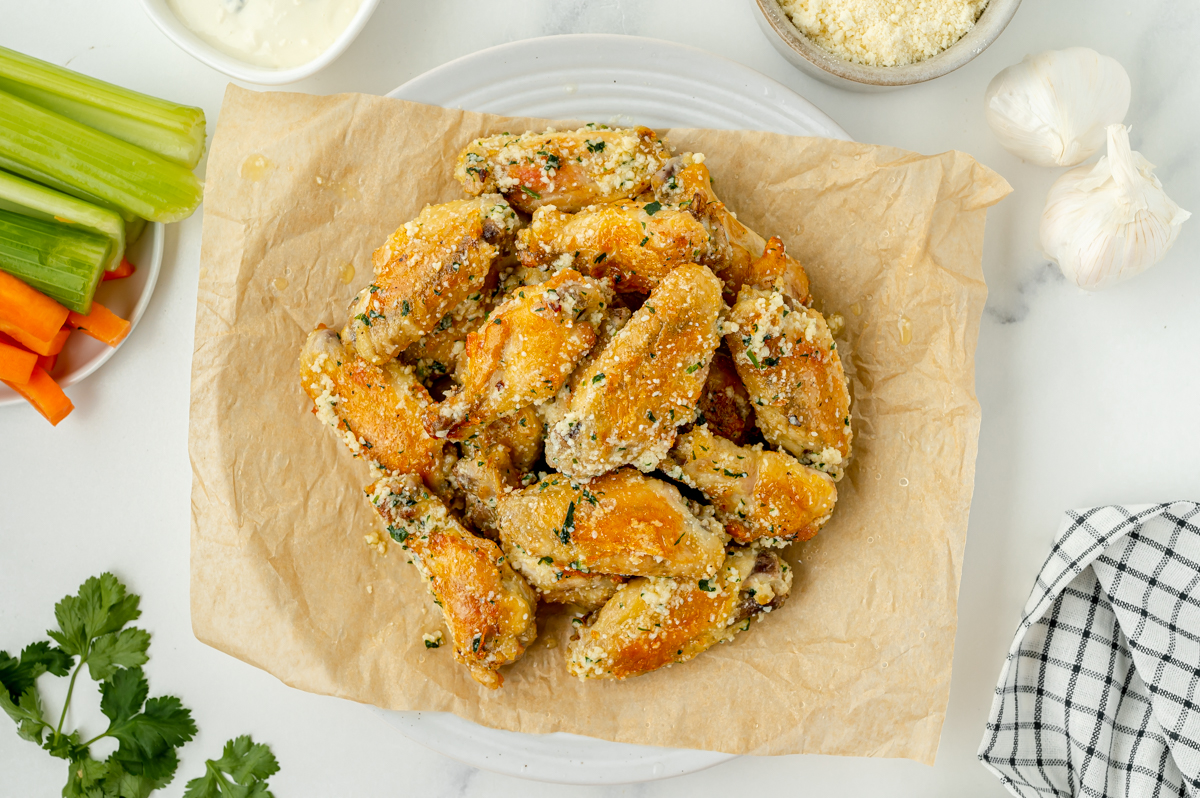
Perfect Pairings
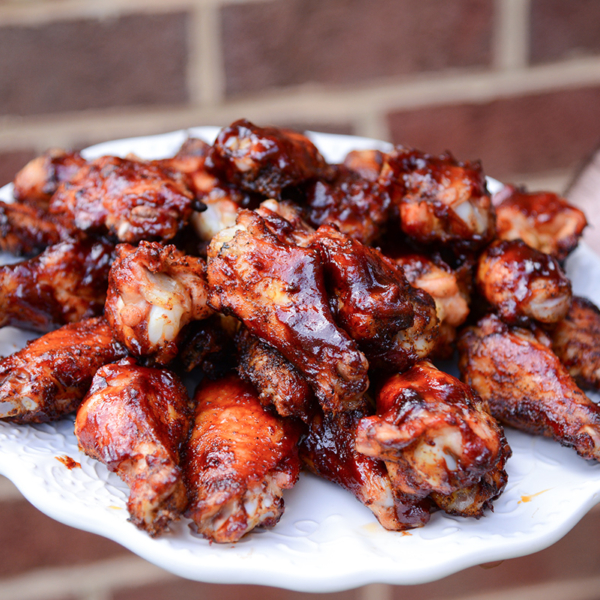
I often make them alone or even beside buffalo wings for those who don’t want ALL the heat. Also a great addition to an app platter with stuffed jalapenos and soft pretzel bites.
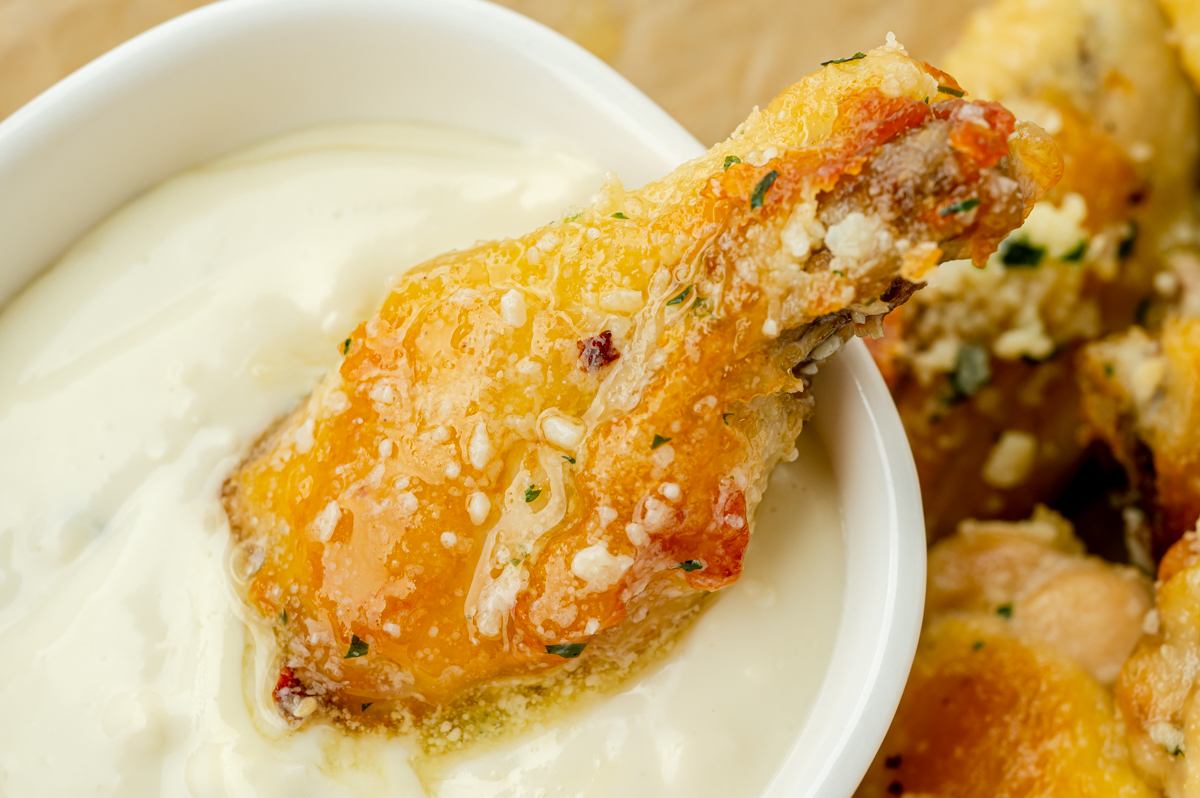
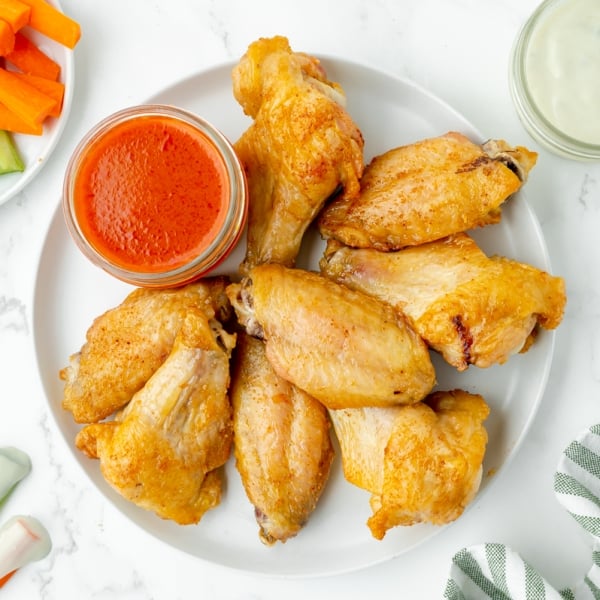
It’s super important to serve dipping sauces with your homemade crispy chicken wings. I love ranch as a dipping sauce, so it’s always a welcome sauce.
You can also make extra garlic parmesan sauce for dipping. However, for Garlic Parmesan Chicken Wings I also love to dip in:
More Chicken Appetizers
Chicken doesn’t have to be boring! Here are some of our favorite chicken appetizers.


Baked Garlic Parmesan Wings Recipe
Ingredients
Chicken Wings:
- 18-24 chicken wings , drums and flats
- 4 tablespoons cornstarch
- 1 tablespoon garlic powder
- 2 teaspoons onion powder
- 1 teaspoon coarse kosher salt
- ½ teaspoon ground black pepper
- ½ teaspoon red pepper flakes optional
Parmesan Garlic Sauce:
- 1/2 cup unsalted butter
- 2-3 cloves fresh garlic , minced or crushed
- 2 tablespoon flat parsley , chopped
- 1/2 teaspoon coarse kosher salt
- 1/3 cup shaker parmesan cheese*
Instructions
- Preheat the oven to 400°F. Line a large rimmed baking sheet with parchment paper for easy clean up. Set aside.
- Pat the chicken wings dry using a paper towel. Press and blot any excess liquid from the skins.
- In a medium mixing bowl combine the 4 tablespoons cornstarch, 1 tablespoon garlic powder, 2 teaspoons onion powder, 1 teaspoon coarse kosher salt, ½ teaspoon ground black pepper ½ teaspoon red pepper flakes. In two batches, toss the chicken wings in the cornstarch mixture, tapping off any excess. Arrange in a single layer on the prepared baking sheet. Continue with the second batch.
- Bake the chicken wings for 40-50 minutes, turning wings half way through, until an internal temperature of 160°F.
- Set the oven to broil and place the wings under broiler for 2-3 minutes per side. Watch closely so they do not burn, this varies greatly by oven.
- Remove from the oven and allow to rest for 5 minutes. Chicken will come up to the target temperature of 165°F during carryover cooking.
- Toss in the garlic parmesan sauce in a large mixing bowl OR drizzle the sauce over on a serving platter.
Garlic Parmesan Sauce:
- In a small saucepan, combine the 1/2 cup unsalted butter , minced or grated 2-3 cloves fresh garlic, 2 tablespoon flat parsley and 1/2 teaspoon coarse kosher salt .
- Stir until melted and then remove from the heat allow to cool for 3-4 minutes before stirring in the 1/3 cup shaker parmesan cheese*
- If you've tried this recipe, come back and let us know how it was in the comments or ratings.
Notes
Nutrition


These were great- I’d totally make them again!
I love the texture that the corn starch brings to the outside of the wing. Wonderful!
I love love love chicken wings! These look so crispy and delicious, I can’t wait to try them, and I love that I don’t need to deep fry them!
These wings looks delicious and perfect for game day. I have been looking for a great crispy baked wing and this recipe looks perfect. I love the flavor and think my family would like it too.
I love wings, but sometimes they’re so messy! These garlic parmesan wings look like just the perfect wing without all the messy sauce. I love this flavor combination.
Thank you for the step by step photos ! Made this recipe very easy to follow along. So delicious, will be making again!