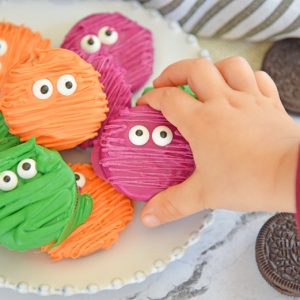
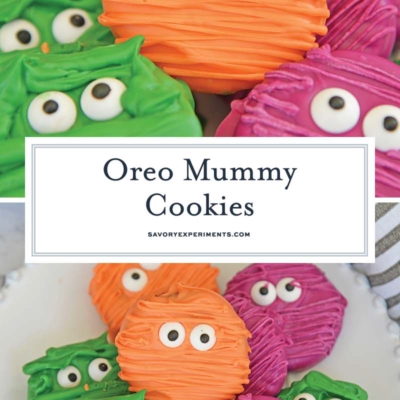
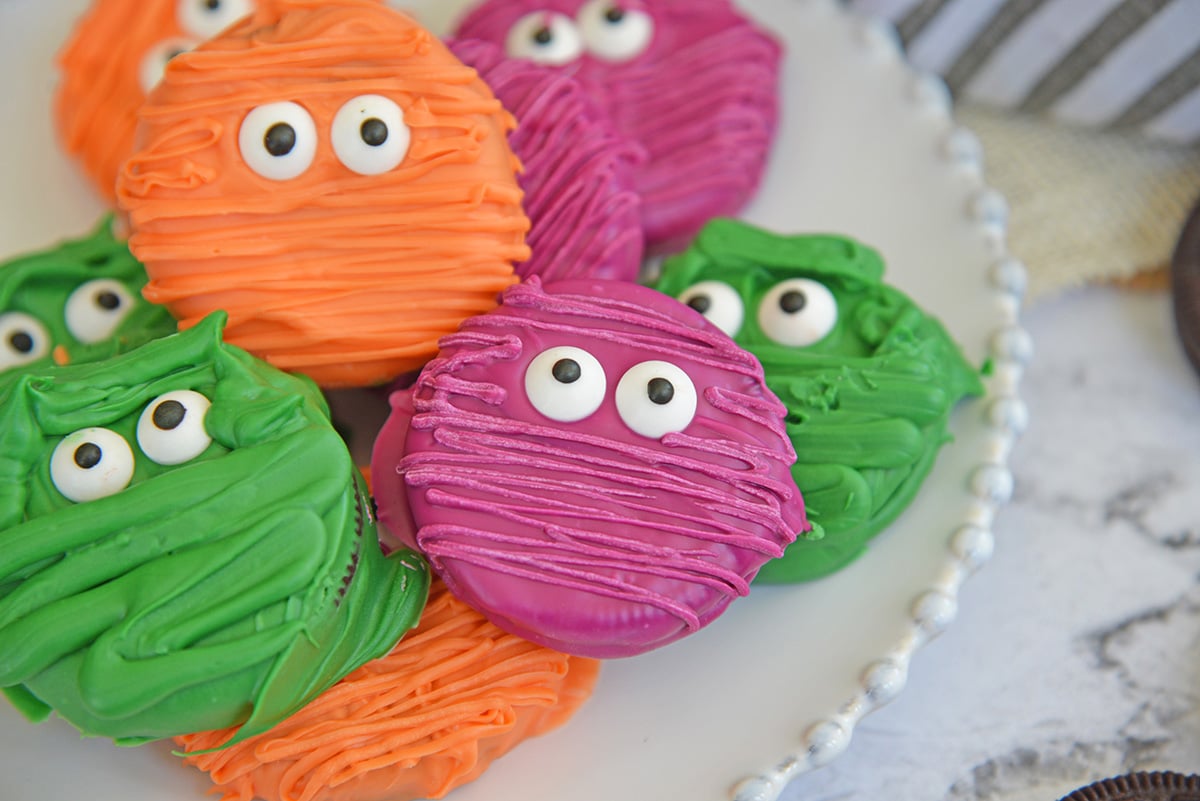
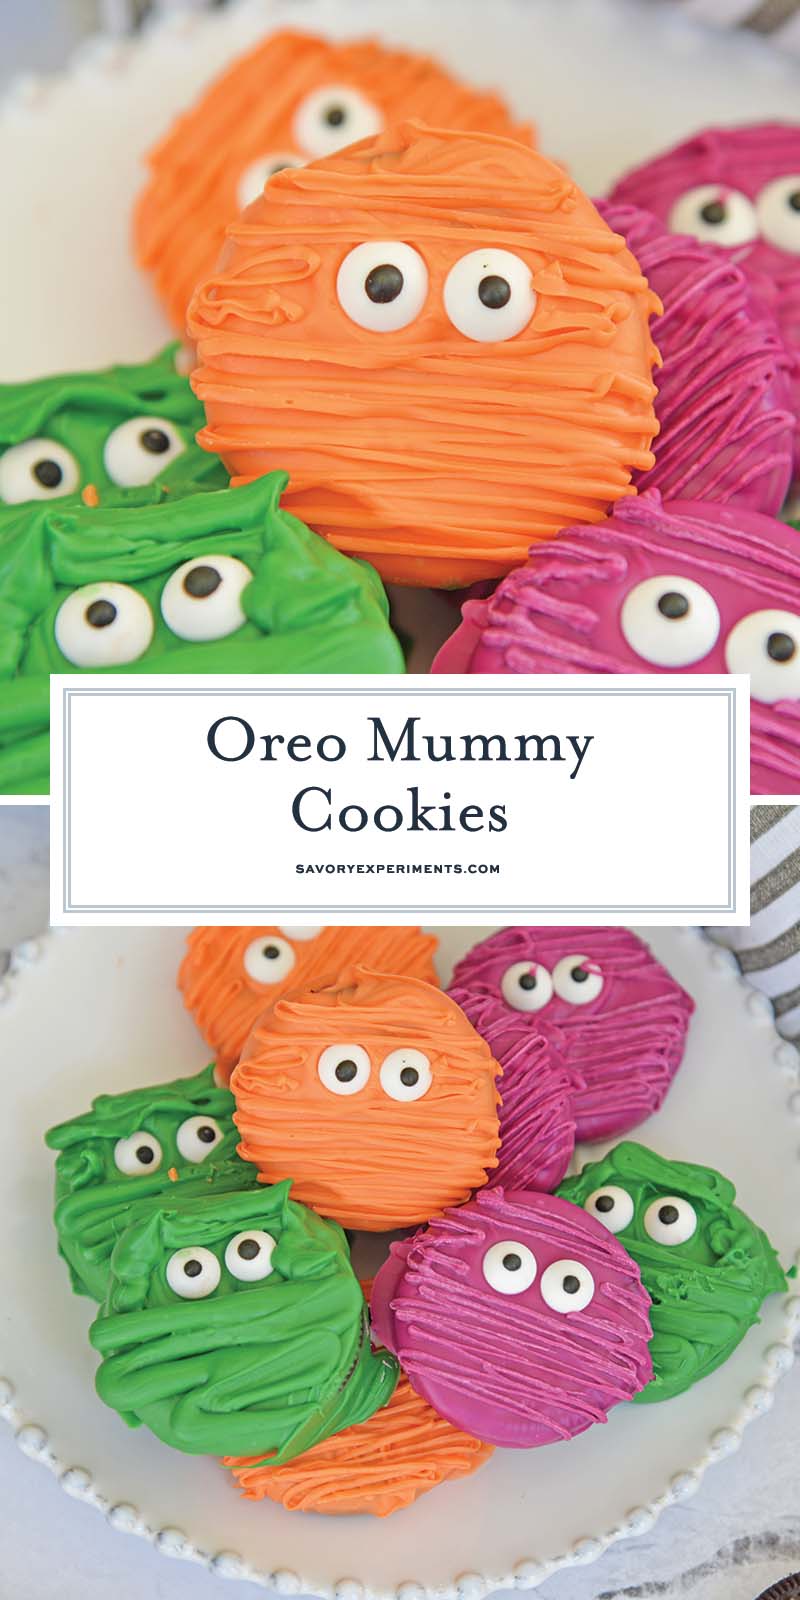
Spooky-cute and no-bake, these Oreo mummy cookies come together with just 3 ingredients—dip in melting wafers, add candy eyes, and drizzle on mummy bandages. Perfect for Halloween parties or classroom treats.
Gather This
With only three simple ingredients, you’re well on your way to making these Oreo mummy cookies. A full list of ingredients with measurements for this recipe is available in the printable recipe card below.
- Oreo cookies – I like my cookies to be round, and everyone likes an Oreo! But check the section below for more cookie suggestions.
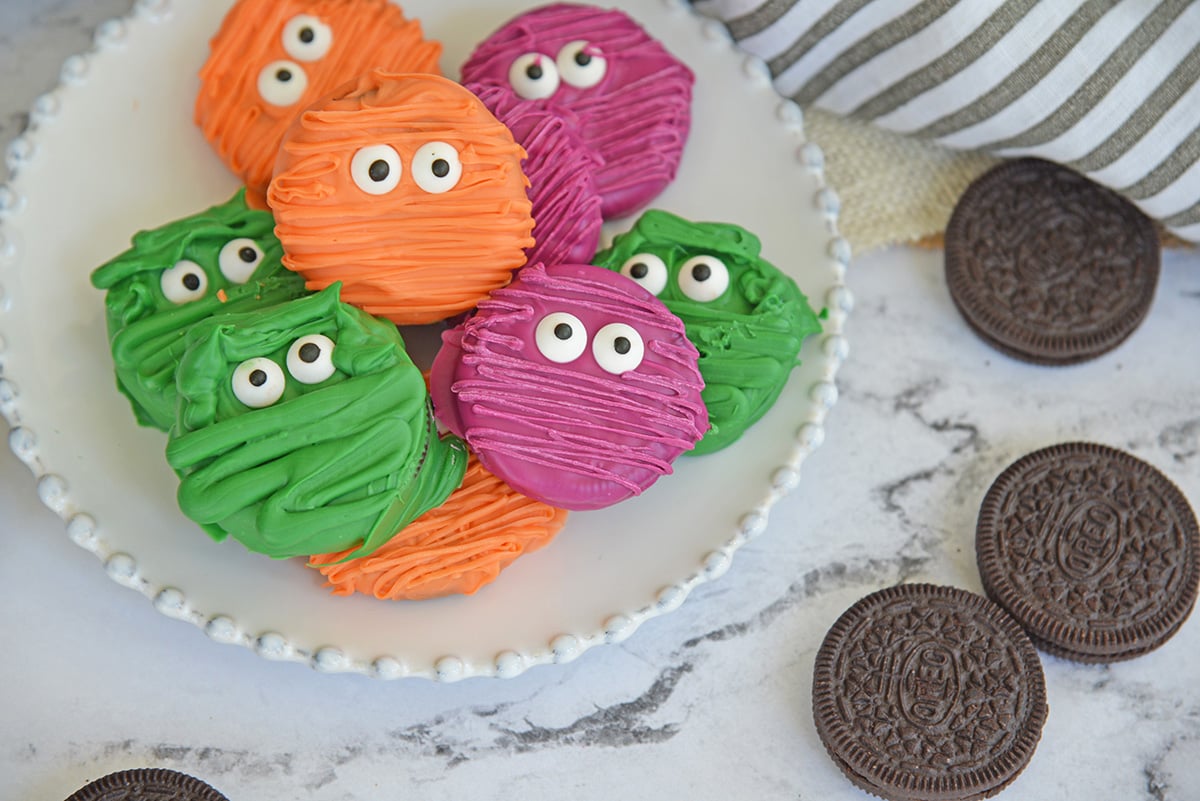
- Chocolate melting wafers – The traditional mummy is white, but I wanted to make mine more fun with assorted Halloween colors.
- Candy eyeballs – These are usually easily found down the baking aisle of any grocery store or craft store.
Tips for Melting Chocolate
Before you get started on your oreo mummy cookies, make sure you read my tips on melting chocolate and read the instructions of the type you are using.
I use Candy Melts most frequently. It is already tempered and melts evenly. I’ve never had an issue with it seizing, however some colors tend to be a smoother melt that others.
You can also just use white chocolate chips and add 1 teaspoon of vegetable shortening to the mix so it is dippable. Here are a few more tips for melting chocolate:
- Optimal temperature – You need the optimal temperature to make sure your chocolate melts to a silky-smooth consistency, don’t do it over high heat, keep it at medium.
- Double boiler method – Skip the microwave and use a double boiler. The microwave heats too fast and too hot. Don’t fully boil the water in your double boiler. Get it hot enough to melt the chocolate, but not to a rolling boil.
- If using microwave – If you do need to use the microwave, use it at 50% power or defrost mode and go slow, 15 second intervals.
- Revive it – You can try to revive clumpy chocolate by adding 2 teaspoons of vegetable shortening, but sometimes you are better off just starting over.
Perfect Pairings
Serve these oreo mummy cookies on a platter for Halloween parties, use them in goodie bags or even put them on top of your favorite Halloween cake, cupcake or a bowl of ice cream.
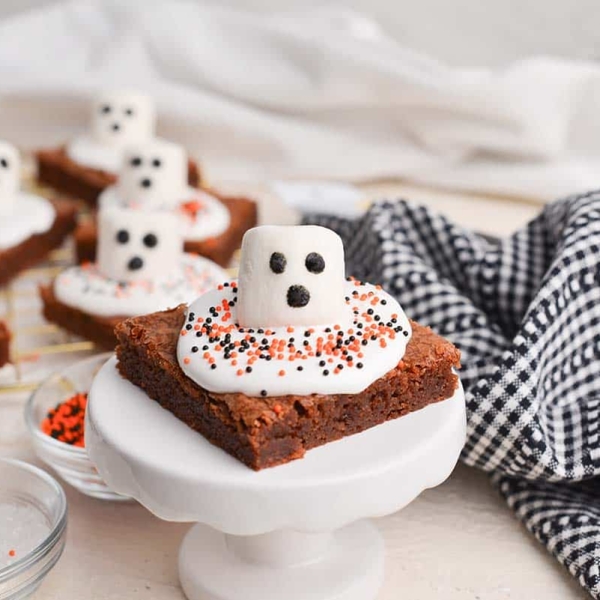
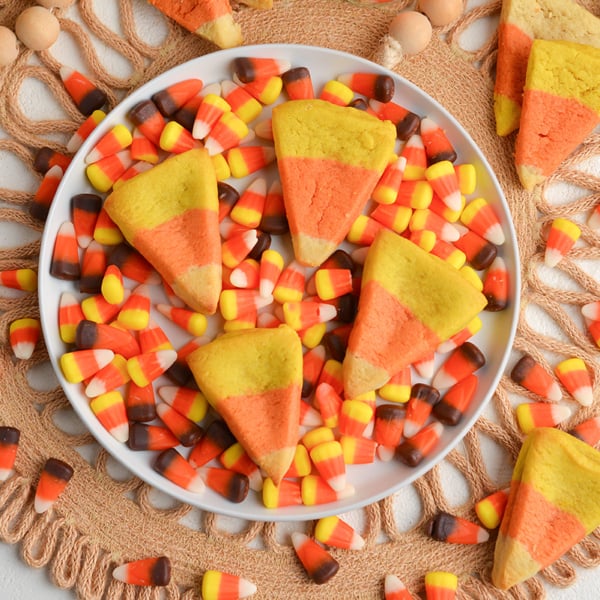
You can also add fun sprinkles, sanding sugar or other ghoulish decor. I like to serve them with other Halloween treats like Rice Krispie Pumpkins, Ghost Brownies or Monster Rice Krispie Treats.
Mix Things Up
There are plenty of ways for you to make these oreo mummy cookies your own. Here are a few suggestions.
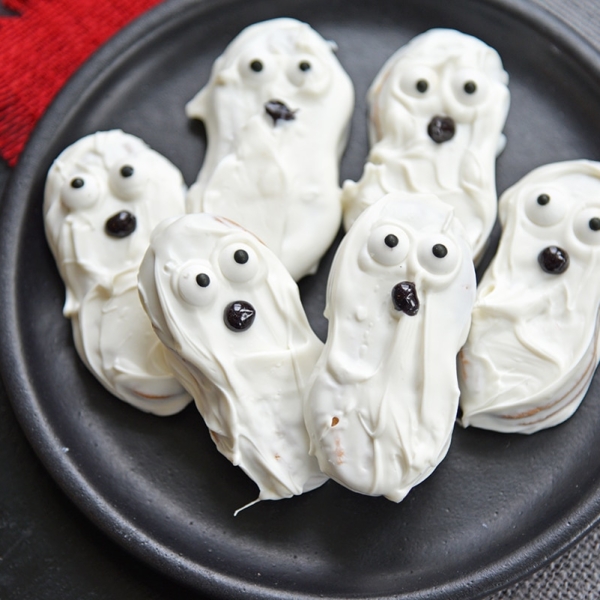
- Change up the cookie – You can really use any round cookie you’d like, even oval like Milano, will work. Try a fun shape like nutter butters too.
- Frosting – Instead of dipping cookies in chocolate, try piping buttercream frosting on cut out sugar cookies.
- White chocolate – You can make your mummies look more traditional by using white chocolate instead of colored chocolate melts.
How to Make Oreo Mummy Cookies
Equipment
Ingredients
- 20 Oreo cookies
- 8 ounces chocolate melting wafers , assorted colors or white
- 40 candy eyeballs
- 4 ounces white chocolate melting wafers
- candy piping bags
- parchment paper
Instructions
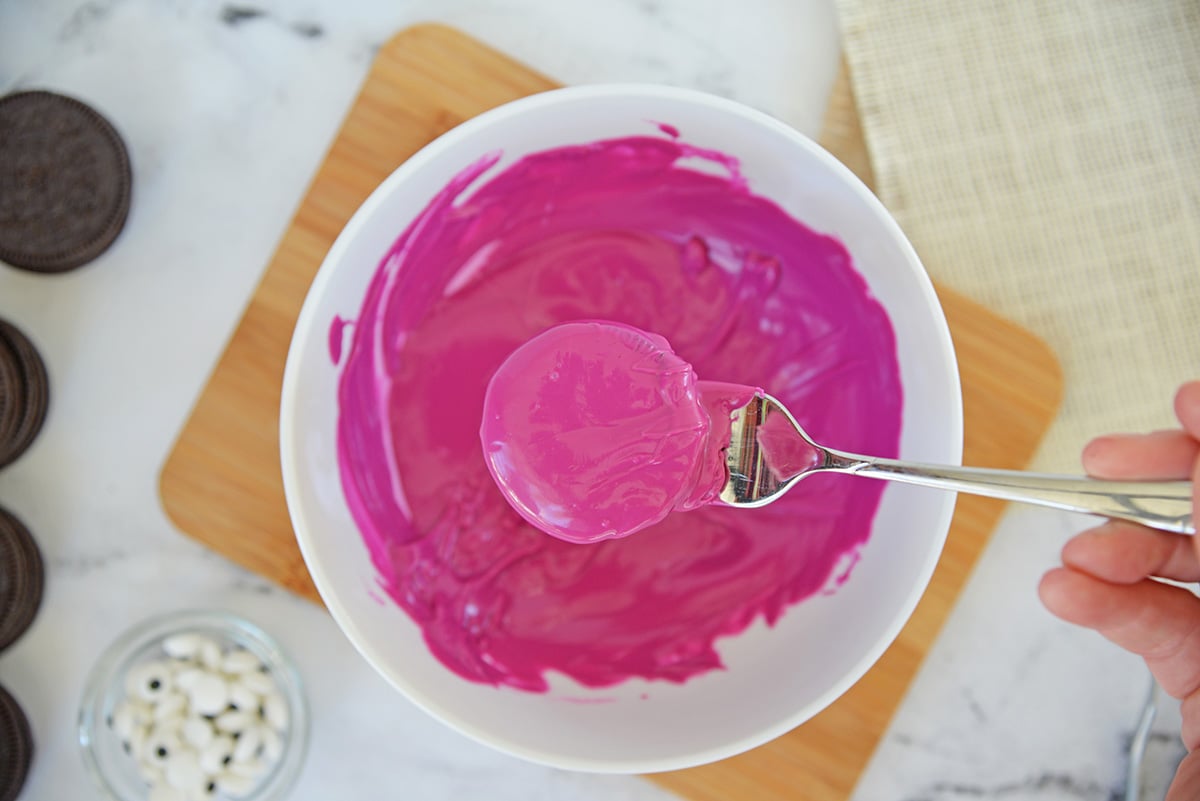
- Working with one color at a time, melt the 8 ounces chocolate melting wafers according to package directions. If you are using candy wafers (tempered chocolate) then you'll place it in a microwave safe bowl and heat at 50% power for 1 minute, stir and then continue in 15 second intervals at 50% power until smooth and dippable.
- Working batches of 3-4 by dipping each of the 20 Oreo cookies, turning it over to fully coat.

- Place it on a spoon while removing and scrape off excess chocolate from the bottom. Place onto a piece or wax or parchment paper.
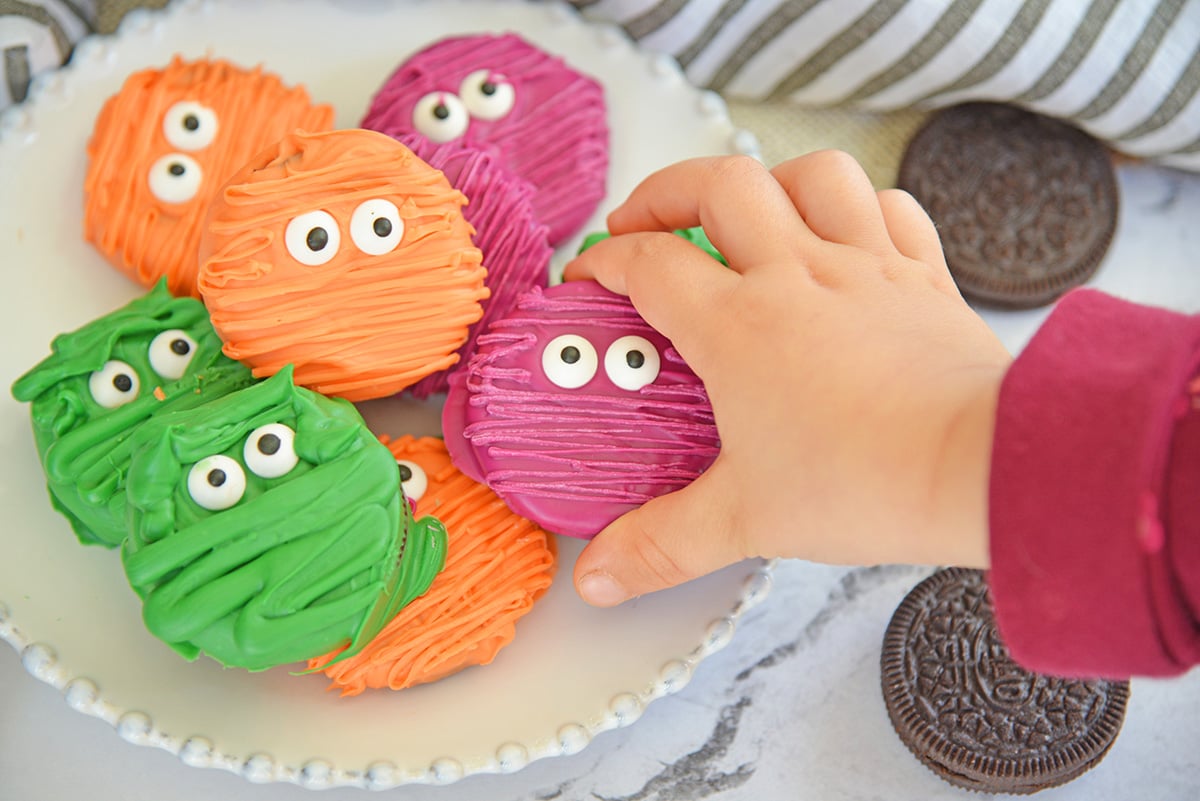
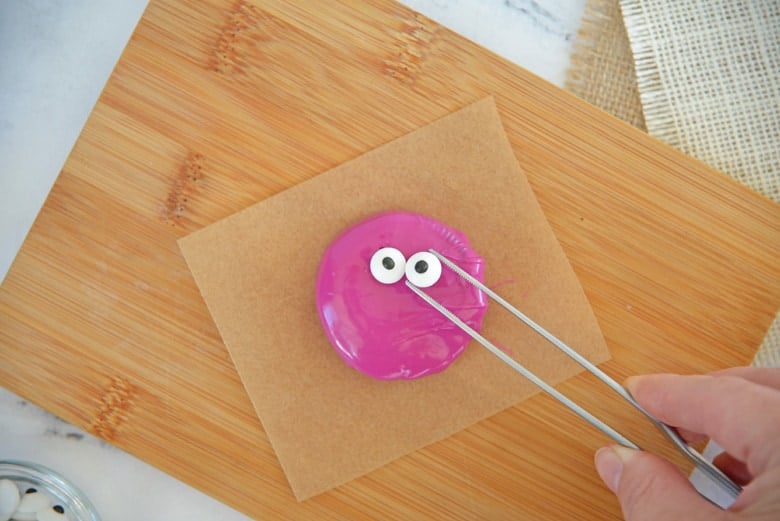
- While the chocolate it still tacky, attach the 40 candy eyeballs. Continue with the rest of your cookies.
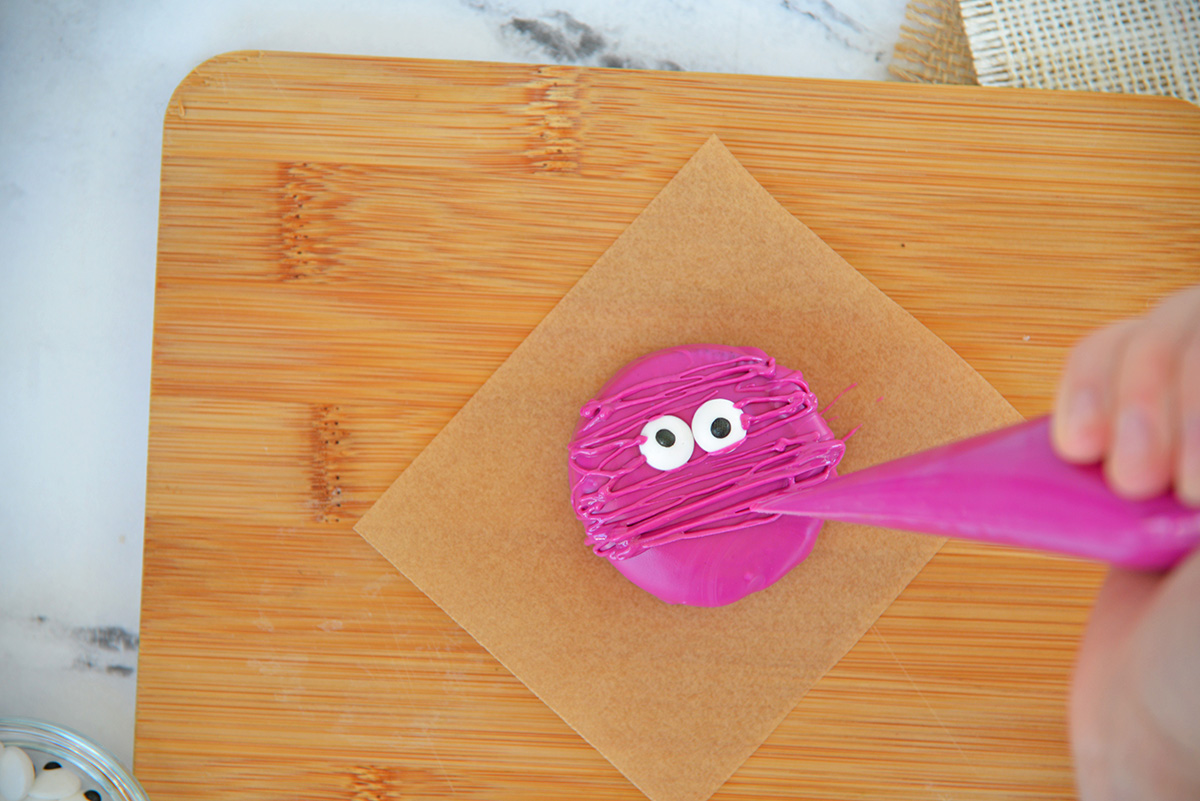
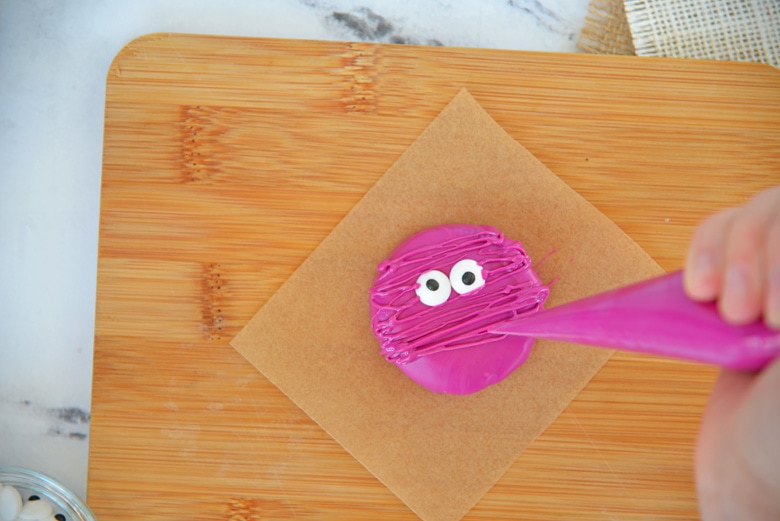
- Next, melt the 4 ounces white chocolate melting wafers in candy piping bags. Start with 45 seconds at 50% power and knead to melt. Continue with 15 second intervals until smooth.
- Cut a small (or large) tip in the bag and move across each cookie horizontally to mimic mummy wrapping.
- Create a mouth with decorating icing or gel or decorate with sprinkles and sanding sugar while chocolate is still tacky.
- Allow to set, then package in layers with parchment or wax paper separating each layer unless you used frosting or gel, in which case I recommend a single layer.
- Store in a cool, dry place, but not in the refrigerator for up to a week.
- If you’ve tried this idea, come back and let us know how it was in the comments or ratings!

Notes
Nutrition
More Fun Halloween Treats
Halloween is a time to make fun, spooky and delicious treats. Here are some of my favorites
- Cake Mix Monster Cookies from Big Bear’s Wife
- Candy Bar Cookies from Devour Dinner
- Oreo Mummy Cookies from Savory Experiments
- Easy Halloween Cake Mix Sprinkle Cookies from Family Around the Table
- Halloween Sugar Cookie Bars from House of Nash Eats
- Eye Love Chocolate Sugar Cookies from An Affair From the Heart
- Pumpkin Cheesecake Bars form Back To My Southern Roots
- Bloody Broken Glass Red Velvet Cake from Hezzi-D’s Books and Cooks
- Halloween Bats Oreo Cupcakes from Lemon Blossoms
- Pumpkin Cupcakes with Maple Frosting from The Flour Handprint
- The Scream Brownies from West Via Midwest
- Halloween Monster Chocolate Cake Brownies from JZ Eats
- Halloween Marshmallow Brownies from Sweet Beginnings
- Halloween Mini S’mores Pudding Pies from For the Love of Food
- Jack Skellington Boo-berry Pie from Savory Moments
- Halloween Smoothie Bowl from Fresh Coast Eats
- Halloween Pancakes from I Am A Honeybee
- Pumpkin Spice Donuts from Pastry Chef Online
- Bloody Hot Cocoa from It’s Shanaka
- Pennywise Ice Cream Float from Cheese Curd in Paradise
- Wicked Witch Popsicles from A Kitchen Hoor’s Adventures
- Muddy Buddy Halloween Snack Mix from Tastes of Homemade
- Candy Corn Rice Crispy Treats from The Spiffy Cookie
- Kid-Friendly Halloween Snack Board from Love and Confections
- Rice Krispie Treat Haunted Houses from Sweet ReciPEAS
- Ghostly Snack Mix from Fake Ginger
- Spooky Pretzel Rods from Take Two Tapas
- Halloween Candy Bark from Karen’s Kitchen Stories
- Batty For Chocolate Dessert Cheese Ball from 4 Sons R Us
- Pumpkin Spice Cheesecake Dip from Strawberry Blondie Kitchen


These look so good and great for kids to do too!!!!!!!
Wow what a great recipe, just in time for the season. Kids are going to love it. Will share it.
These are adorable! I can’t wait to make these for my kids… I know they’ll love them!
Oh wow! How cute are they! Would love to try them this Halloween
Oh wow, these cookies are truly extra special. I can imagine how much fun and joy you can bring with these!
This was so delicious. I made it today! It was approved by my entire family! I am adding it to the plan for halloween night! YUMMMM