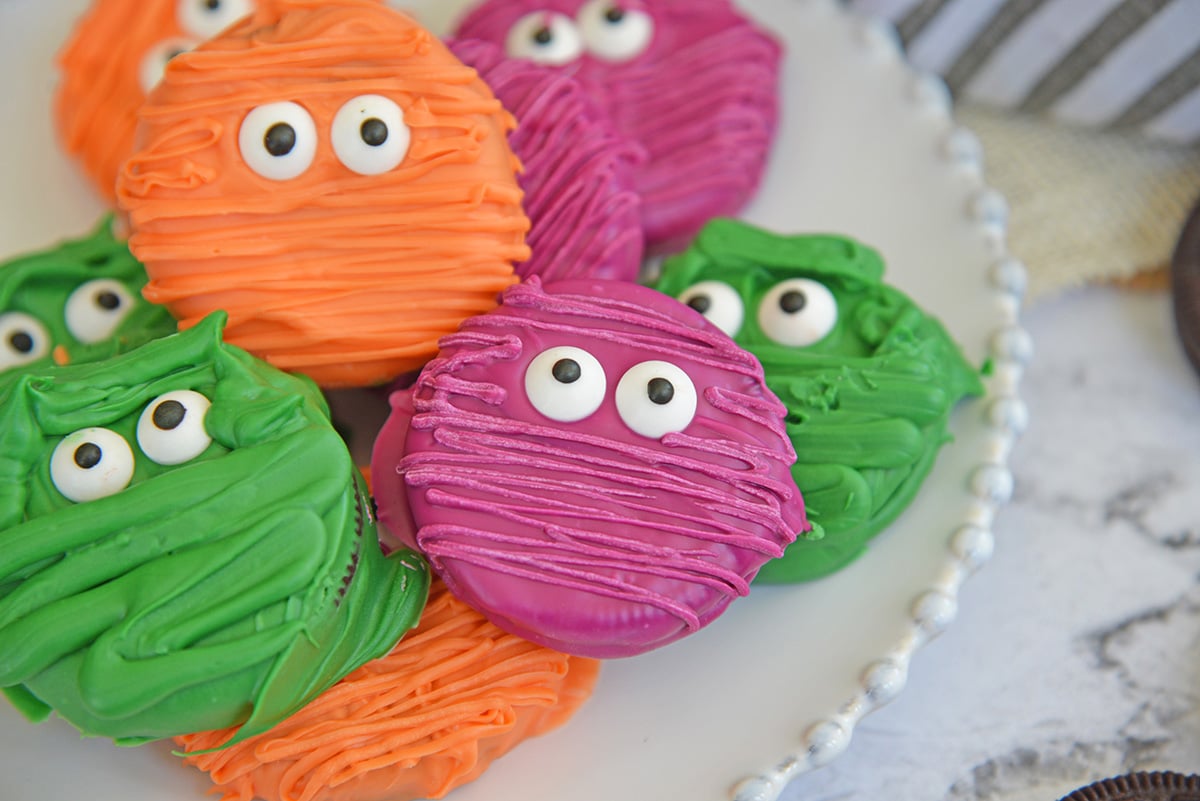
How to Make Oreo Mummy Cookies
Servings: 20
Calories: 114kcal
Make oreo mummy cookies in 15 minutes with Oreos, melting wafers, and candy eyes- dip, drizzle, done. With variations and kid-friendly steps.
Print Recipe
Equipment
Ingredients
- 20 Oreo cookies
- 8 ounces chocolate melting wafers , assorted colors or white
- 40 candy eyeballs
- 4 ounces white chocolate melting wafers
- candy piping bags
- parchment paper
Instructions
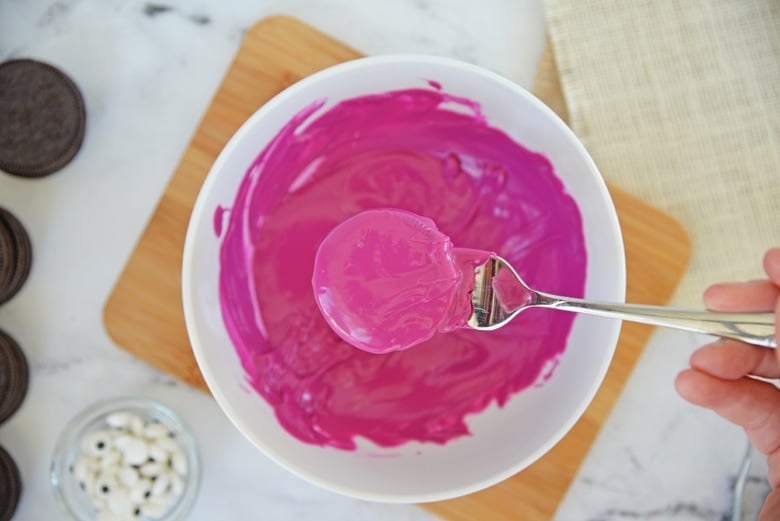
- Working with one color at a time, melt the 8 ounces chocolate melting wafers according to package directions. If you are using candy wafers (tempered chocolate) then you'll place it in a microwave safe bowl and heat at 50% power for 1 minute, stir and then continue in 15 second intervals at 50% power until smooth and dippable.
- Working batches of 3-4 by dipping each of the 20 Oreo cookies, turning it over to fully coat.

- Place it on a spoon while removing and scrape off excess chocolate from the bottom. Place onto a piece or wax or parchment paper.
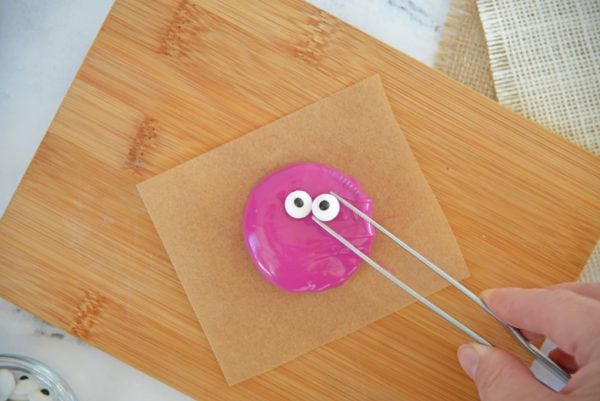
- While the chocolate it still tacky, attach the 40 candy eyeballs. Continue with the rest of your cookies.
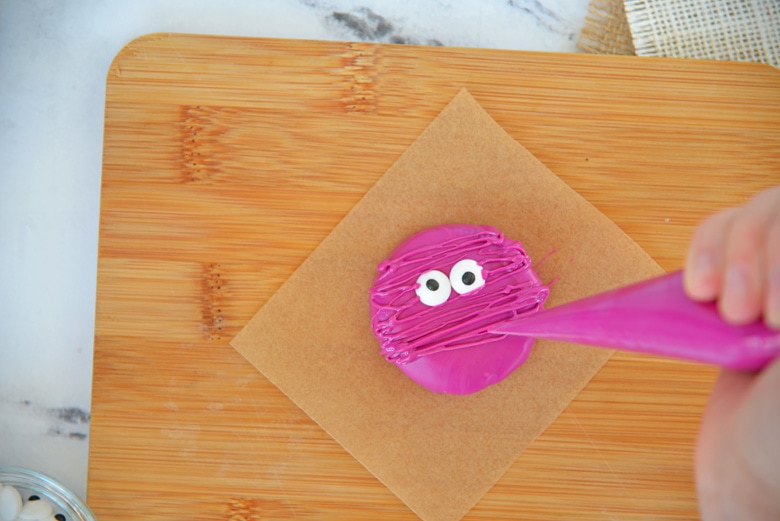
- Next, melt the 4 ounces white chocolate melting wafers in candy piping bags. Start with 45 seconds at 50% power and knead to melt. Continue with 15 second intervals until smooth.
- Cut a small (or large) tip in the bag and move across each cookie horizontally to mimic mummy wrapping.

- Create a mouth with decorating icing or gel or decorate with sprinkles and sanding sugar while chocolate is still tacky.
- Allow to set, then package in layers with parchment or wax paper separating each layer unless you used frosting or gel, in which case I recommend a single layer.
- Store in a cool, dry place, but not in the refrigerator for up to a week.
- If you've tried this idea, come back and let us know how it was in the comments or ratings!

Notes
Storage: No bake mummy cookies can be made ahead and stored for up to a week, but many folks have trouble with the chocolate sweating. This generally happens when it is refrigerated. To avoid this, place them in an airtight container at room temperature, or slightly cooler, and away from sunlight.
Freezing: Mummy cookies can also be frozen for up to 3 months. Allow to thaw at room temperature. Or if you are a weirdo like me, you can eat them frozen and cold.
Nutrition
Calories: 114kcal | Carbohydrates: 15g | Protein: 1g | Fat: 6g | Saturated Fat: 3g | Sodium: 57mg | Potassium: 59mg | Fiber: 1g | Sugar: 11g | Calcium: 5mg | Iron: 1mg
