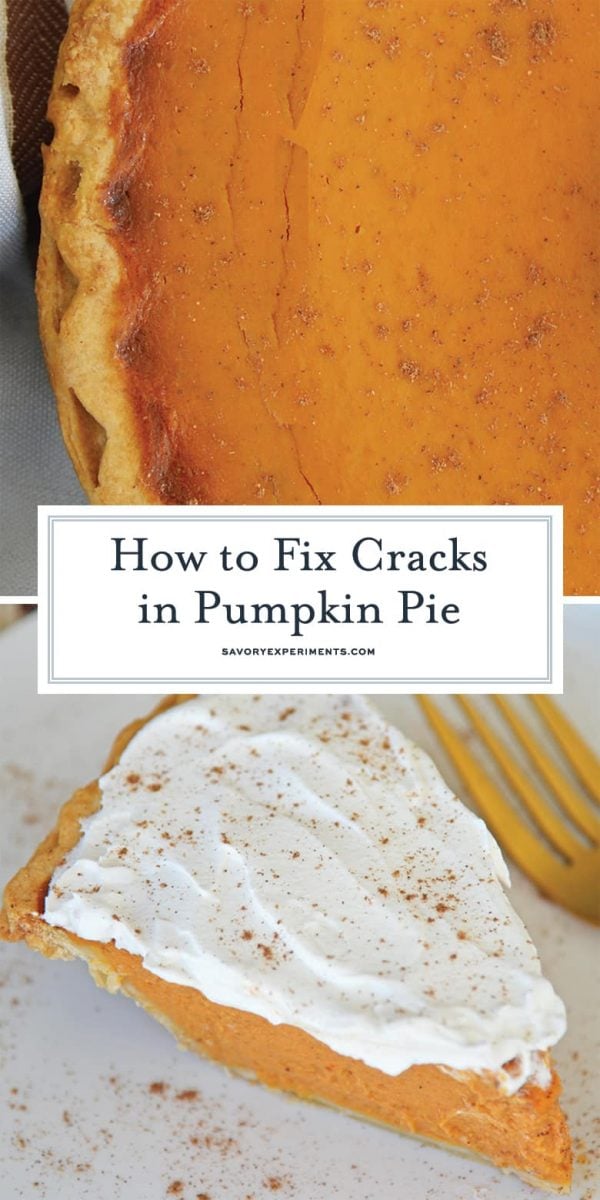
Cracks are any bakers worst nightmare. They show up in custard pies and cheesecakes, most notably.
Cracks the size of the Grand Canyon? Droopy Pie center? Burnt crust? We’ve got all of your pie-tastrophes covered!
I started to write about this topic in my Easy Pumpkin Pie post and seen realized that it needed a post all of its own.
How to Prevent Cracks in Pie
The first thing to do is try to prevent cracks to begin with. There are several techniques that work on a variety of pies, cheesecake included, but first you need to understand why pies crack in the first place.
Eggs are what thickens the filling in a custard pie. I mean eggs are what MAKES it a custard pie. As they heat, they coagulate (turning from a liquid to a gel) and turn the liquidy pie filling into into a creamy, semi-solid filling of deliciousness.
I’ve got 99 problems, but a pie ain’t one!
Eggs start the coagulation process at 160°F, however they continue to thicken and harden as they heat. Cracks in your pie are because the eggs overcooked and thickened so much that they create fissures.
They generally start to show first around the edges, which is where the pie cooks first. If you see cracking around the edges, remove the pie immediately.

It Cracked After Baking!
However, sometimes, you’ll take a beautifully non-cracked pie from the oven only to find it has cracked while cooling. Why?
One of two reasons. The first is that the eggs continue to cook from residual heat in the pie. The second is that the pie cooled too fast and the filling puckers.
How to Prevent Cracks in Pumpkin Pie (or any custard pie):
ONE. The number one reason you’ll experience a crack is before you’ve overcooked your pie. Heat dries is out, pulls it apart and results in a cracked pie.
Remove your pie right before the center stops jiggling. Overcooking is no joke. The residual heat will continue to cook the center after you’ve started the cooling process… see step #2.
TWO. Cooling too fast. Custards in particular are finicky and need to cooler slowly. Forget the image of an apple pie in the window.
Instead, leave your pie in the oven, turned off, with the door cracked. The temperature will reduce fairly quick as to not further cook your pie, but not create such a drastic difference as moving it from a hot oven to cold counter.
THREE. This one seems silly, but use a GOOD recipe for pumpkin pie. A crappy recipe won’t have the right ratios of eggs and other ingredients to cook or set properly.
FOUR. Check your oven temperature. While no oven maintains the perfect temperature all the time for the entire bake, you need it to at least be in the vicinity and be consistent.
Purchase a separate oven thermometer to make sure you oven temp is within a 10 degrees swing of the cooking temperature.
FIVE. Bake in the lower third of the oven. The bottom is where heat is coming from and also stays the most consistent with temperature. It gives you the best chance of having a perfectly browned bottom with a cooked custard filling.
You might also be reading this before you’ve already cracked your pie. No worries! Clearly you can’t uncook the pie, so making them go away is out.
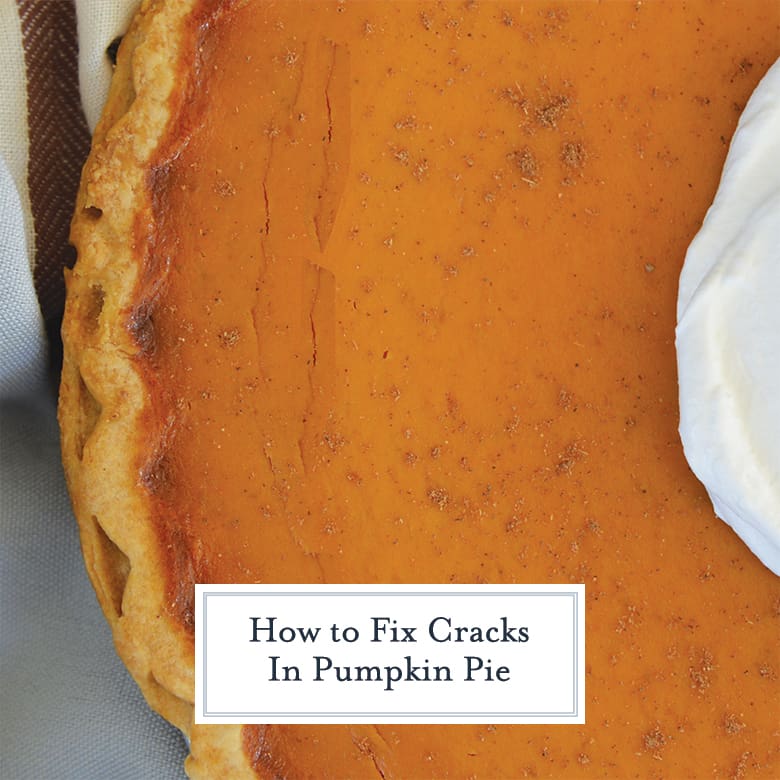
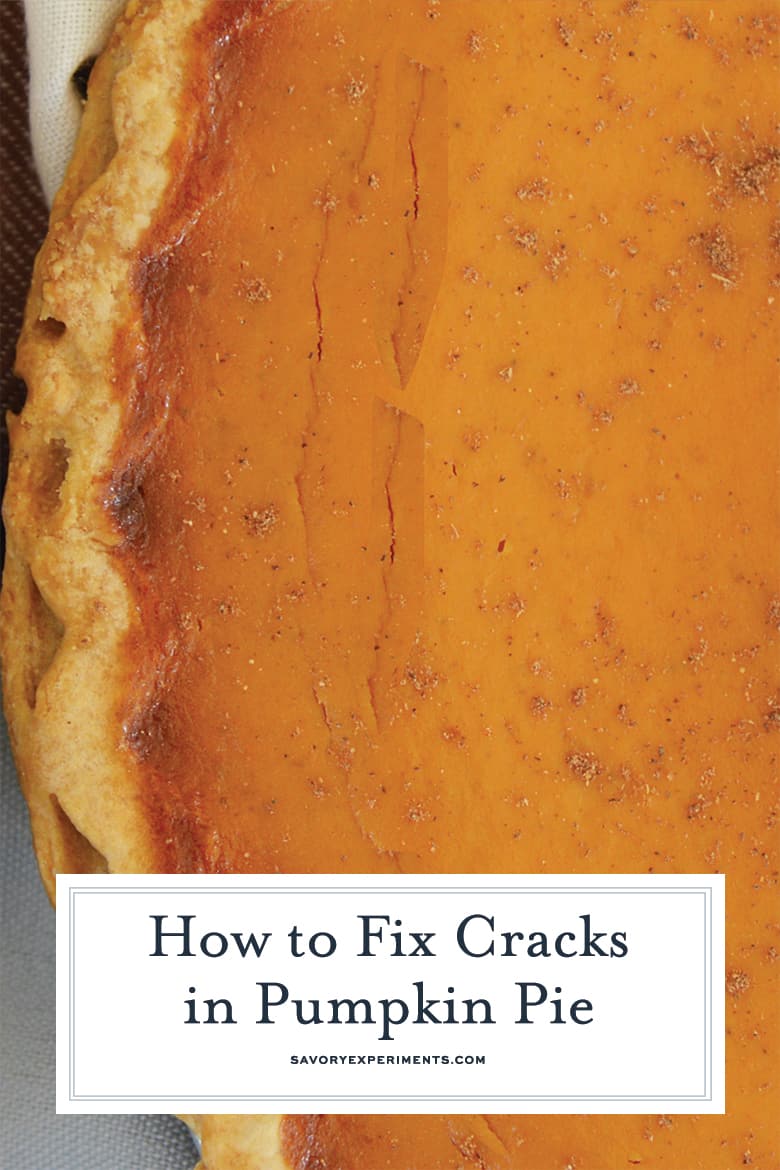
Let’s first discuss the magnitude of the issue. Are we talking fine lines or the grand canyon?
If your cracks are small and thin, you can wet a small paint brush or your finger and gently smooth them out. Use a handheld butane lighter to quickly brown those parts so no one knows any work has been done.
If you are experiencing deep cracks and there is no way you are going to cover up the imperfections, then you need to move to plan B.
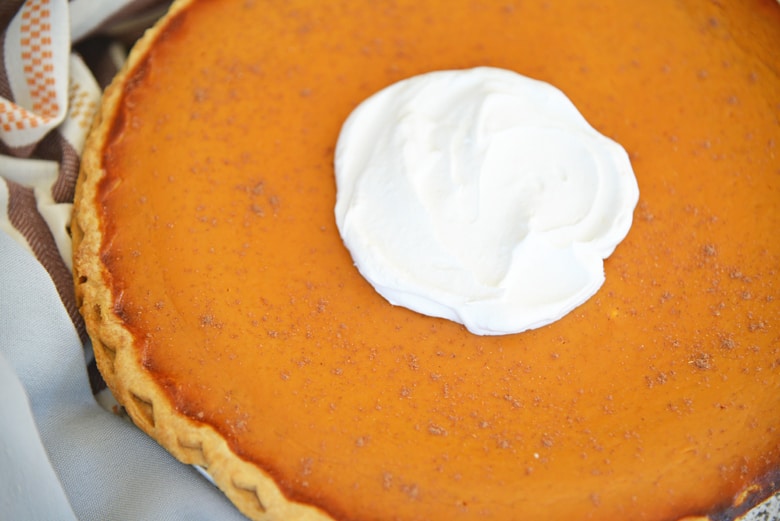
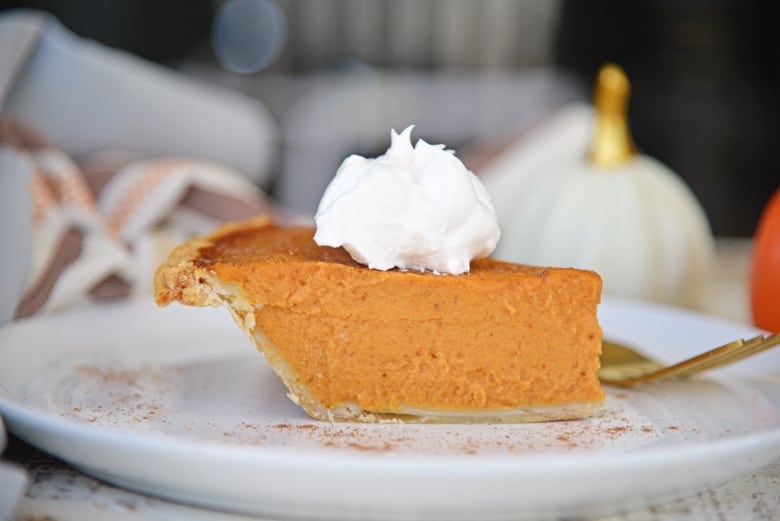
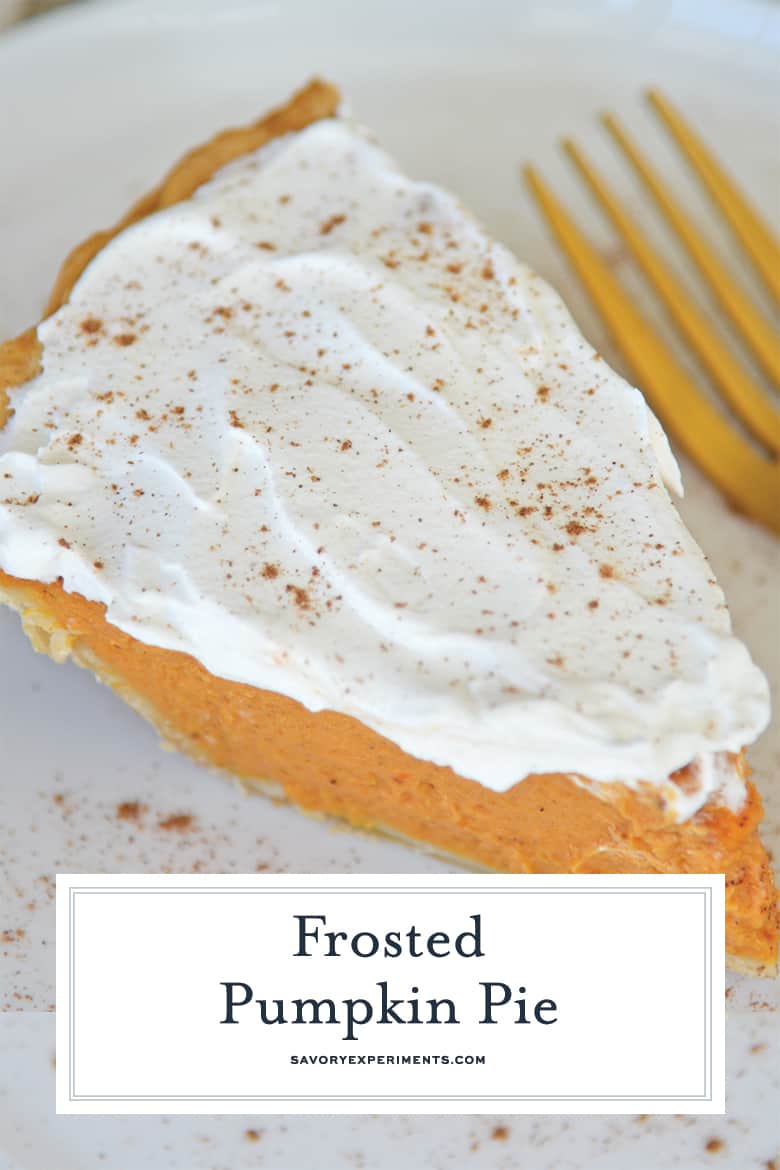
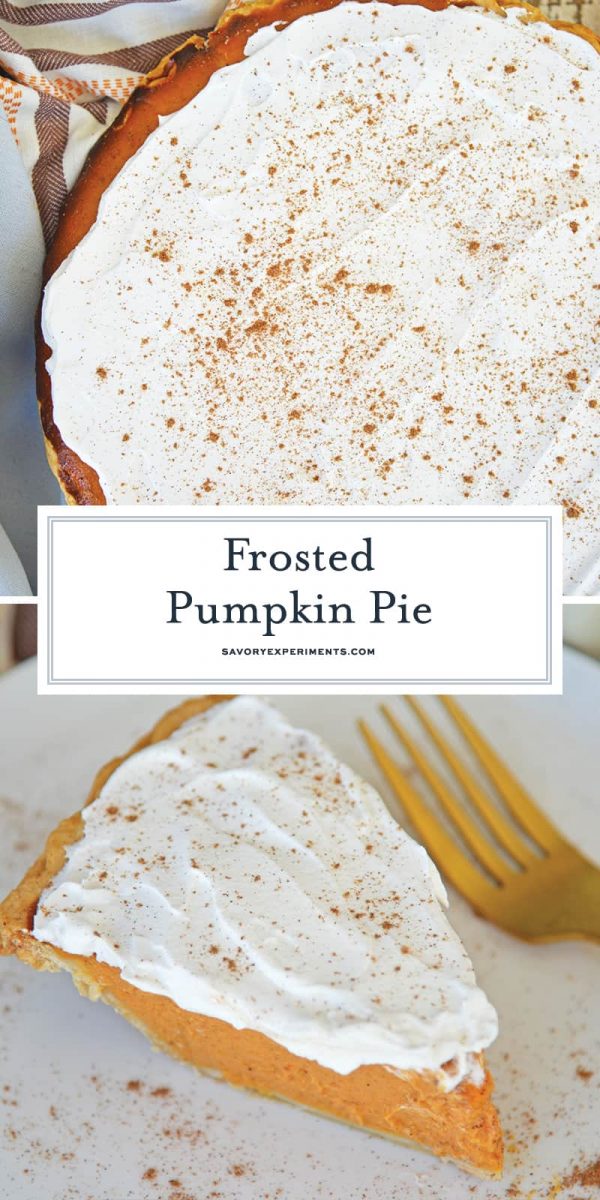
Cover it up. Simply act like you meant to prepare a frosting pumpkin pie, or whatever custard variety of pie you were aiming for.
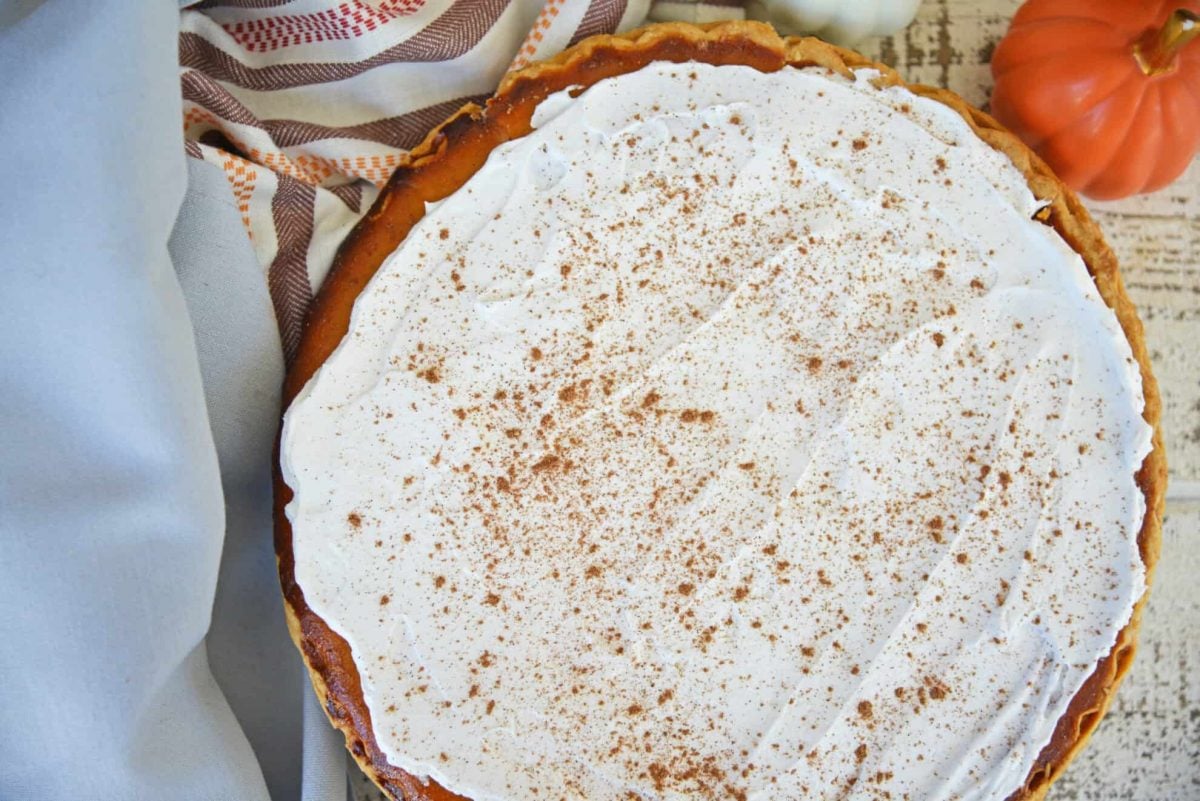
For my pumpkin pie, I blend a small amount of vanilla yogurt with whipped cream and pumpkin pie spice. Right before serving, I slather it on and ta-da, a beautiful, picture perfect pie! Scroll down for the recipe.
More common pie problems:
Why did my pie fall? Chances are, it cooled too fast. Leaving it in the oven with the door ajar is the best way to gradually lower the temperature.
How do you fix it? You can’t raise it up by cooking for longer, so instead, frost it. Use the recipe below and omit pumpkin pie spice if the recipe flavors don’t jive with it.
I burnt my pie crust! What now? If you made a fruit pie, chances are you can just scoop out the center and put it in a new pie crust.
But if it’s a custard pie, you aren’t serving pie any more. You are serving parfaits, crisp or a trifle. It really depends on how much filling you have and what other extras.
For a parfait, you are going to need most of the crust to not be burned. Like just the edges (you can prevent this by using a pie crust saver).
Spoon out filling and layer filling with scoop out crust and whipped cream placing them in mason jars, martini glasses or wine glasses. Voila, fancy, sophsiticated and creative!
A crisp happens with the crust isn’t salvagble. Spoon out filling and place it on serving plates or a small casserole dish. Top with a combination of equal parts oats, flour and brown sugar.
Bake at 350 until the top browns and sugar melts or use a handheld butane lighter to brown them individually.
Lastly, the trifle. You’ll need a small trifle dish and a not-so- burned crust. Basically a trifle is a large parfait. Scoop and layer. Scoop and layer.
Why is my pie crust soggy? This can be hard to diagnose during the baking process, but your best bet is by using a glass pan.
Bake your pie for a few more minutes on the lowest rack. Since it is closest to the heat, it is also the hottest.
Other delicious pie recipes for you to try:
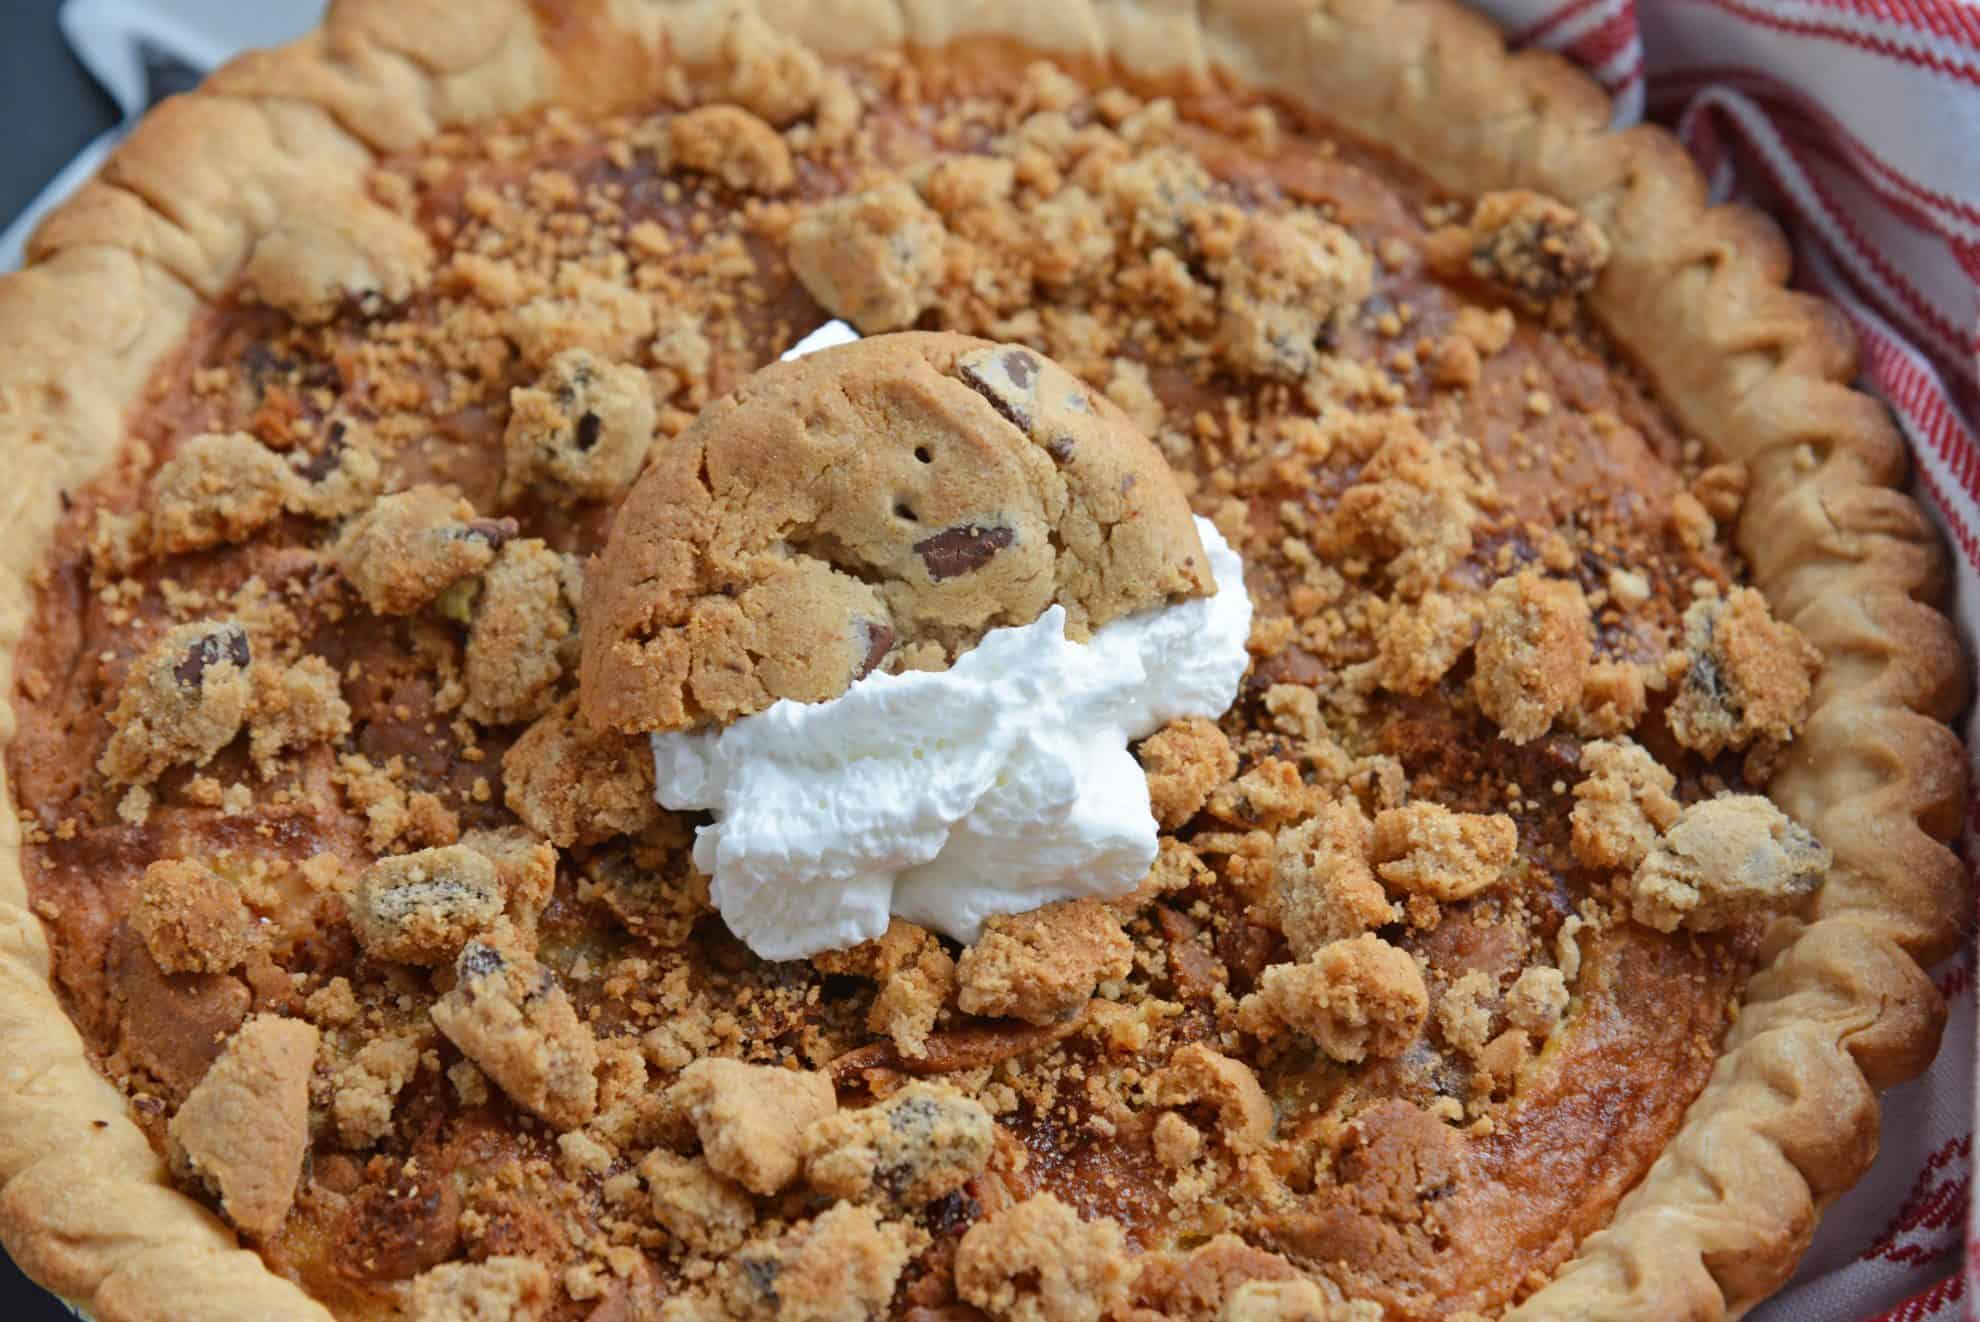
Chocolate Chip Pie
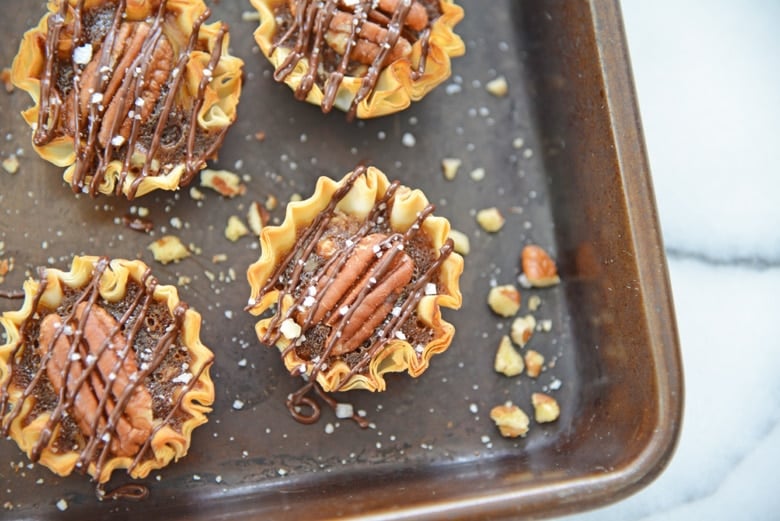
Mini Pecan Pies
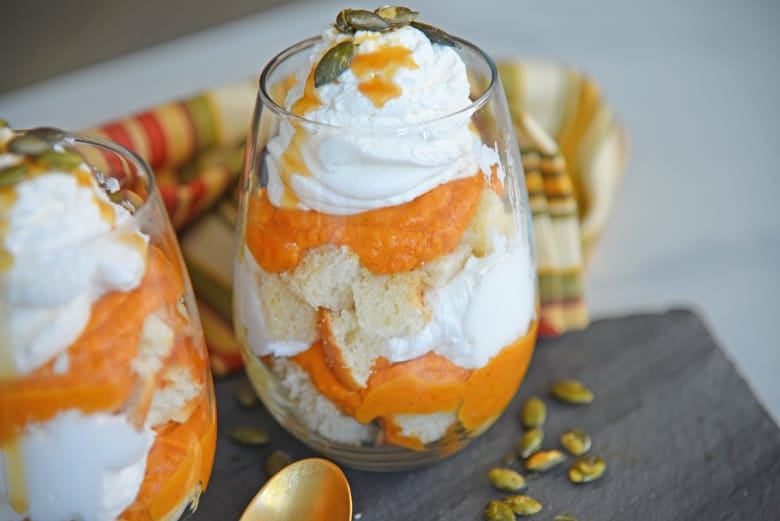
No Bake Pumpkin Pie Parfaits
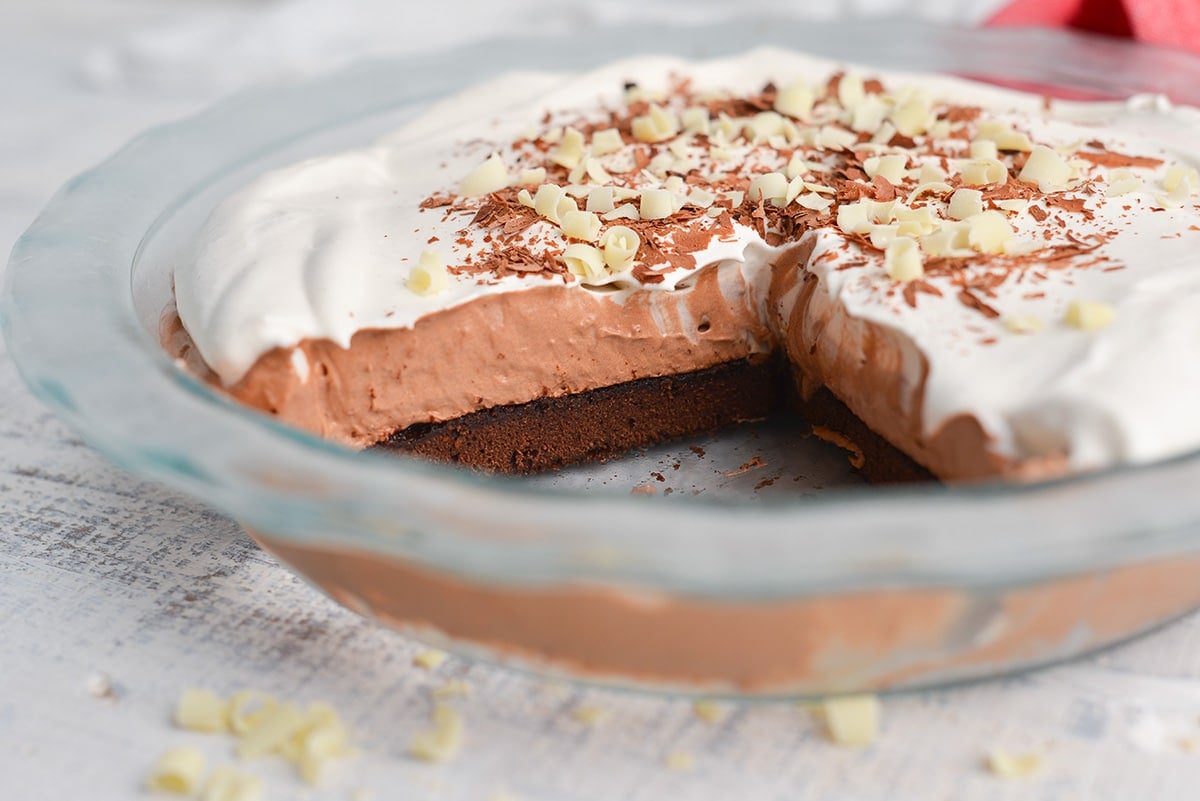
Chocolate Cream Pie Recipe
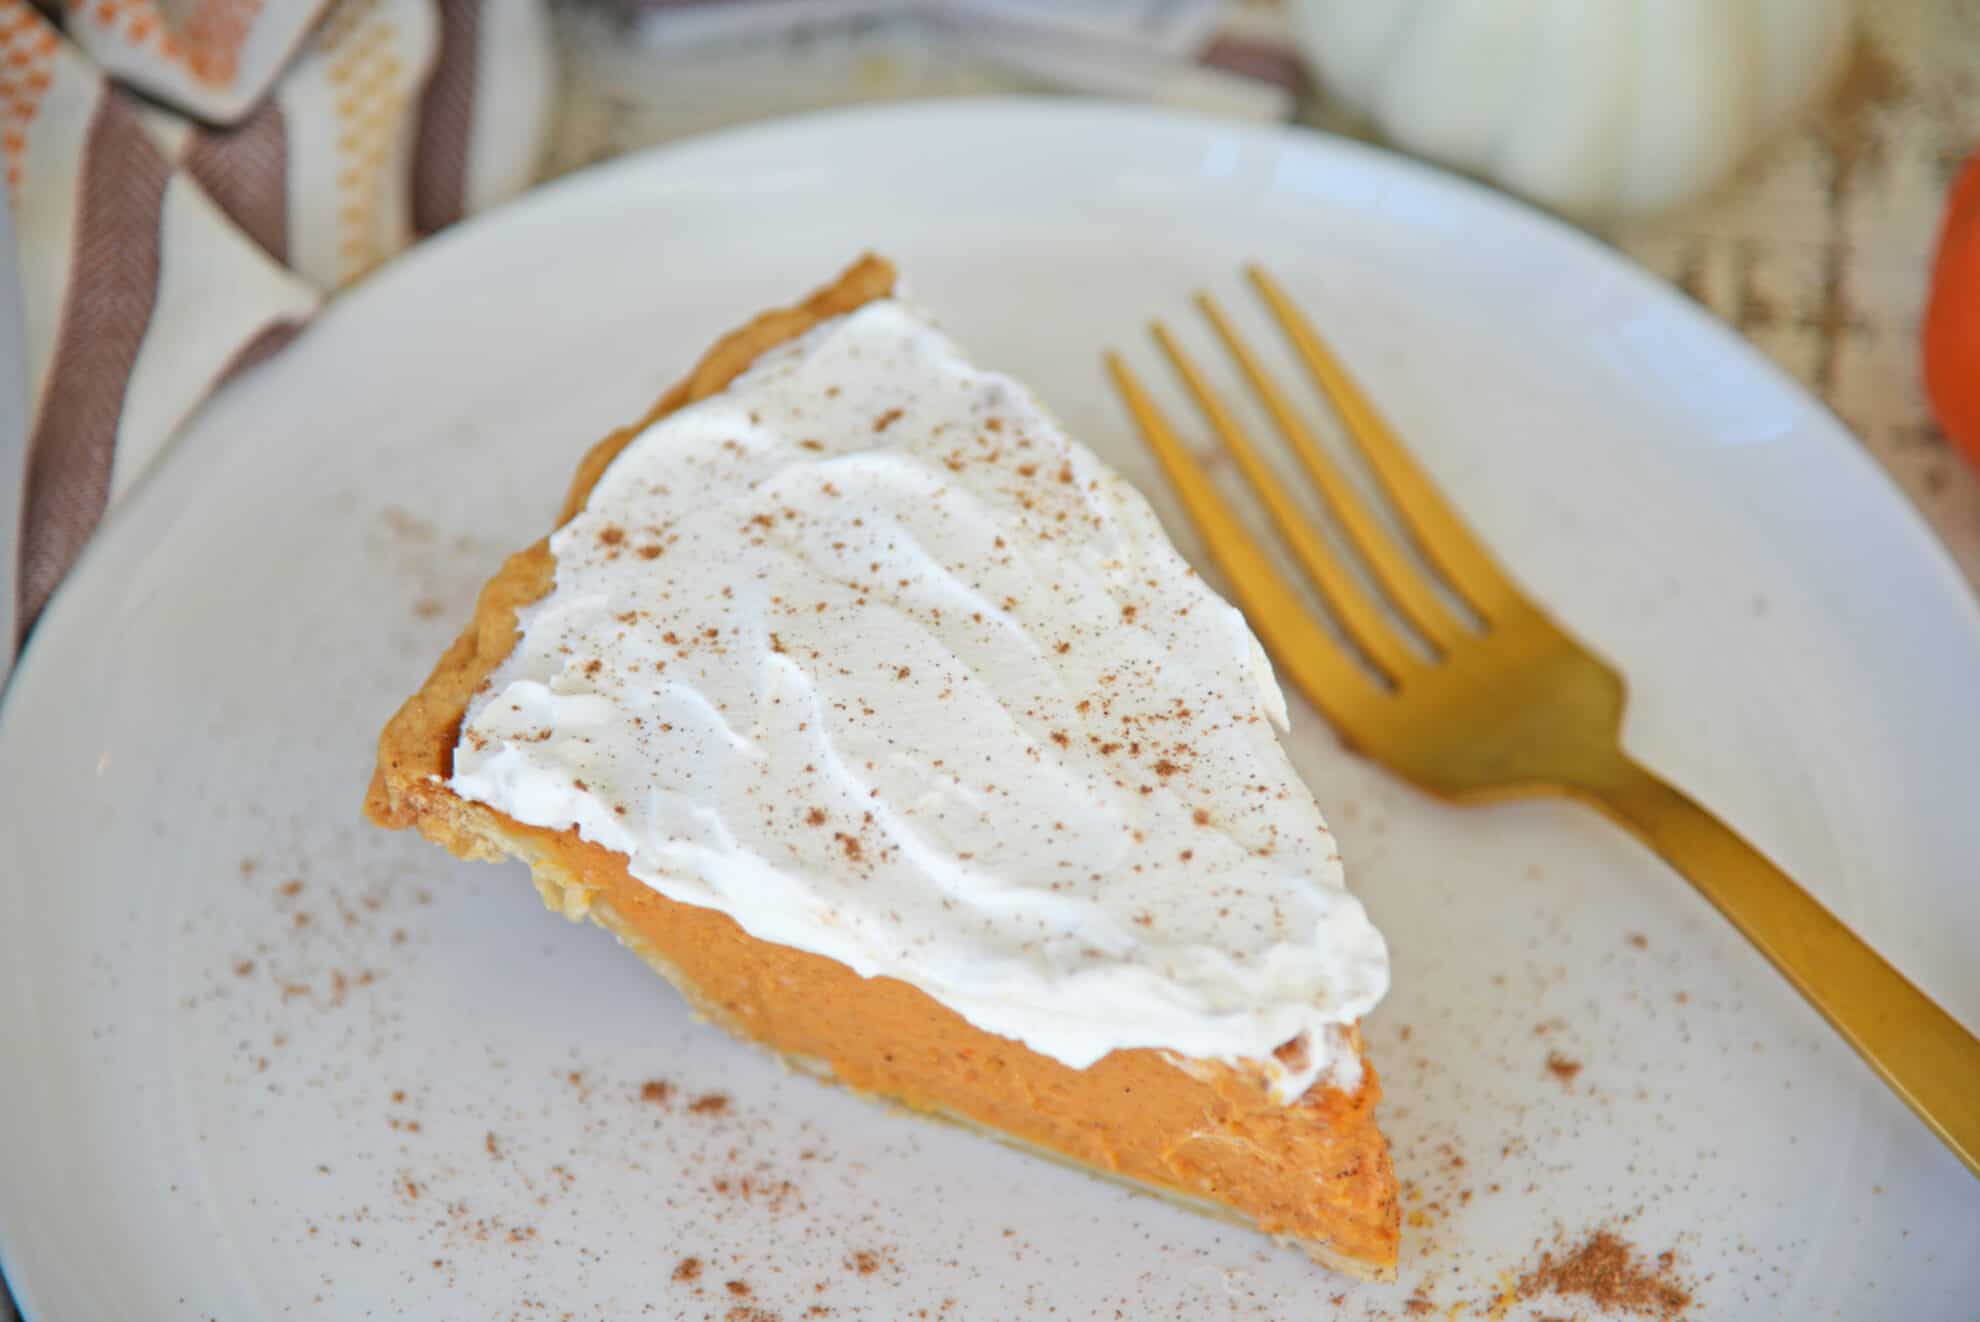
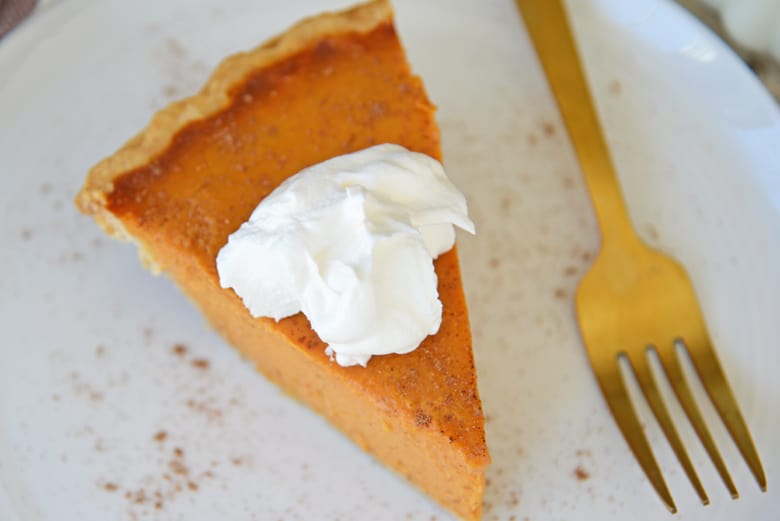
Frosted Pumpkin Pie
Ingredients
- 3/4 cup whipped cream
- 3 tablespoons vanilla yogurt
- 1/2 teaspoon vanilla extract
- 1/2 teaspoon pumpkin pie spice
- 1 pumpkin pie
Instructions
- Fold all ingredients together by hand.
- Frost in the center of your pumpkin pie.
- Refrigerate until ready to serve.
- If you've tried this recipe, come back and let us know how it was!
Nutrition


I’ve always wondered why some pies crack and some do not. For whatever reason, it never occurred to me that it was the eggs! Great tips!
Thanks for sharing your secrets! I don’t often make custard pies because of the cracking.
These are great tips! I’ve never had a pie that didn’t crack, and now I know why!
This is one of those posts you have to save! Such great tips on how to prevent the cracks to begin with. I usually just hide them with whipped cream, but not having any to begin with is best, for sure!
What?! I didn’t even know this was possible so I had to try it! Thank you! Now my pumpkin pies look so good!