Want some great tips to follow when it comes to making your own homemade stock? Then you’ve come to the right place! I’ve got all the tips and tricks to remember when it comes to making the perfect stock.
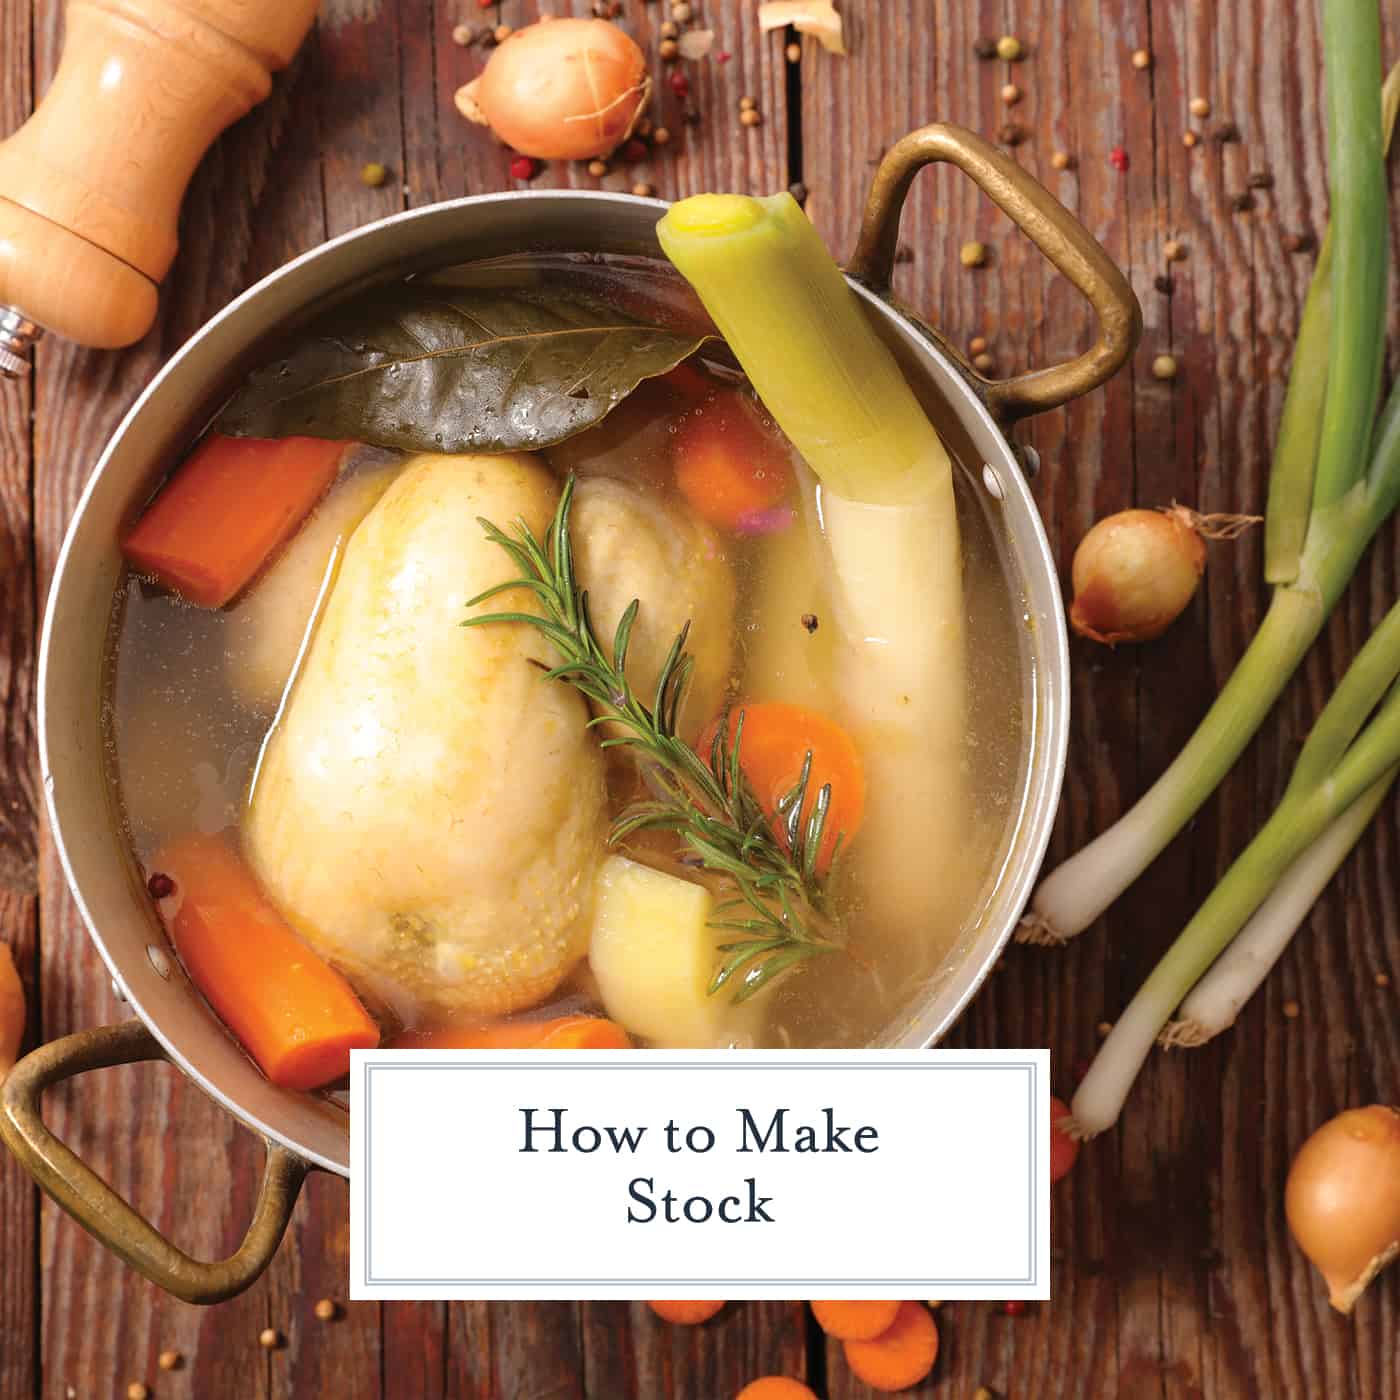
This is an easy step-by-step guide on how to make stock at home! Follow these simple tips on making homemade stock to take out the guesswork!
Homemade stock is daunting and scary to the average home cook. It is labor intensive and often produces a murky and muted liquid that seems dull compared to an easily purchased box or cube of bouillon.
But let me tell you, there is nothing more satisfying than a rich, clear and gelatinous stock. A good stock is what sets home cooking and mediocre restaurants apart from the really fabulous ones.
Here I will share my ideas on how to make stock. I promise you, after tasting the difference of a hearty stock to store bought, you will always crave homemade and those 6-8 hours of simmering will be well worth it.
Veal Ragu, originally prepared on Christmas Eve by my sister with the most gelled stock I’ve ever seen given to her by her coworker, was magical. It was stunning. It was addictive.
The next time I made it, craving that rich sauce, I made it will bullion (don’t judge, I was low on time) and it lacked luster.
It wasn’t bad, but it certainly didn’t have the same savory richness the first batch did. The lesson: stock matters. Now the research: how to make stock.
How to make chicken stock?
There a few basic principles:
Gel– Yes! Broth should have some body folks! If I wanted broth, I’d use broth, but I want STOCK. GELATINOUS stock. I want it to look like meat gelatin when I put it in the fridge or freezer.
Clear– well, not completely clear, but I don’t want clouds or murk. This is a sign that the stock has been boiled, allowing all of the scum and fat to emulsify back into the liquid. It isn’t the end of the world, but we don’t strive for it.
Flavor– The one thing I hear the most is that homemade stocks don’t have enough flavor and there could be several reasons for this, the number one reason being you diluted it with too much water or on the flip side, didn’t have enough flavorful ingredients in the vat of water.
You will hear a lot of contradicting rules, do’s and don’ts about stock making and quite frankly, I am not a classically prepared chef. I don’t own a restaurant.
I’m just a home cook who has used trial and error and this is what I have learned. So if I don’t do it your way, no worries, part of a great stock is making it your own!
Here are a few tips and secrets of chefs on how to make stock:
ONE. Bones are the base. Well, unless you are making vegetable stock of course! I’ve heard some folks swear that you need to completely clean the bones, sometimes even boiling them before making the stock or setting them in a tub of cold water to release any little bits that might murk up your stock.
Well, I’m breaking the mold (along with many other chefs), I find that this also takes out some of the glorious flavor you after. I don’t spend time cleaning those bones, I’d rather just run my stock through a fine mesh sieve at the end. And in fact, some chefs purposefully throw in whole parts of meat to add flavor.
Bones are also where you will find that great gelatin you are looking for. Different meats will yield differing amounts and not every batch will be solid, but it is what we are aiming for and gelatin comes from those bones.
TWO. Restaurants don’t discard much, all those odds and ends turn up in the stock! The pieces of vegetables and herbs you typically throw away are perfect for stock! Use the celery ribs in an actual recipe, but the bulb (base) throw it in the stock! Stems of herbs and tops of carrots, toss them in too! Nothing goes to waste until it is wasted.
THREE. Roast those bones! Roasted bones can add more depth and flavor to your stock. A cooked chicken or turkey will be more flavorful than raw. If you have raw beef bones, roast them at 300 for 30-60 minutes first. See my Beef Stock for how to roast before adding!
FOUR. Add bones and simmer for an hour before adding vegetables. If you want the stock to have the most essence of meat it can, start with the bones and meat and add the vegetables and herbs later. See my Turkey Stock for instructions.
FIVE. Vegetable bases vary greatly and mine are usually made up of whatever is leftover in my vegetable crisper… literally. But there are a few ingredients seen to be the base of any good stock: carrots, celery, onion and parsley.
I am going to tack on garlic, but that is just me. No need to perfectly chop all of these pieces up, they are just there for flavor and will have plenty of time to extract, so coarsely chop or thrown them in whole.
SIX. Don’t focus too heavily on the seasoning when you start. After the stock reduces, you will need to correct it anyhow. The one thing I’d say you can’t do without is whole peppercorns.
Ground pepper is fine, but you can’t get it back as easily. Don’t go crazy with the salt, add a little to bring out the flavors, but ultimately leave it out until you actually go to use the stock for your recipe.
SEVEN. Stock pot, pressure cooker or slow cooker? You can use them all! However, I am old school and use a stock pot. Ideally tall and narrow, the shape is important because there is less surface space and therefore is will evaporate slower.
The point here is that the mixture reduces, resulting in the remaining liquid being condensed and robust. The pressure cooker will do the same job as an 8-hour simmer in just an hour, but there is no reduction.
The slow cooker is by far my least favorite method. While the benefit is that it stays at the perfect temperature and you don’t have to tend to it, it also doesn’t reduce.
EIGHT. What is a good ratio? Ideally you want 2 pounds of bones/meat for every 2 quarts of water as a minimum. You can always add more if the mixture is too rich (is there such a thing?) but you will spend hours trying to reduce it down enough if you add too much.
NINE. But stocks take so much time… Yes, the do. Pick a day you were just planning to be lounging around the house anyhow. You can certainly only dedicate 2 hours to your stock, but don’t think you’ll have the best in town either.
My minimum time is 5 hours. But it isn’t ready after it gets done.
TEN. Finishing touches make the stock! I have two steps. First I remove all of the large pieces, then I run the whole mix through a fine mesh sieve lined with cheesecloth. Twice.
I want to get anything and everything out so I have a perfectly clear broth with no free floating particles. Lastly, I put it all in a container and into the fridge.
Any large pieces of fat (not gel) will rise to the top and solidify. Then you easily peel off the fat. Just like that your beautiful stock will be lurking underneath.
ELEVEN. Storing stock is easy! Either can it using traditional canning methods, freeze it in airtight plastic bags or freeze it in cubes in an ice cube tray.
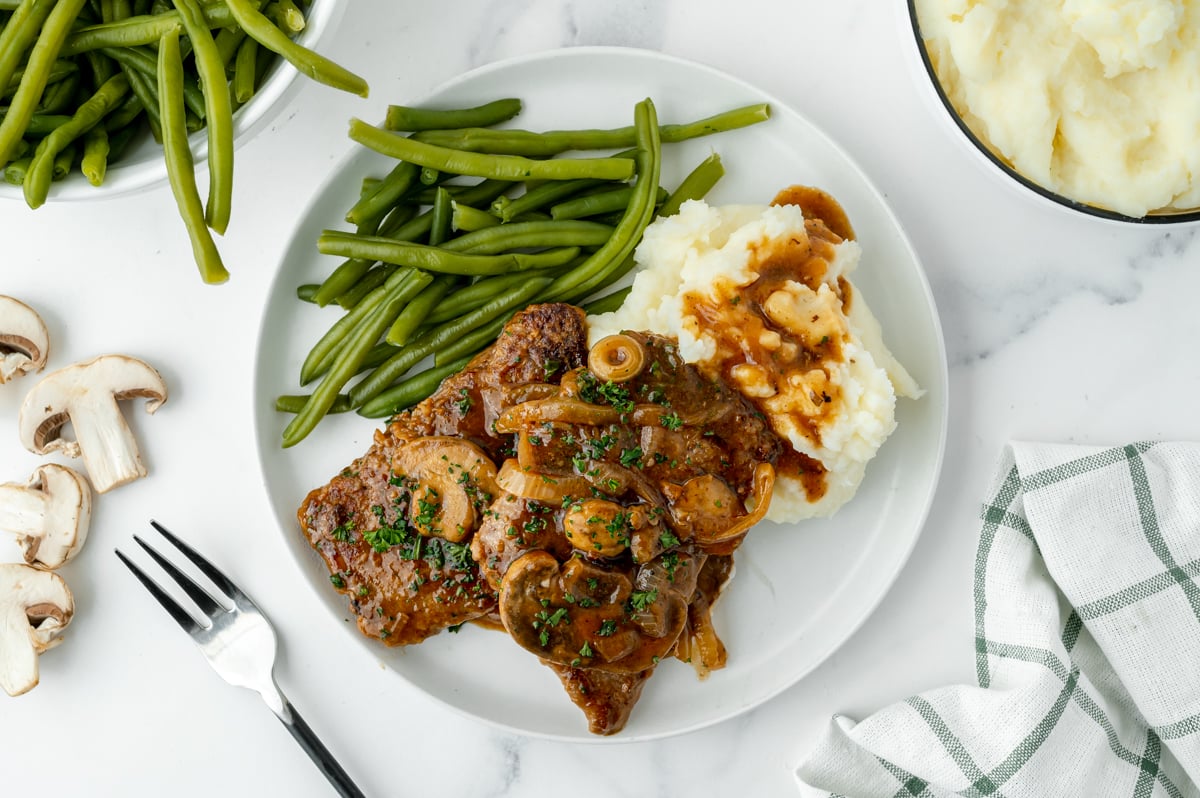
Recipes that use your homemade stock!
- Baked Rice Pilaf
- Brussels Sprouts with Bacon
- Slow Cooker Beef Stew
- French Baked Onions
- Beer and Bacon Sauerkraut
- Chestnut Dressing
- Red Wine Gravy
- Veal Ragu

Instant Pot 15 Bean Soup Recipe

Homemade Chicken Noodle Soup (Crockpot Recipe)


Hey. My stock gets murky and not clear even after straining trice through a cloth. What do I do wrong?
Hi Jo- the biggest reason for a murky stock is that it got too hot while cooking- did you by any chance bring it to a boil instead of letting it stay at a low simmer? Sometimes, too, it is just the ingredients you used. The most important thing is that it tastes good. Does it taste ok?
I would like to print this out how do I go about doing this?
Hi Monna- on the top of the recipe card, below the photo of the recipe (all the way at the bottom) there is a “PRINT” button.
Meh… through a fine mesh sieve lined with cheesecloth? TWICE? Well, I’m not so fussy with my stock. If it’s murky, my whole family will still avidly slurp it down! Thanks for the tip on adding peppercorns, though. My pepper grinder broke last year and I’d love to use some of the leftover corns!
Glad you liked the tip! Everyone enjoys their own version. Enjoy!