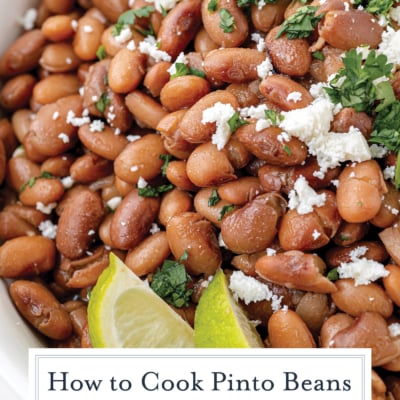
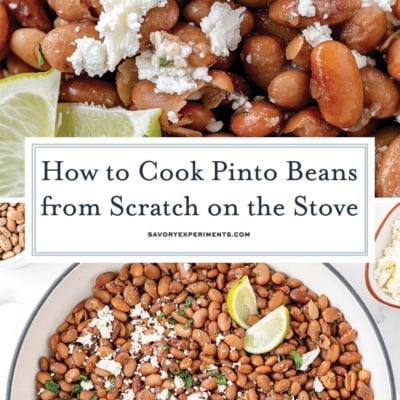
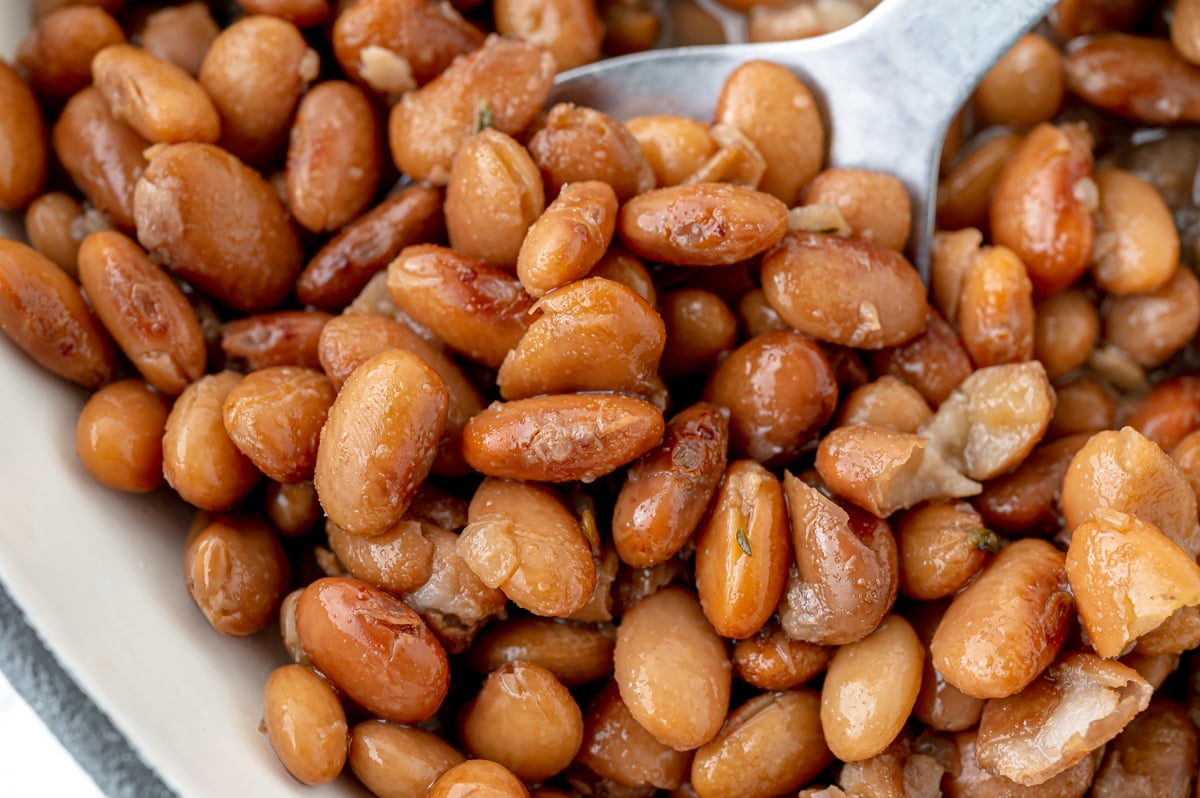
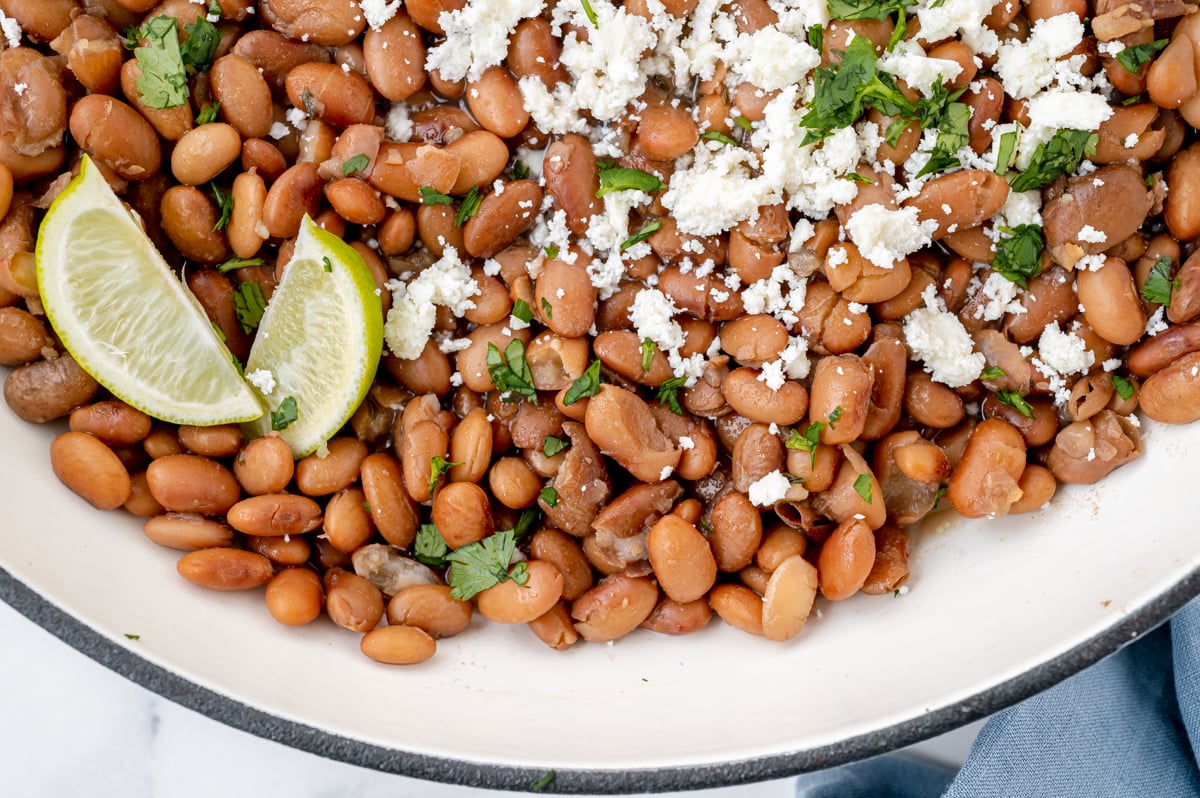
This stovetop version starts with an overnight soak, then simmers the beans with onion, garlic, thyme, bay leaf and a little heat until the centers turn creamy and tender. The real trick is not treating the cooking time like a deadline. Beans have personalities- or at least ages- and some batches simply take longer than others.
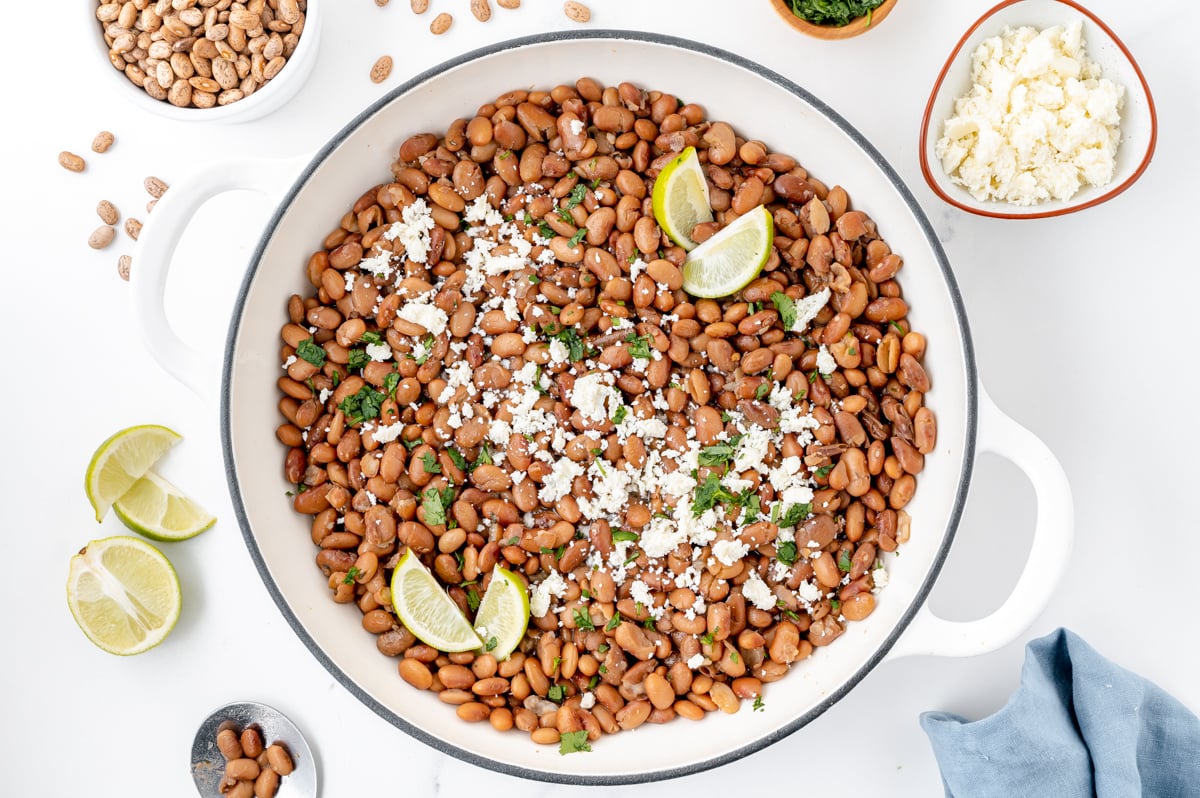
Beans, beans, the magical fruit….come on, I know you were thinking it too! Learning how to cook pinto beans is one of those kitchen skills that sounds considerably more complicated than it is. Dried beans need time, yes, but most of that time involves them quietly doing their thing while you occasionally stir the pot and make sure nobody is running out of water.
Why You’ll Love These Stovetop Pinto Beans
- Beans are seasoned from the beginning. Instead of cooking the beans in plain water and hoping salt fixes everything at the end, onion, garlic, herbs, bouillon and optional chile flavor the cooking liquid as the beans soften.
- The method teaches you what done actually looks like. You are not just told to cook for 90 minutes and cross your fingers. The beans are checked repeatedly for tenderness, flavor and seasoning.
- The cooking liquid is worth keeping. These beans develop a savory, lightly thickened broth that can be served with them instead of automatically draining all that flavor down the sink.
Ingredients for How to Cook Pinto Beans from Scratch
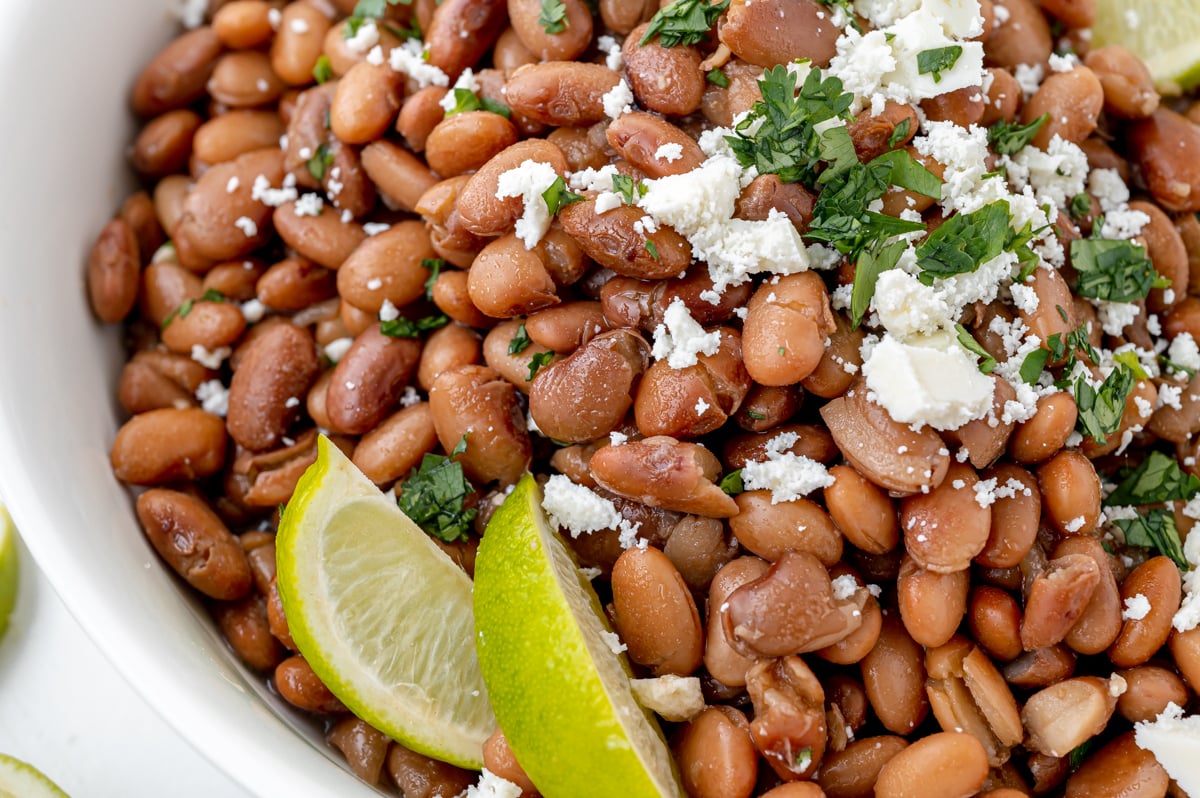
You only need a handful of ingredients to make pinto beans. A full list of ingredients with measurements for this recipe is available in the printable recipe card below.
- Dried pinto beans – Pinto beans are the foundation of the recipe. Before soaking, spread them out and look for any small stones, broken beans or other debris.
- Olive oil or pork lard – Either fat adds richness to the cooking liquid. Olive oil keeps the flavor lighter and makes the beans suitable for more serving styles. Lard gives the beans a richer, more traditional savory flavor.
- Yellow onion – Finely diced onion builds the savory base. Cooking it before adding the liquid softens its texture and develops sweetness.
- Fresh thyme – Fresh thyme gives the broth an earthy herbal note. Keep the sprigs whole so they can be removed easily after cooking.
- Bay leaf – Bay leaf adds subtle aromatic depth during the long simmer. Remove it before serving.
- Fresh garlic – Smashed garlic cloves flavor the broth without requiring finely minced pieces. Smashing also makes them easier to remove later if you prefer a very smooth broth.
- Dried pepperoncini or red pepper flakes – These are optional but add gentle heat. Dried pepperoncini peppers provide a slightly fruitier, more complex chile flavor, while red pepper flakes are easier to find and give straightforward heat.
- Chicken bouillon – Bouillon turns plain water into a more savory cooking broth. Paste, cubes or another concentrated bouillon can work, but sodium levels vary significantly.
- Coarse kosher salt – Salt seasons both the beans and their broth. Because bouillon contributes salt, add it gradually rather than all at once.
How to Cook Pinto Beans (Step-by-Step)
Follow these simple steps to flavorful beans every time!
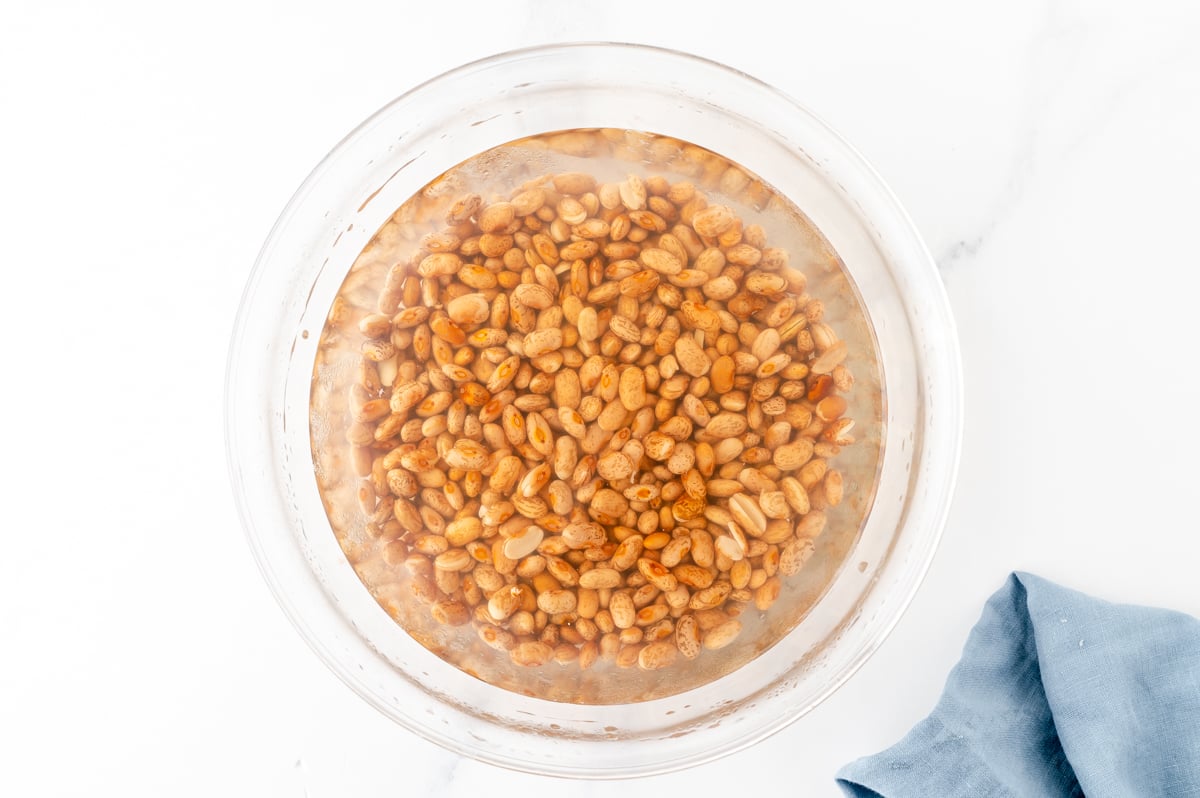
- Sort through and soak the beans. The night before you are cooking your beans, sift through the pintos beans to make sure there are no small pebbles. (Yes, this is a thing.) Rinse them with water and then put them in a bowl giving them plenty of space to expand. Cover with a plate or plastic wrap and put in the fridge to soak.
- Drain and rinse. The next day, drain and rinse the beans. These should expand to roughly double the size, giving you 4 cups of beans.
- Sauté onion. In a large heavy bottom pot, heat the 2 tablespoons of olive oil over medium-high heat. Be sure that this pot is large enough to let those beans expand yet again. When the oil is hot, add in the onion and sauté for 4-6 minutes until opaque.
- Add remaining ingredients. Gently add the soaked beans, the fresh thyme, the bay leaf, the garlic, the peppers/chilies, the bouillon, and the water. Add 1 ½ teaspoons of salt. The water should cover the beans by at least an inch in the pot you end up using. If you need to add more or have less, add or get rid of accordingly.
- Boil. Bring everything to a boil on high heat. As soon as you get a good bubble, bring that heat back down to a simmer. Skim the top of the liquid of any scum that has formed. The more of this you can get rid of the better, but don’t drive yourself crazy. Once you are happy, add a healthy glug (or three of olive oil or a heaping spoon of lard.)
- Taste test. About an hour into the process, taste a bean. It should be easy to bite into and starting to take on flavor. Add another teaspoon of salt here.
- Check and taste test again. At the 90 minute mark, do another quick taste test. Add more salt if needed and see how cook the beans are. Keep checking a bean every 15 minutes or so until they are done. They should be creamy and tender.
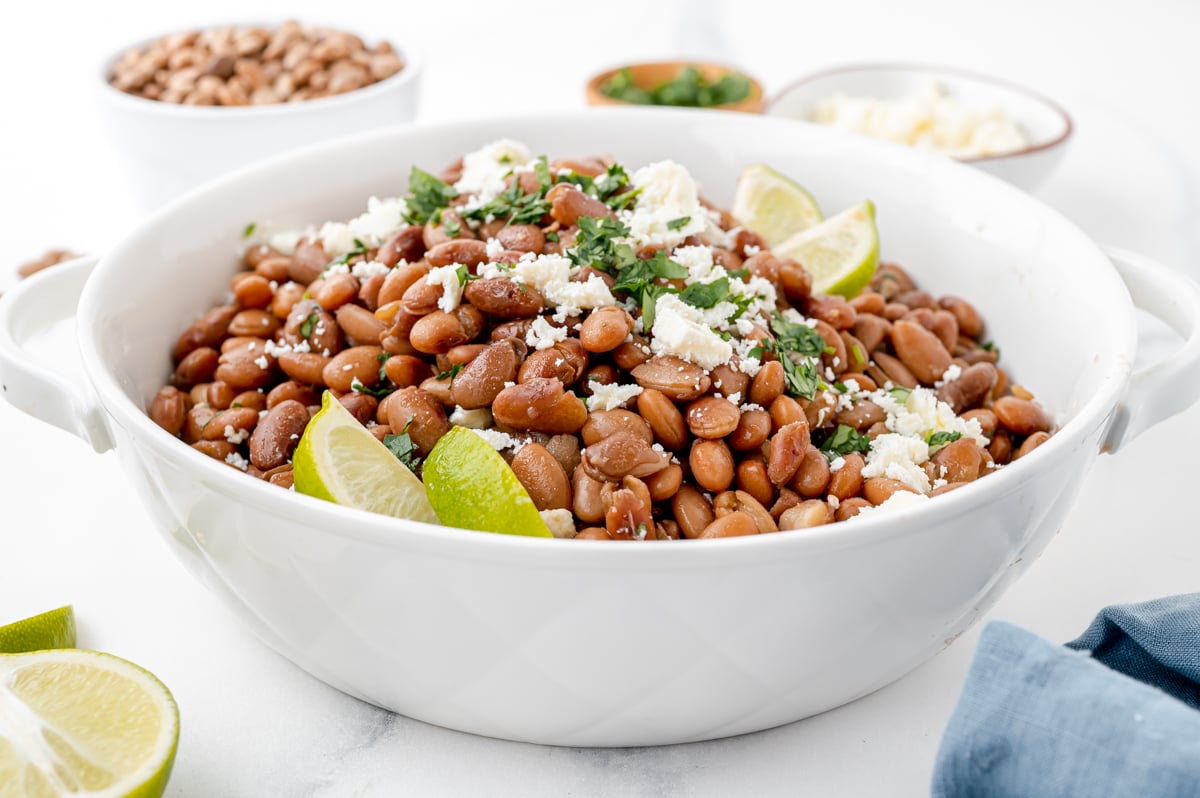
- Drain and serve. When you reach that point you can serve them in their broth or drain them and serve them on their own with your favorite protein.
Chef Tips
- Soak them overnight. I am not going to lie to you, cooking beans is not a quick process. Not that it is labor-intensive; it just takes more time than it would for you to open up a can of beans. They are far more flavor-packed this way.
- Don’t rush it. Pinto beans will take around nearly 2 hours to fully cook even after they have been soaked overnight. I love making them on a lazy Sunday when I have the time to let them go.
- Don’t be afraid of salt. A chef friend once told me that it is better to salt a little throughout the cooking process than just at the end so the bean really has time to soak it up.
- Fat is your friend. Whether it is oil or good ‘ol pork lard, a good amount of fat will give you the perfect creamy bite.
- Always say yes to add ins. If you go with salt, fat, and beans, you will have an okay bite. If you add in some aromatics, spices, and the like, you will have something truly addictive.
- Make room in the freezer. I make these in big batches and freeze some for later. They hold up beautifully and make an easy, thaw-out, side dish on a weeknight.
Seasoning for Pinto Beans
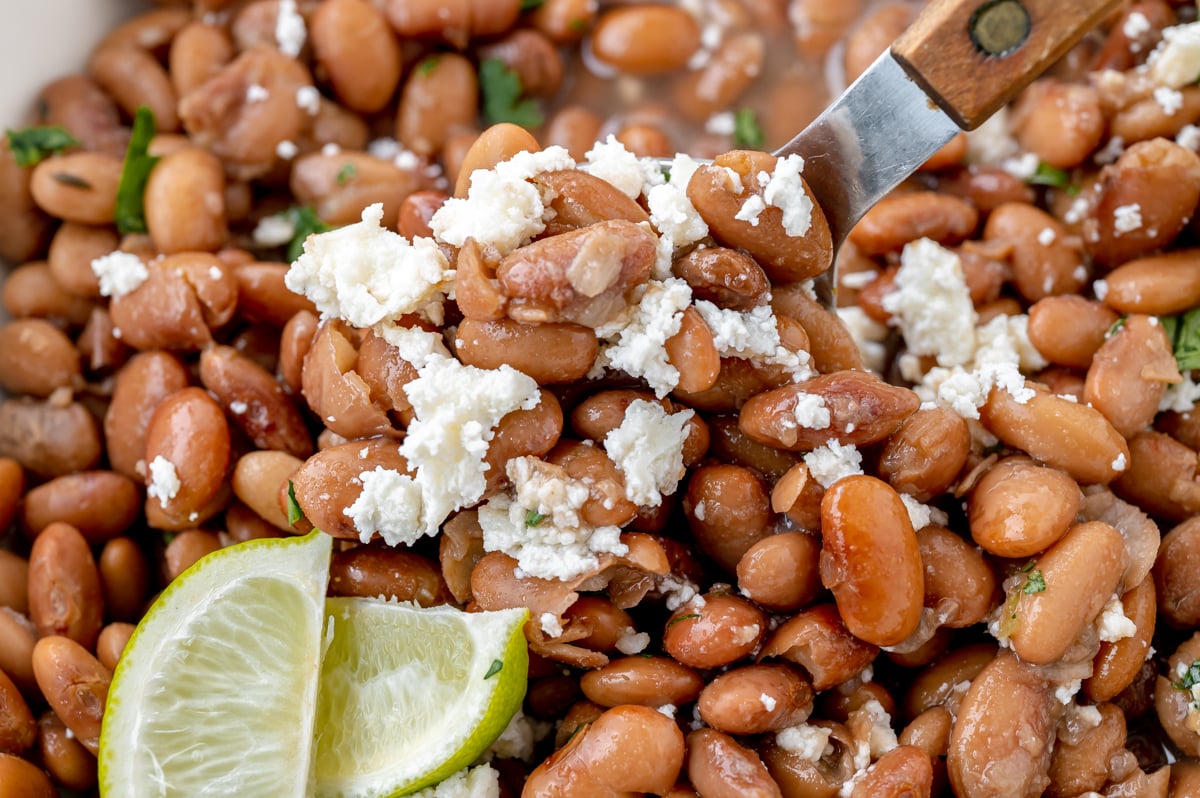
After you’ve made your pinto beans, you might want to add extra seasoning. Here are some top flavor affinities.
- Crushed red pepper flakes
- Aleppo pepper
- Fresh cilantro or coriander
- Garlic
- Cumin
- Onion
- Oregano
- Paprika
- Cooked bacon
- Fresh chiles
- Diced tomtatoes
- Fajita seasoning
Storage and Freezing
Storage: Allow the cooked beans to cool, then refrigerate them in an airtight container with enough cooking liquid to keep them moist. Use refrigerated beans within approximately 3 to 4 days.
Reheating: Reheat gently on the stovetop or in the microwave. Add a splash of water or broth if they have thickened significantly in the refrigerator.
Freezing: Cool them completely, then portion the beans and some of their cooking liquid into freezer-safe containers. Leave room for expansion. Freeze for approximately 3 months for best quality. Thaw overnight in the refrigerator or reheat gently from frozen.
Frequently Asked Questions
Soaked pinto beans typically take about 1½ to 2 hours to become tender on the stove. Unsoaked beans can take approximately 2 to 4 hours. The exact time depends on how old the beans are, the soaking method, and the temperature of your simmer.
No, soaking pinto beans isn’t required. However, soaking overnight can shorten cooking time and help the beans cook more evenly. It’s the method I recommend for this recipe.
You can cook pinto beans covered with the lid slightly ajar to reduce evaporation while allowing some steam to escape. Check occasionally to make sure the pot maintains a gentle simmer and the beans remain submerged.
Old beans, hard water, acidic ingredients, or an insufficient simmer can all contribute to beans staying firm. Continue cooking them in enough liquid until fully tender, checking regularly.
Two cups of dried pinto beans, approximately one pound, will generally yield about 6 cups of cooked beans. The exact amount varies depending on the beans and their final texture.
More Bean Recipes
If you’re a bean lover like me, these sides and salads are sure to be up your alley.


How to Cook Pinto Beans from Scratch on the Stove
Equipment
Ingredients
- 2 cups dried pinto beans
- 2 tablespoons olive oil or pork lard , plus more
- 1 yellow onion , finely diced
- 4-5 sprigs fresh thyme
- 1 fresh or dried bay leaf
- 3 cloves garlic , peeled and smashed with a knife
- 4 whole dried pepperoncini peppers OR ½ teaspoon red chili flake , optional
- 4 teaspoons chicken bouillon paste or cubes*
- 1 1/2 teaspoons coarse kosher salt
- 8-10 cups water
Instructions
- The night before you are cooking your 2 cups dried pinto beans, sift through the pintos beans to make sure there are no small pebbles. (Yes, this is a thing.) Rinse them with water and then put them in a bowl giving them plenty of space to expand. Cover with a plate or plastic wrap and put in the fridge to soak.
- The next day, drain and rinse the beans. These should expand to roughly double the size, giving you 4 cups of beans.
- In a large heavy bottom pot, heat the 2 tablespoons olive oil or pork lard over medium-high heat. Be sure that this pot is large enough to let those beans expand yet again. When the oil is hot, add in the chopped 1 yellow onion and saute for 4-6 minutes until opaque.
- Gently add the drained beans, 4-5 sprigs fresh thyme, 1 fresh or dried bay leaf, smashed 3 cloves garlic, 4 whole dried pepperoncini peppers OR ½ teaspoon red chili flake, 4 teaspoons chicken bouillon paste or cubes*, 1 1/2 teaspoons coarse kosher salt and 8-10 cups water. The water should cover the beans by at least an inch in the pot you end up using. If you need to add more or have less, add or get rid of accordingly.
- Bring everything to a boil on high heat. As soon as you get a good bubble, bring that heat back down to a simmer. Skim the top of the liquid of any scum that has formed. The more of this you can get rid of the better, but don’t drive yourself crazy. Once you are happy, add a healthy glug (or three of olive oil or a heaping spoon of lard.) Keep an eye on the beans and stir every 15-20 minutes or so.
- About an hour into the process, taste a bean. It should be easy to bite into and starting to take on flavor. Add another teaspoon of salt here.
- At the 90 minute mark, do another quick taste test. Add more salt if needed and see how cook the beans are. Keep checking a bean every 15 minutes or so until they are done. They should be creamy and tender.
- When you reach that point you can serve them in their broth or drain them and serve them on their own with your favorite protein.
- If you liked this recipe, come back and let us know how it was in the comments or star ratings.
Notes
Nutrition















Your directions were very easy to follow and these turned out great!
I really appreciate all the tips and advice you give in this post to make the best pinto beans. I do get tired of buying and using canned beans. This is a much healthier alternative.
I love the step by step instructions. This sounds like the perfect way to make them.
Appreciate it. This worked perfectly for a soup I needed cooked beans for and only had dry. Thanks!
Great information on how to get these dried beans cooked! Love it!
What a great idea…this is so much cheaper than buying canned beans!