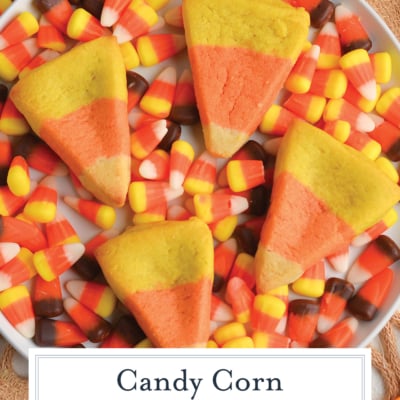

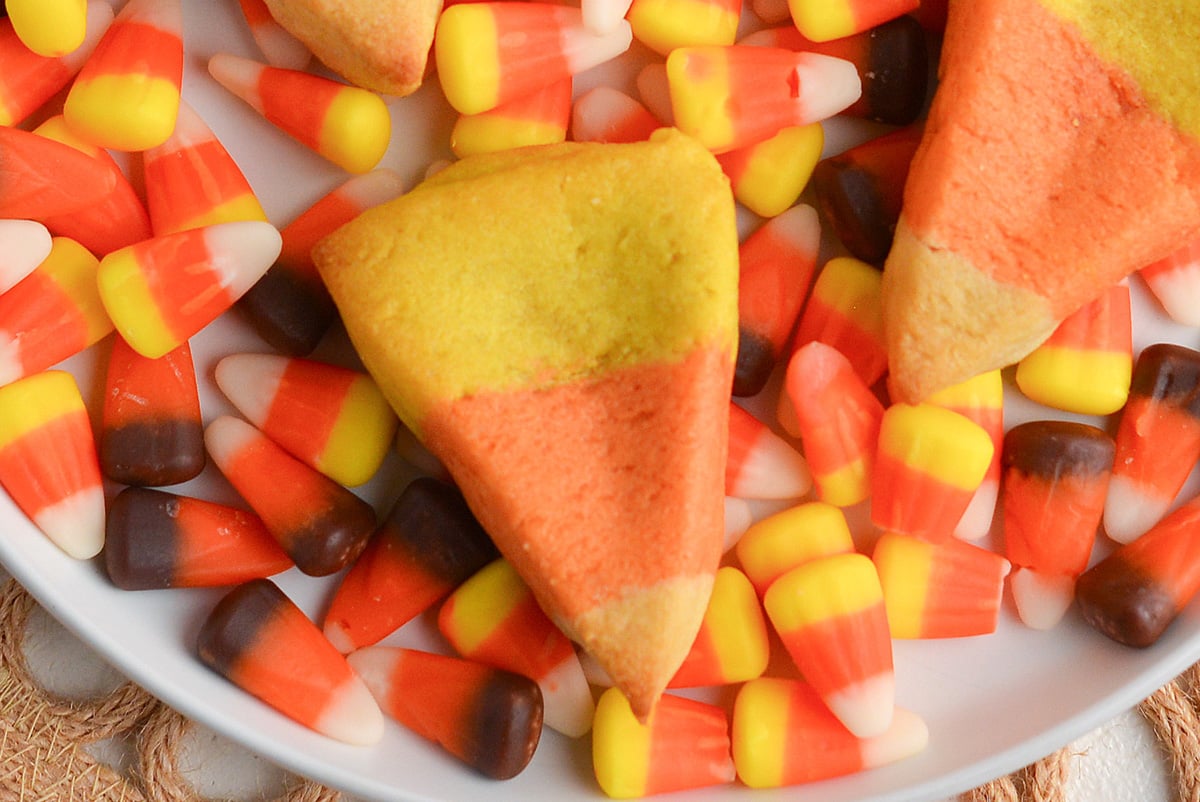
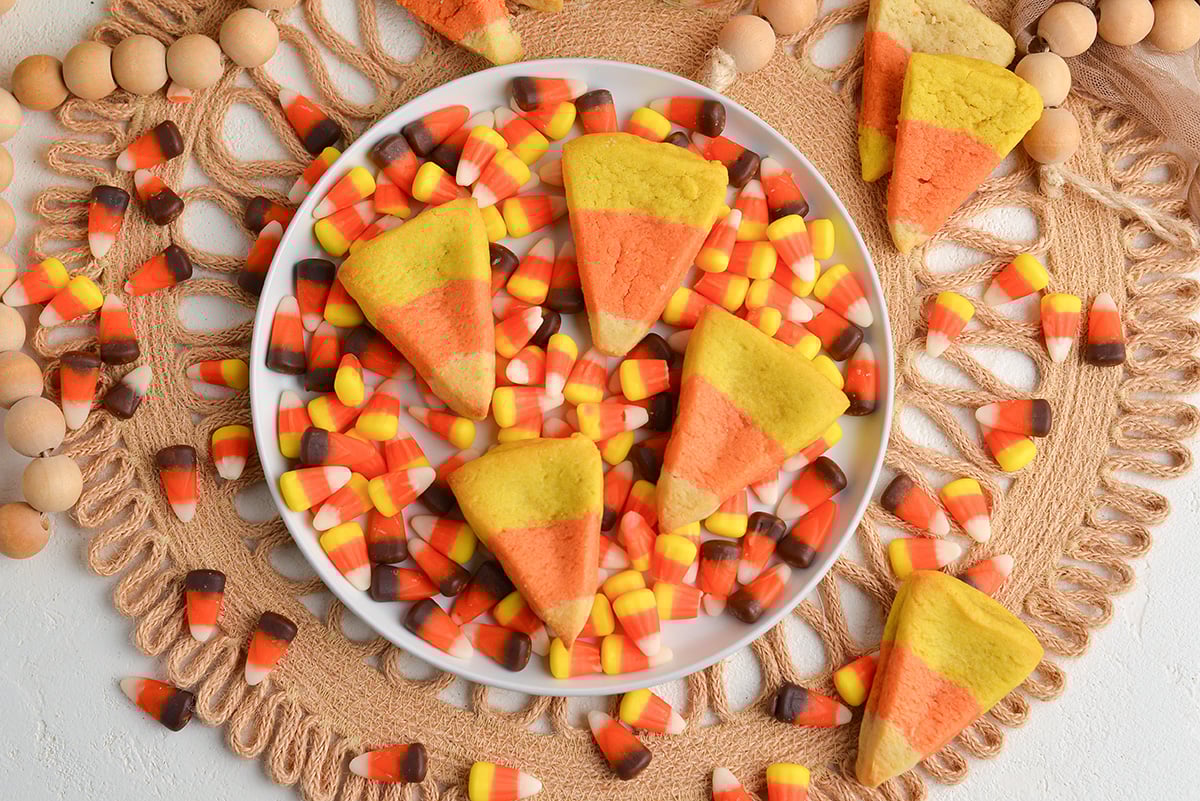
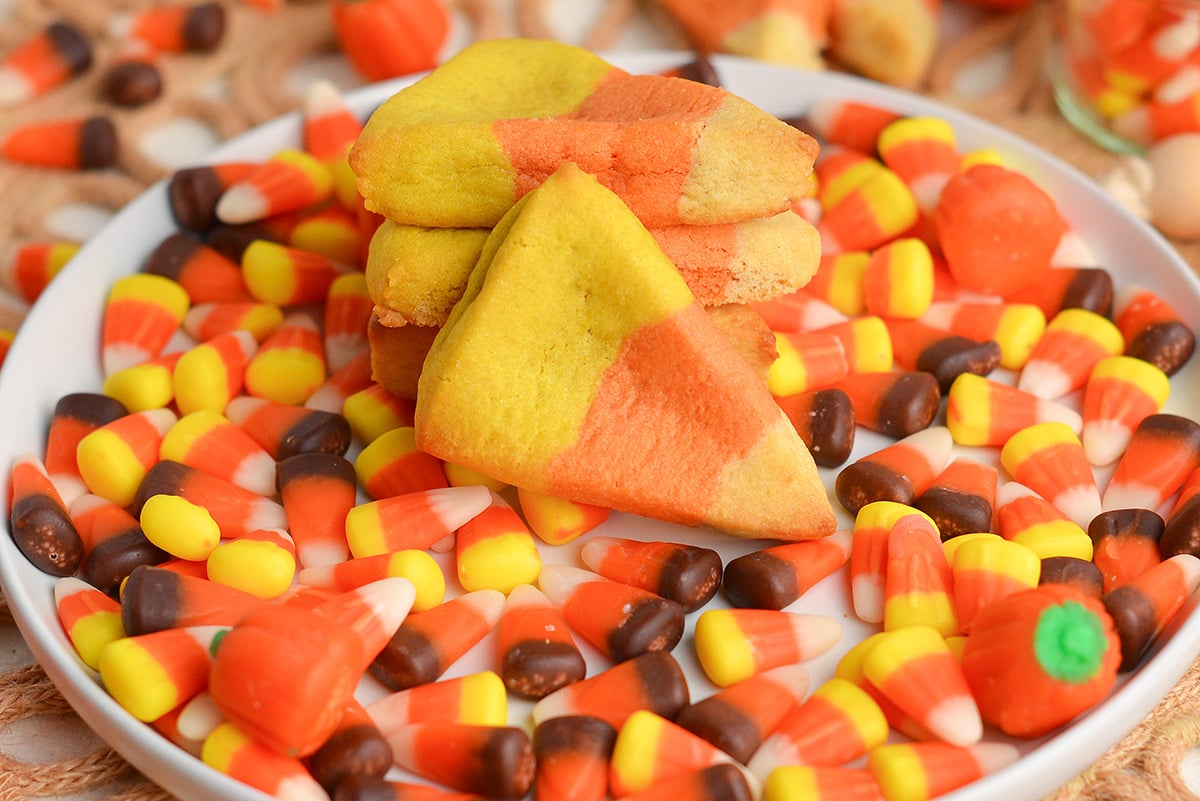
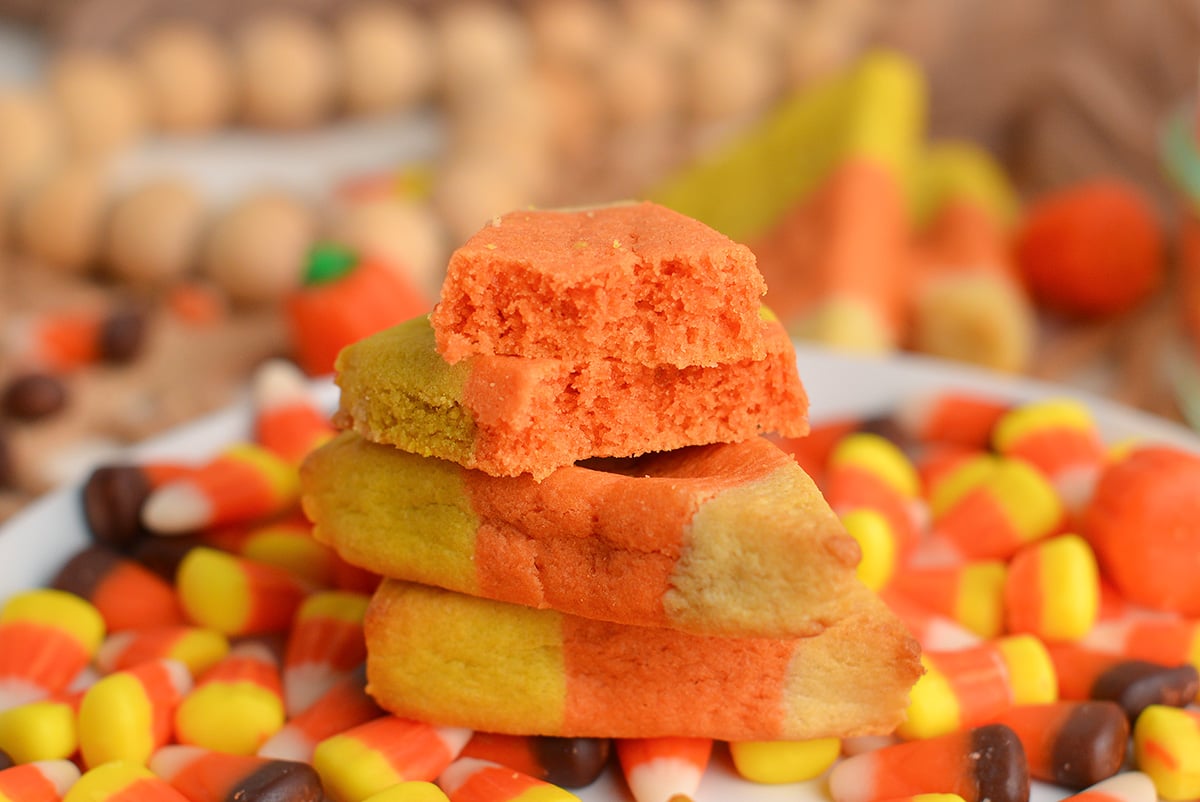
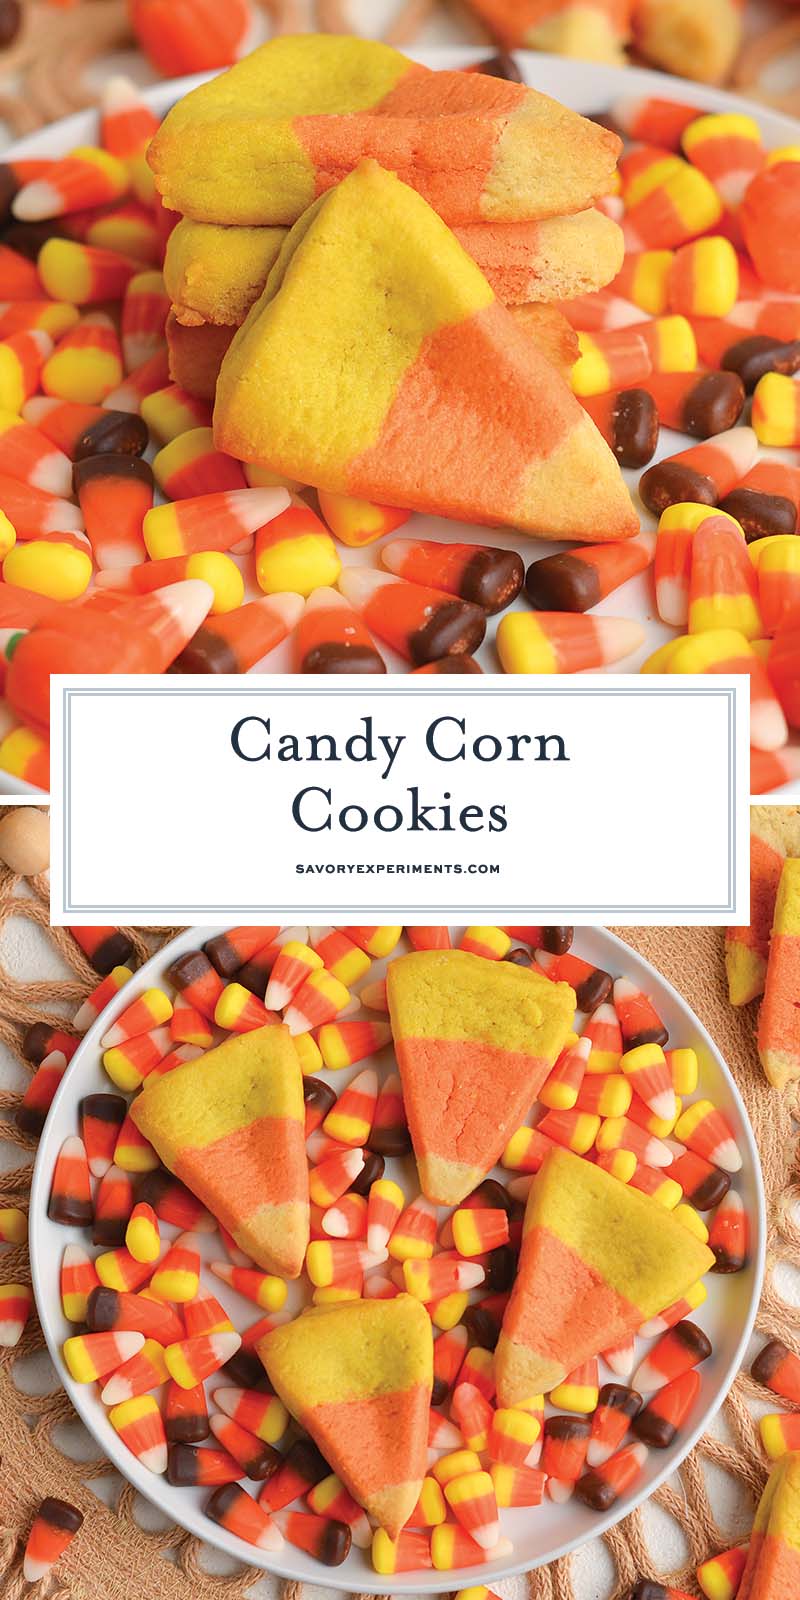
These candy corn cookies are a fun and festive way to help you celebrate Halloween! A classic twist on your typical Halloween cookies.
What You’ll Need
You only need a handful of simple ingredients to make this fun treat. Most of which you probably already have in your pantry! A full list of ingredients with measurements for this recipe is available in the printable recipe card below.
- Butter – I always prefer to use to use unsalted butter when baking so that I can control the amount of salt that goes into the recipe. Make sure it is softened, but not melted.
- Eggs – Room temperature eggs are better. It allows them to be incorporated into the cookie dough easier.
- Sugar
- Vanilla
- Salt
- Flour
- Baking soda
- Food coloring

Make Them Your Own
There are plenty of ways you can put a fun twist on these candy corn cookies!
- Real candy corn – You can add real candy corn pieces to these cookies.
- White chocolate chips – Mix some chips into the cookie dough to make white chocolate candy corn cookies!
- Icing – You can certainly add icing on top of the cookies. While the icing is still wet, you could even add pieces of candy corn too. Double whammy!
Storage and Freezing
You can store any leftover cookies in an airtight container at room temperature. A chewy candy corn cookie makes a great treat whenever you want to enjoy them.
These cookies also freeze really well. Placed cookies in a freezer bag and you can enjoy them any time of year.
Candy Corn Cookie Recipe
Ingredients
- 2 1/4 cups vegetable shortening
- 3 cups sugar
- 6 eggs
- 3 teaspoons vanilla extract
- 7 1/2 cups flour
- 3 teaspoons baking powder
- 3 teaspoons fine sea salt
- red and yellow food coloring
Instructions
- In the bowl of a stand mixer with the paddle attachment or a large mixing bowl with an electric hand mixer, cream together the 2 1/4 cups vegetable shortening and 3 cups sugar for 2-3 minutes until the sugar starts to dissolve. Add the 6 eggs and 3 teaspoons vanilla extract, blend well.
- Sift the 7 1/2 cups flour, 3 teaspoons baking powder and 3 teaspoons fine sea salt in a separate mixing bowl. Slowly blend the dry ingredients into the wet ingredients until a dough forms.
- Line a 9×5 inch loaf pan with plastic wrap. Line horizontally and vertically.
- Divide the dough into 3 even sections. Press one section of dough into the bottom of the loaf pan, pressing down with the bottom of a measuring cup to make it has flat as possible.
- Add the next section of the dough to the stand mixing or mixing bowl. Add equal drops of yellow and red food coloring until it achieves the right color of orange. Press that dough into the loaf pan.
- Add the last section of dough to the mixer, adding only a few drops of yellow food coloring until it reaches the correct color, then press it evenly into the loaf pan. The dough will be to the top, if not slightly over. Cover with plastic wrap and chill for 4-24 hours.
- When ready to bake, preheat the oven to 400°F and line an insulated cookie sheet with parchment paper.
- Invert the dough and gently pull the cookie dough out of the loaf pan and slice into 1/2 inch slabs. Cut diagonally into triangles. Cookies are small, this is normal and why the recipe makes so many.
- Arrange on the prepared cookie sheet 2 inches apart. Bake for 6-7 minutes or until they start to puff up and might lightly brown along the edges.
- Remove and using a pastry cutter or 2 other flat metal surfaces, reshape any uneven sides into straight lines.
- Allow to cool before removing to a wire cooling rack.
- Repeat with the remaining dough, keeping unused dough in the refrigerator until ready to use.
- Frost if desired.
- If you’ve tried this recipe, come back and let us know how it went in the comments or star ratings.
Notes
Nutrition
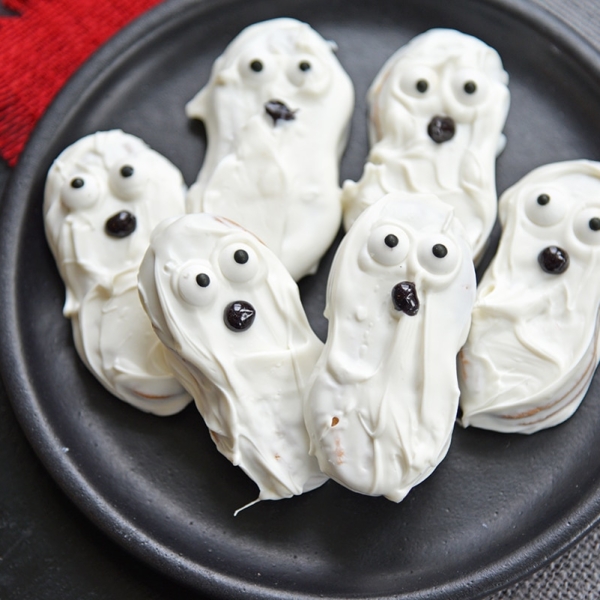
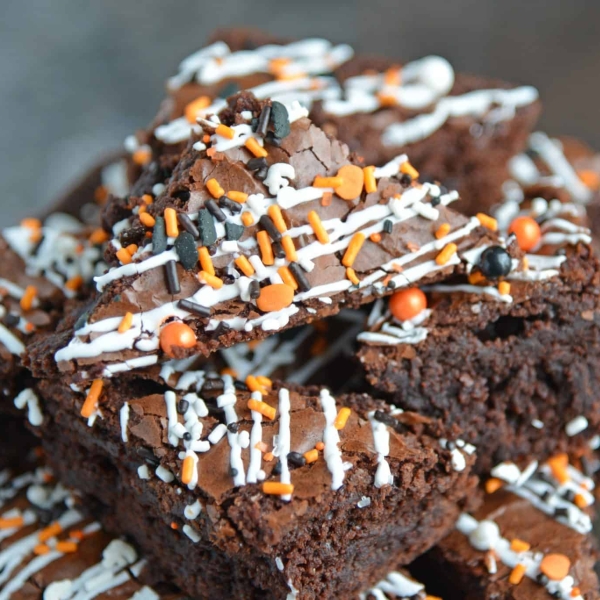
More Easy Desserts for Halloween
Whether for a fun kitchen project with the kids or a spooky Halloween party, these Halloween treats are the best!


Thanks so much for linking this cute cookies up to our Spooktacular Halloween link party. I’ve been wanting to try these forever and now I can 🙂
Michelle
You are very welcome!