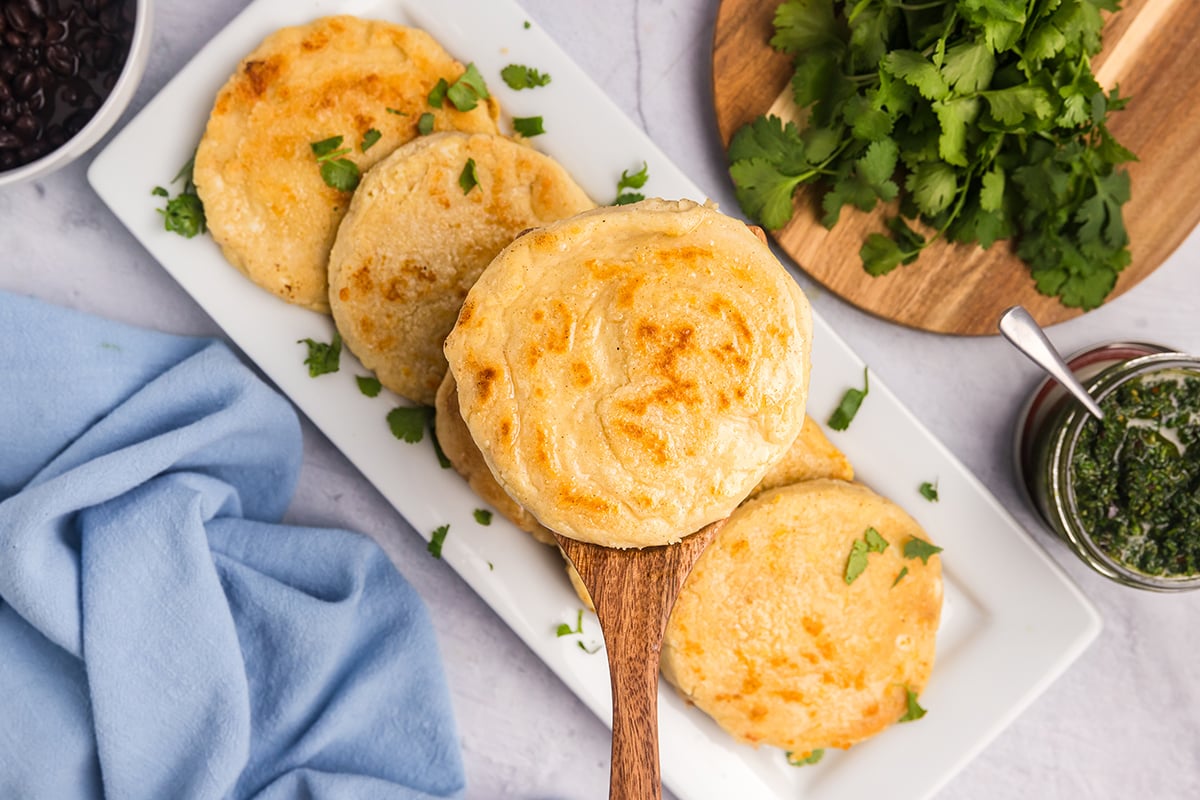
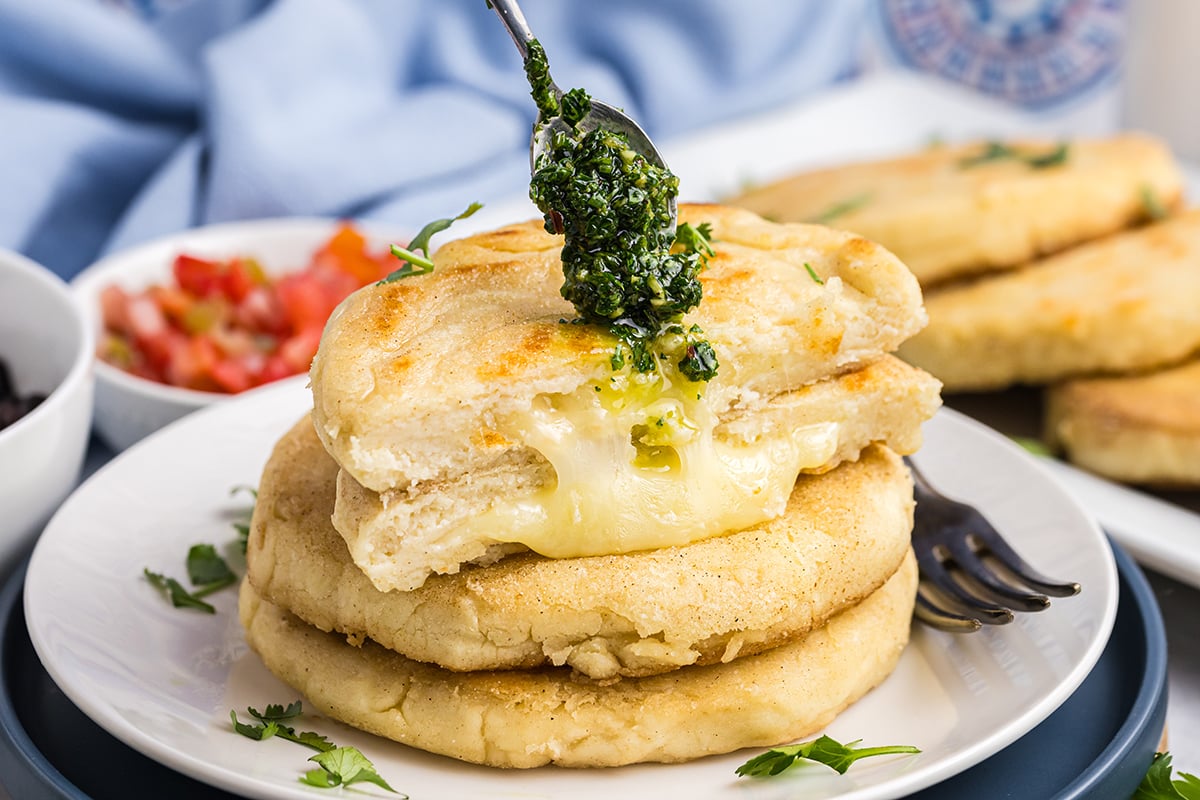
An arepa con queso is a savory, cheese filled corn cake cooked on a griddle. This South American (from Colombian or El Salvadorian) treat is delicious with any meal!

What To Grab at the Store
You do need some specific ingredients for this recipe. Please note – specific ingredients that might be new to you doesn’t necessarily mean scary and crazy and hard to find. It just means new.
A full list of ingredients with measurements is available in the printable recipe card below.
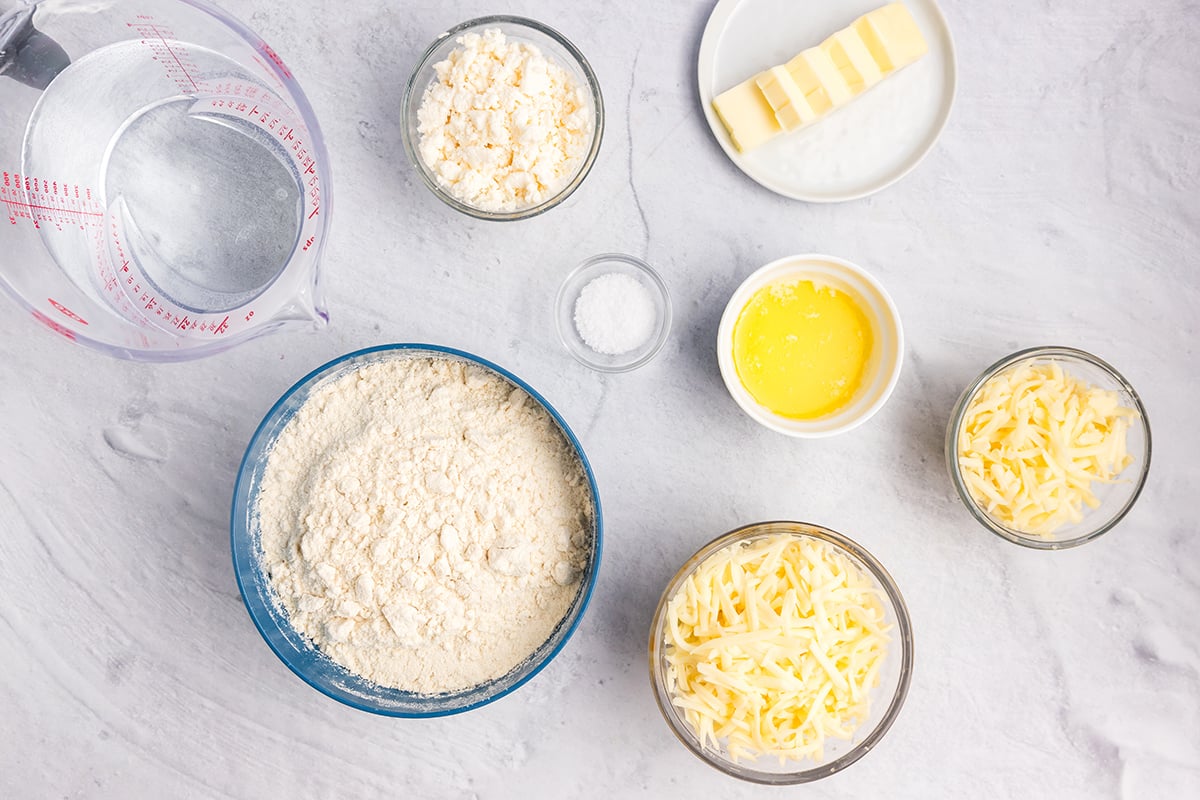
- Precooked White Cornmeal (Masa)- This is different from just regular cornmeal, it needs to be precooked cornmeal that is dehydrated. It is often called “masa”, “masarepa”, “harina precocida” or “masa al instante”. Seeing words on the packaging that include precooked or instant are clues that you have the right thing.
- Soft Melting Cheese – You will use shredded cheese both in the dough of the arepa but also to stuff in the middle. You can use mozzarella cheese or a “Mexican blend” of melting cheeses that are sold pre-shredded in the grocery store. I’m not usually a fan of pre-shredded cheese, but if you need to grab it, I understand. Oddly, mozzarella, an Italian cheese, is often the one used in South America because it is so melty.
- Cotija cheese – This is an aged, crumbly cheese that is sold in a white wheel. It has a salty and milky flavor that kind of resembles a cross between feta and parmesan cheese. Find this in the specialty cheese section of your local grocers. You can also substitute queso fresco.
- Butter – You will use melted butter in the recipe to make the dough, but you also need a little bit of butter to grease the skillet with for cooking. Unsalted butter works best here because the cheeses are salty.
- Warm water – Warm tap water will help you make the dough.
- Salt – use regular table salt or kosher sea salt.
How to Whip These Up
These arepas are so easy to make, which means you can easily make them any time!
- Make the dough. Whisk together the cornmeal, salt and both cheeses in a medium bowl. Stir in the water and butter until a soft dough forms. If the dough cracks and feels dry when you work it, add a little more water.
- Let sit. Cover the bowl with a kitchen towel and allow it to sit for ten minutes.
- Knead and divide. Knead the dough for a few minutes until it is smooth and soft. Then divide the dough into 16 equal balls. Pat each ball of dough into a circle using the palm of your hand.
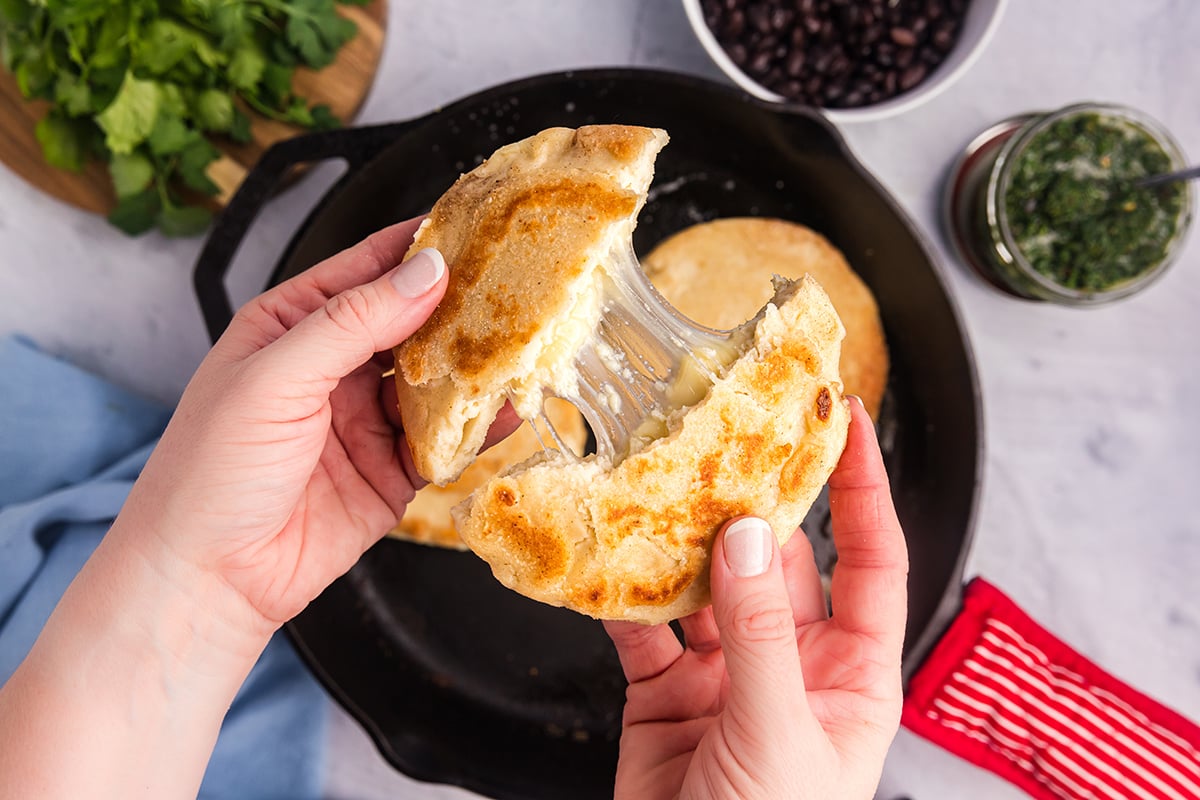
- Fill with cheese. Place a few tablespoons of shredded cheese in the middle of the patty. Fold and wrap the dough around the cheese, ensuring all the cheese is well sealed inside.
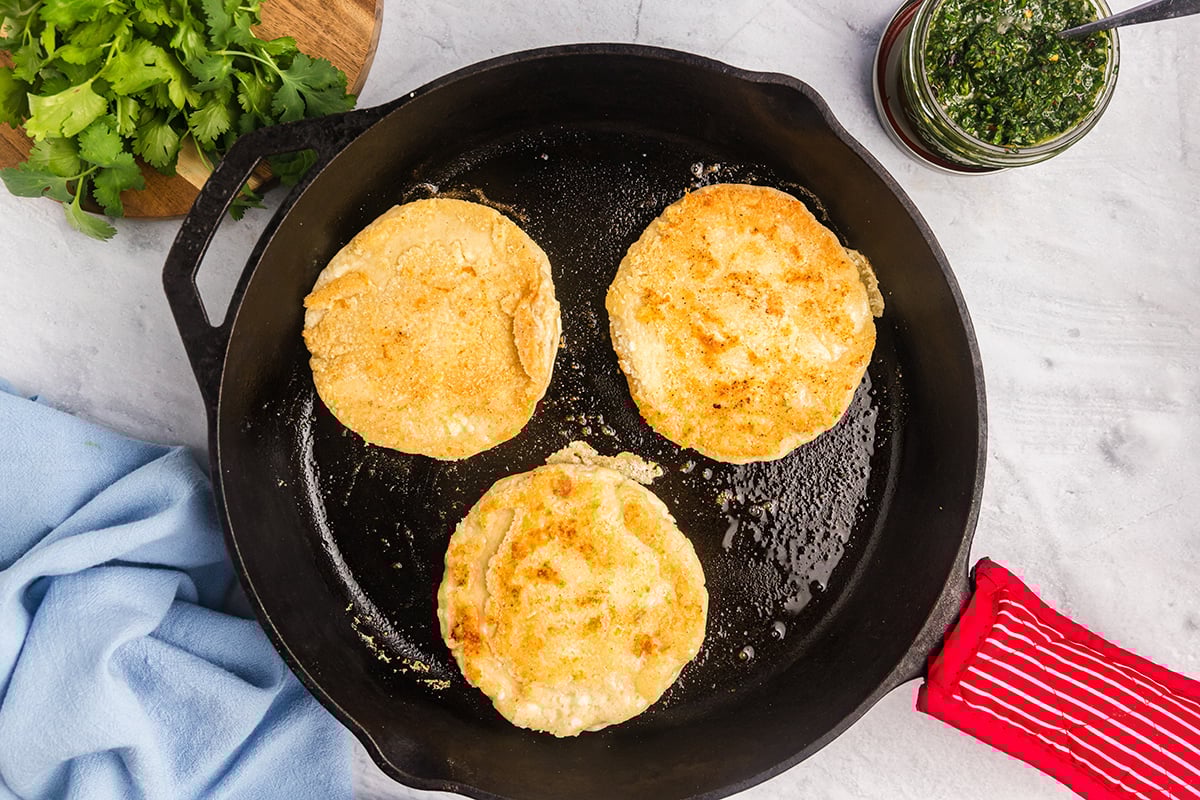
- Cook. In a hot skillet (nonstick skillet preferred), place a small pad of butter on the skillet and spread it around to coat the surface. Place the arepas on the skillet and cook for 5 minutes on the first side and then for 5 minutes on the second side. Aim for medium heat because the butter will burn past 350°F.
- Cool and enjoy. Transfer the arepas to a wire rack to cool while you continue cooking the rest (or to a medium-low heat oven to keep warm if you are making a lot). This prevents steam from building up and making them soggy. Then enjoy!
The first time making arepas is always a little challenging. But like most things, each time gets a little simpler, and sooner or later, you’ll be a pro.
5S Philosophy 👩🏻🍳
-
- Salt – We add a little salt to the batter but the cheeses also impart a little salty flavor, too.
-
- Seasoning – Traditional arepas are made with fairly simple ingredients that don’t include seasonings but you can absolutely add them. Try herbs, spices, or even a pinch of sugar for a sweeter version.
-
- Swaps – Instead of making them in a pan on the stove, try making them in the air fryer!
-
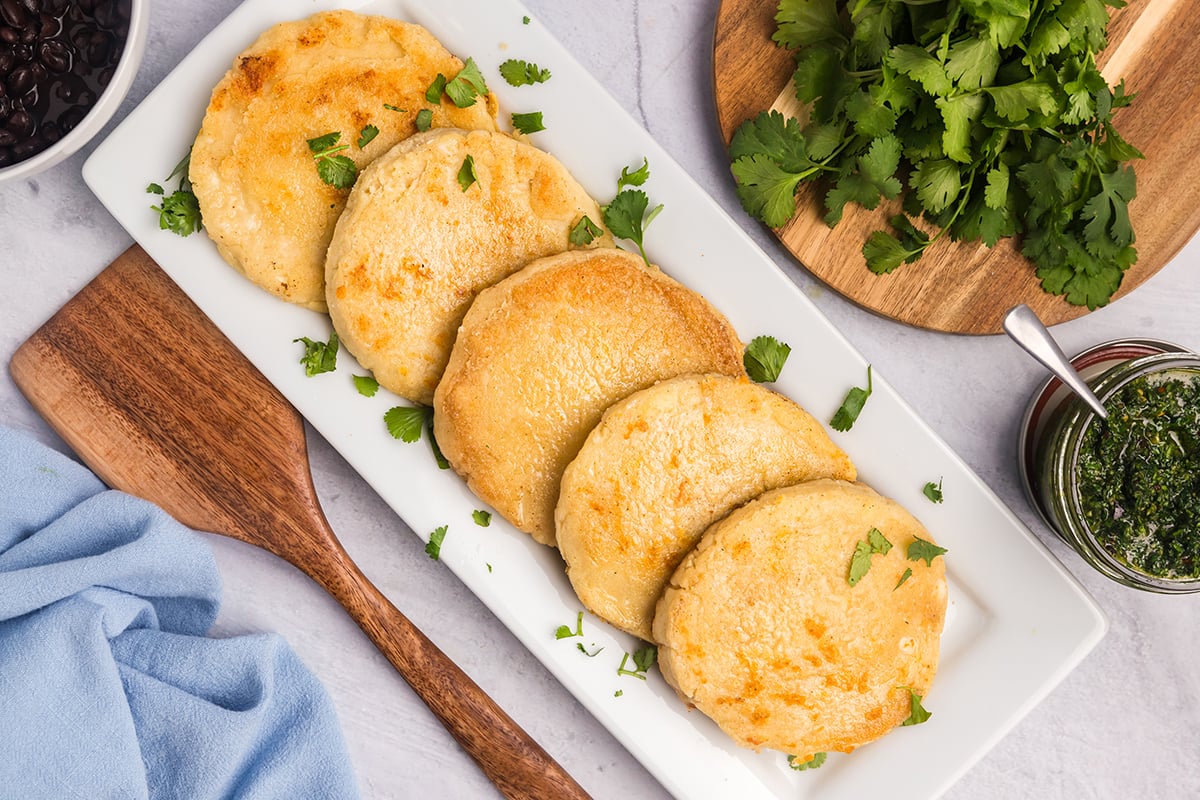
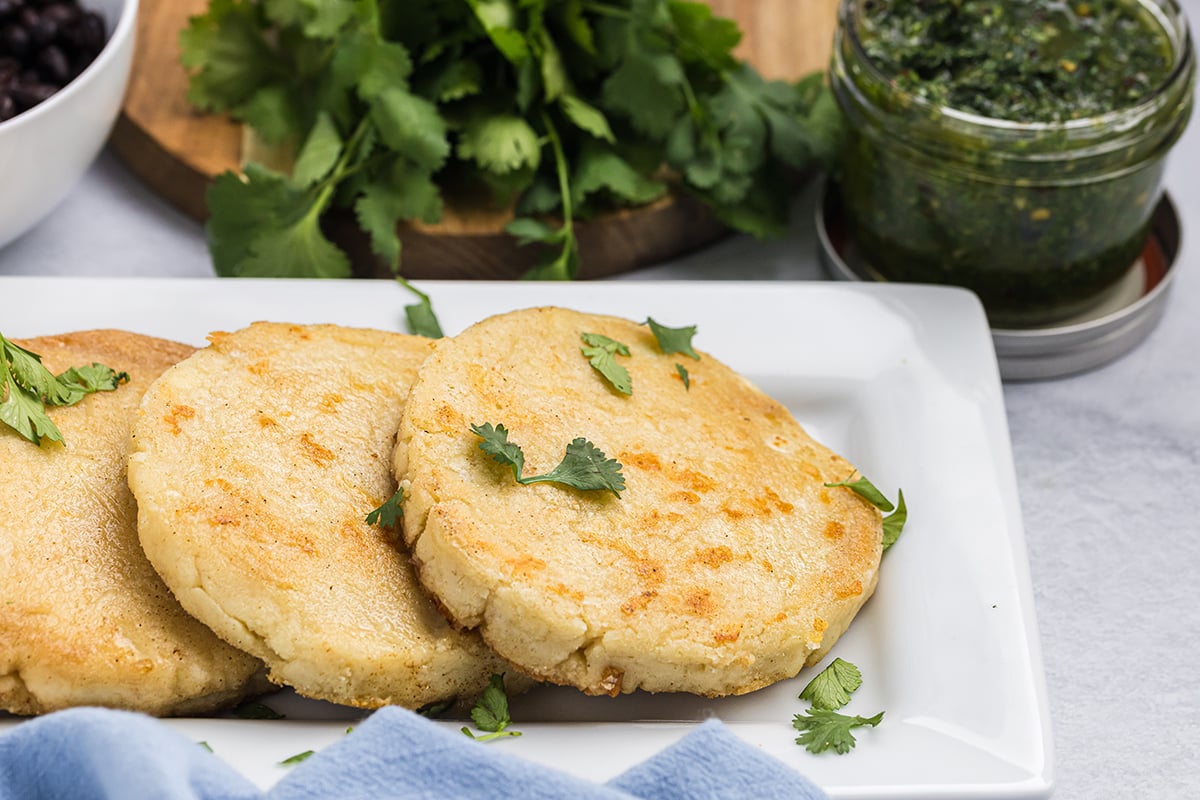
- Senses – There’s nothing quite as satisfying as hearing the sizzle as the dough hits the pan when you’re making these. Plus, they turn a beautiful golden brown. And, they’re just crispy enough on the outside with a soft and tender interior.
Tasty Companions
Arepas are so versatile and work well in a variety of ways. They are great as a snack, or part of any meal. These arepas are amazing on their own, served beside a meal like scrambled eggs and soups or stews, or stuffed with all kinds of awesome fillings. Here are a few ideas:
- Meat filling – Use your favorite meat like ground beef, slow cooker pork carnitas, shredded beef, spiced chicken, jackfruit, you name it!
- Vegetable filling – Add all the fillings like guacamole, seasoned black beans, fried plantains, grilled sweet potatoes, pickled red onions, crumbled cheese, all the things.
Storage
If you end up with leftovers, no worries! These store beautifully in the fridge or freezer.
Refrigerator
Leftover fried arepas can be stored in a sealed container in the fridge for up to 3 or 4 days.
To reheat leftover arepas, you can put them in a 350F oven or toaster oven for about 10 minutes. You can also reheat them in the microwave, but you lose a little of the crispy and tender texture this way.
Freezer
Yes, you sure can! I recommend putting pieces of parchment paper between layers of arepas so that they don’t freeze altogether.
Commonly Asked Questions
Arepas (arepas de queso) are soft cornmeal cakes that originated hundreds of years ago in the areas that now make up Colombia, Venezuela, El Salvador, and Panama. The translation to English is tricky because the word arepas doesn’t have a direct translation, but “con queso” means with cheese. These tasty pockets can also be filled with meats and sometimes vegetables.
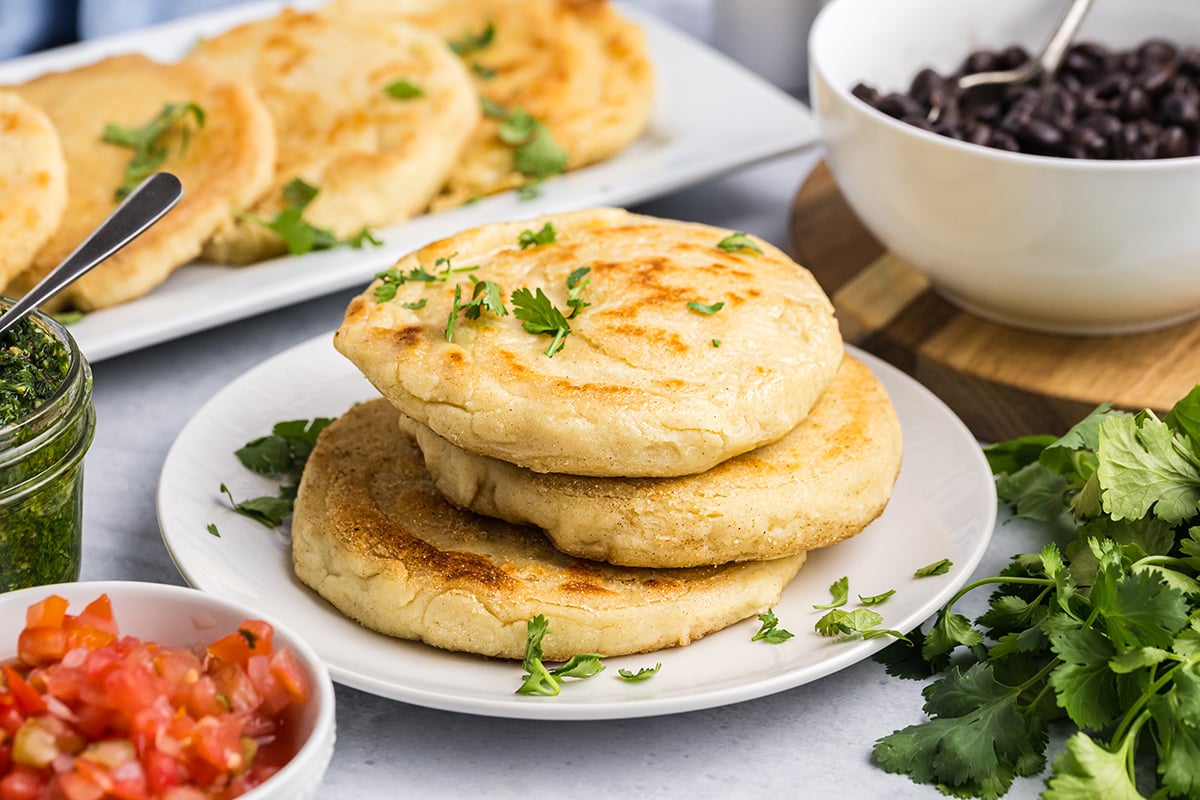
They are eaten as a daily food staple, with any meal. They are like a mix of a thick corn tortilla with a grilled cheese sandwich. Colombian arepas con queso seem to be the most popular in the states.
Just like any food that spans multiple areas, there are different versions of arepas. Venezuelan arepas tend to be smaller and thicker and are more likely to be stuffed with meats and beans. Colombian arepas are sweeter and thinner and can be stuffed with cheese, and piled with toppings. Arepas can be cooked on a griddle, deep fried, or even boiled.
To prevent arepas from cracking, make sure your dough has the right consistency—it should be smooth and hold together without being too dry or too wet. Kneading the dough thoroughly helps develop the starches that bind it together. Another important tip is to let the dough rest for 5-10 minutes before shaping, which allows the cornmeal to fully hydrate. When cooking, don’t flip them too early, and keep the heat at medium rather than high to avoid rapid temperature changes that can cause cracking.
Arepas are much thicker than tortillas and are made from pre-cooked cornmeal, which gives them a cake-like consistency, while tortillas use masa harina. Also, unlike tortillas which are usually soft and pliable, arepas are hearty enough to be split open and stuffed like a sandwich or served as a substantial side dish.
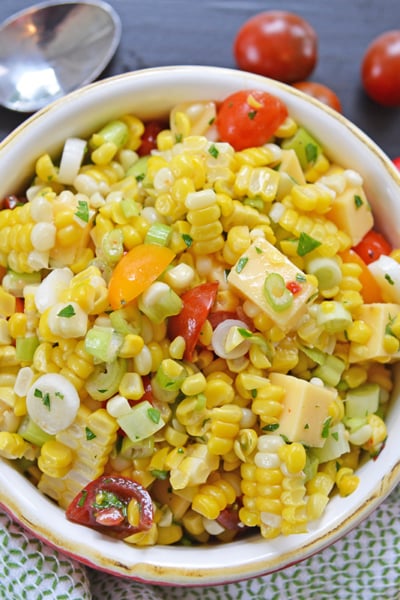
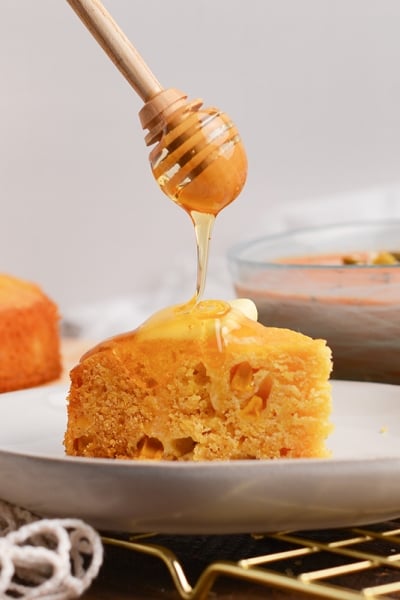
More Easy Side Dishes
A delicious side dish can elevate nearly any meal! Here are a few of our favorites that we know you’ll love too.

Arepas con Queso Recipe
Ingredients
- 4 cups white or yellow masa
- 1 cup cotija cheese , crumbled
- 1 teaspoon coarse Kosher salt
- 2 cups low moisture part skim mozzarella cheese , shredded, divided
- 3 ½ cups warm water
- ¼ cup unsalted butter , melted
- more butter for the griddle
Instructions
- In a large bowl, whisk together the 4 cups white or yellow masa , 1 cup cotija cheese and 1 teaspoon coarse Kosher salt.
- Stir in the 3 ½ cups warm water and melted¼ cup unsalted butter to form a soft dough. It should be the consistency of homemade playdough.
- Cover the bowl with a kitchen towel and allow it to sit for 10 minutes.
- Knead the dough for a few minutes until it is smooth and soft. It should hold its shape, but be easily worked.
- Divide the dough into 16 equal balls.
- Pat each ball of dough into a 5 inch circle that is about ¼” thick.
- Place one heaping tablespoons of the remaining mozzarella in the middle of the patty.
- Sandwich another piece of dough over it and seal the edges by pinching. Seal well.
- Pat the dough into a patty that is about 3-4 inches wide and a ½” thick.
- Repeat with remaining balls of dough so you have 8 total. Set aside.
- Heat a 12” cast iron skillet over medium high heat or an electric griddle at 325°F.
- When the skillet is hot, place a small pad of butter on the skillet and spread it around to coat the surface.
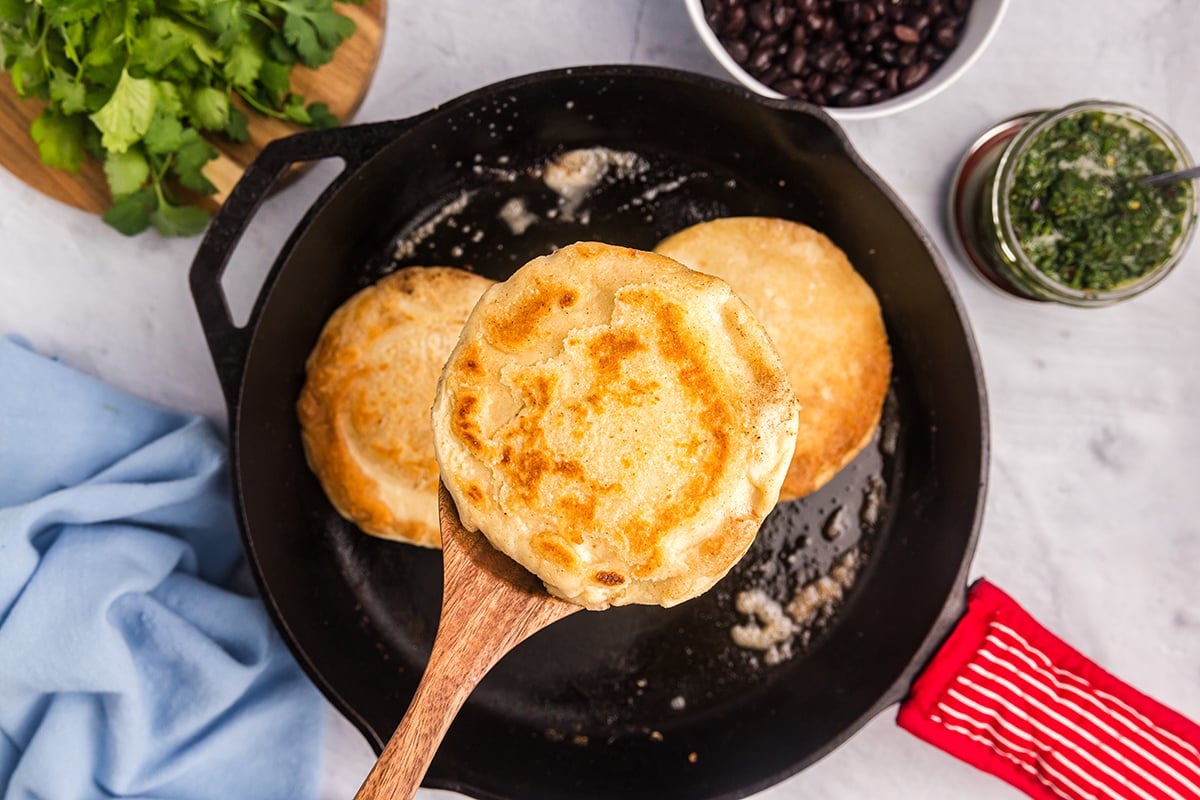
- Place the arepas on the skillet and cook for 3-4 minutes on each side until crispy and golden.
- Transfer to a wire rack to cool while you continue cooking the rest. Keep in a warm oven.
- If you've tried this recipe, come back and let us know how it was in the comments or star ratings.
Video
Notes
Nutrition


I’m making these at work with my kids. I’ve never eaten them let alone made them. Wish me luck.
My whole family loved these! They were very easy to make and delicious! We actually made these for our Encanto movie night. I just wrote a blog about our movie night, and shared a link to your recipe! Here is my Encanto movie night post: https://magpietayleetot.com/blogs/magpietayleetot-crafts-parties-and-more/encanto-family-movie-night
How do you reheat these? They’re good but I find that they’re HUGE
I’d reheat them in a skillet just super quick on high heat. Or in the oven at 300°F for just a few minutes.
Love the recipe Jess! What a fun activity to do, they came out so great I could not imagine a better outcome. Can’t wait to check out your other recipes, will definitely be a new fan. Sending love.
Thanks so much for coming back to let us know!
Why you don’t tell how much of ingredients I need page is useless
You must have scrolled right past the recipe card with amounts of ingredients to find the comment section. You can save it to a digital recipe box or even print it and there is a “jump to recipe” button right at the top.
Thank you so much! The flavors are perfect and I can’t wait to try this recipe!
Looks too soft and cheesy. Never tried making this at home before. Thanks for sharing
I love how easy and cheesy these are!
This recipe sounds too good, soft, and cheesy. Can’t wait to try it out.
We always love getting these at the market, but I’ve never thought to make them myself. With all of your tips I’m sure mine are going to be awesome!