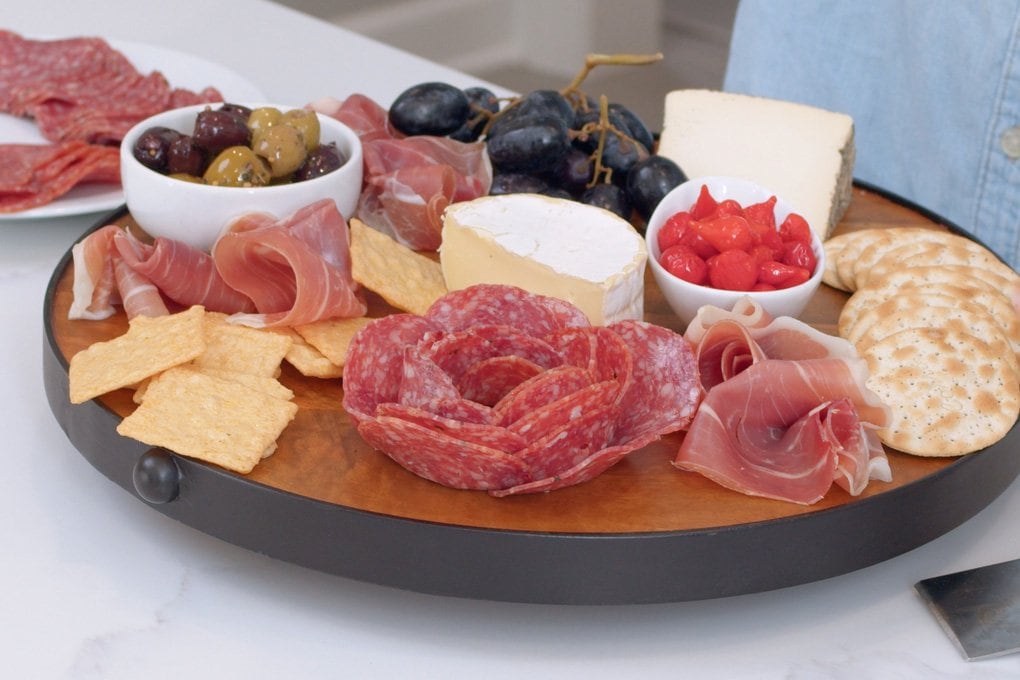
Whether you are throwing a big ‘ol shindig or just have a few friends stopping by for a glass of wine, a charcuterie board or grazing table is a gorgeous way to showcase delectable finger foods in a flash.
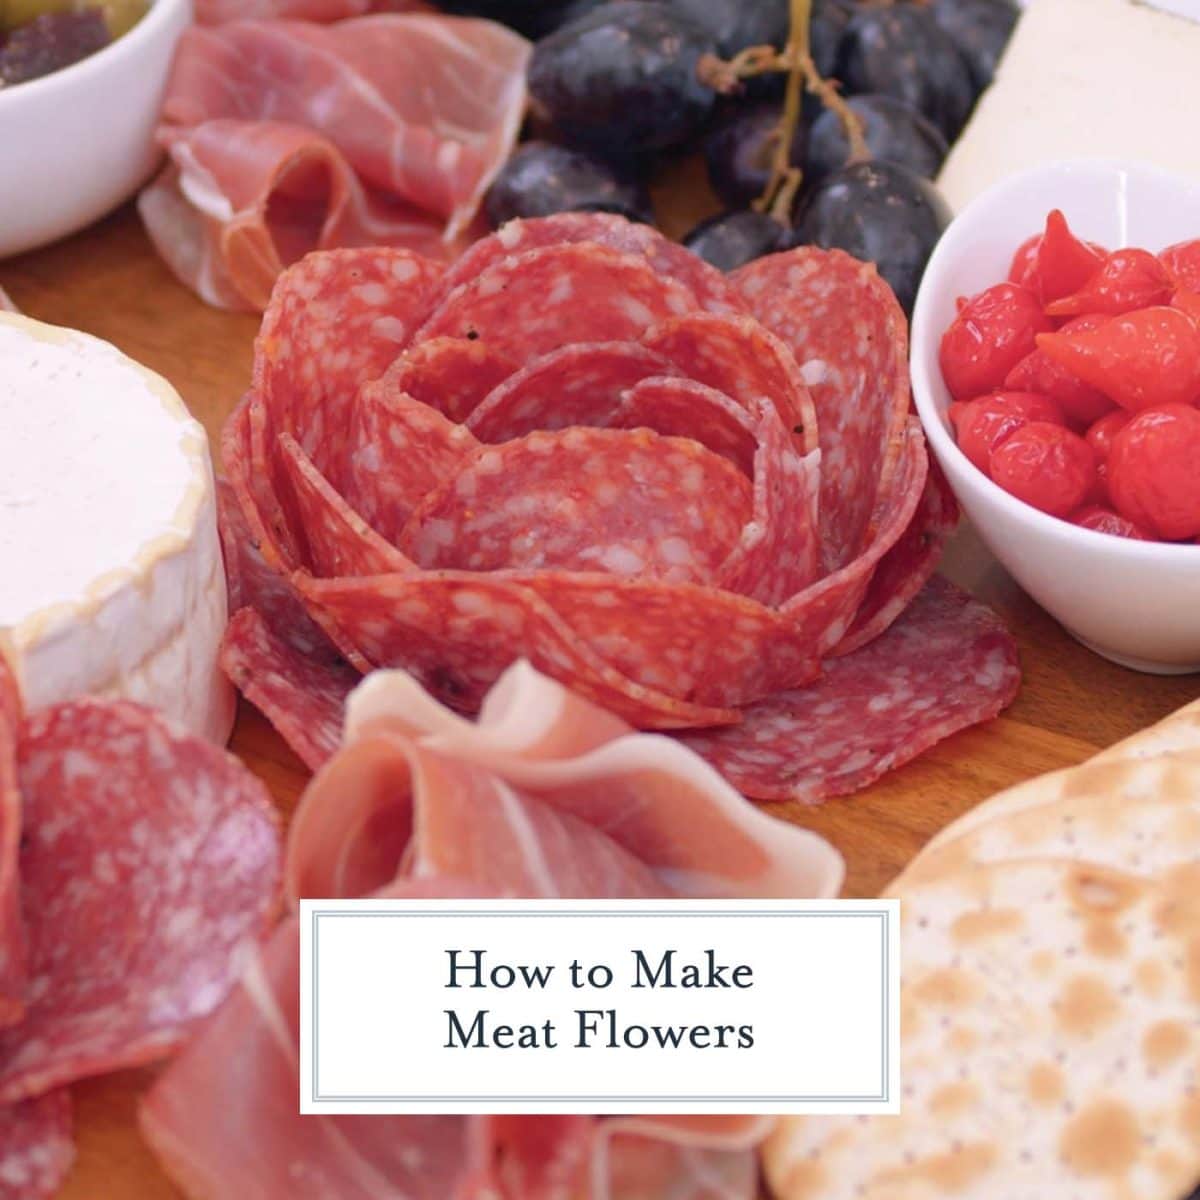
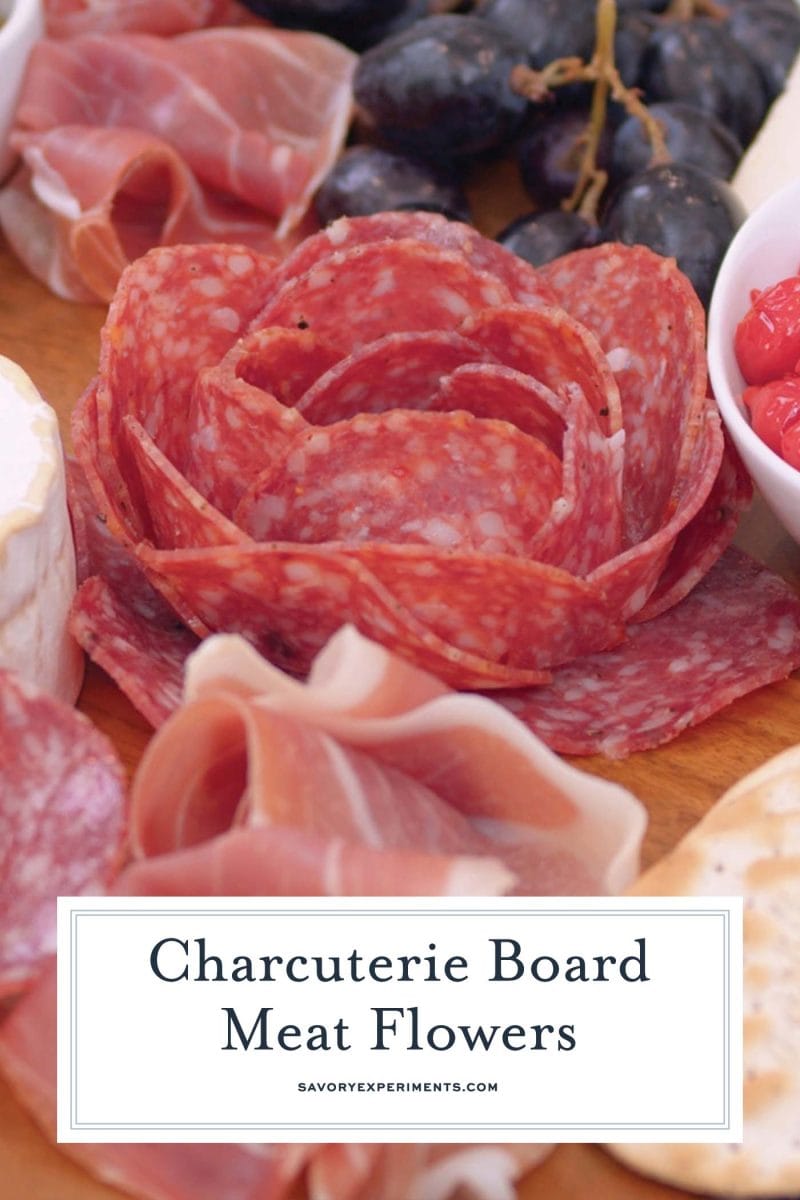
And not that you asked, but in my humble opinion, an epic charcuterie platter should always include meat flowers because we aren’t just making a cheese platter!
They are an easy way to really bring an eye-catching display to those special occasions with very little effort.
What is a Charcuterie Board?
Before we dive into that, let’s take a quick step back. “Charcuterie” is a French word that has origins as far back as the 15th century. The dictionary defines it as “a store selling cold, cooked meats,” but nowadays the term is used to describe an entire branch of culinary arts dedicated to the pursuit of creating cured meats.
Way back when, this was primarily pork products but now it includes other proteins as well like beef and duck.
A charcuterie board or tray features a bevy of ingredients in addition to cured meats and makes for a great way to feed a crowd. They have certainly become more trendy and are now the status quo at parties, leaving a bar to be raised by ambitious hosts.
What to Put On a Charcuterie Board
If you are new to the charcuterie board game, here are a few quick tips. Don’t worry- the instructions for your beautiful meat rosettes are below, but unless you have equally interesting items surrounding them, you will literally have just a few flowers and that is weird.
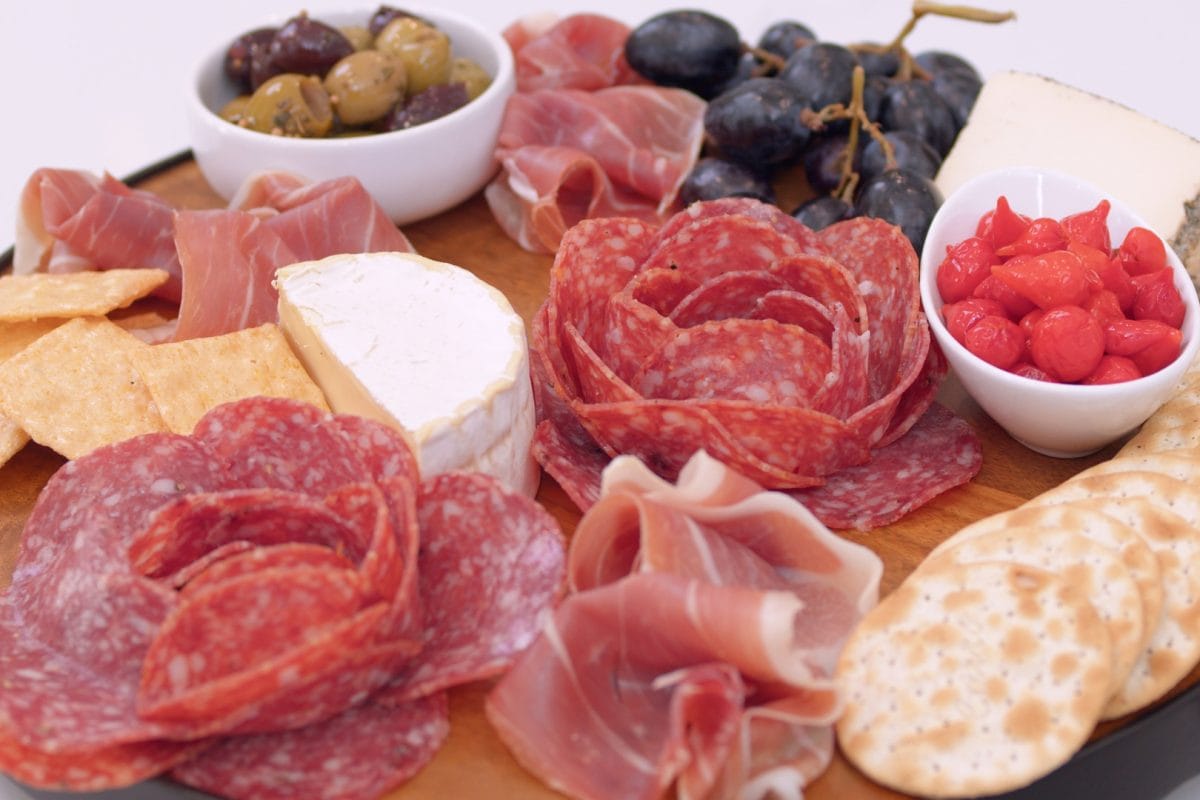
- The Meat. In terms of your main components, you want an assortment of meats. Think different textures, flavors, and sizes. I’ve found that Genoa salami or Italian salami, prosciutto, and soppressata are real crowd pleasers.
- The Cheese. When you head to the grocery store look for cheeses that have different textures and flavors to really wow your guests. Find a good mix of soft cheese like goat cheese or a spread, semi-soft like blue cheese or cheddars, and hard cheeses like parmesan.
I like to grab my favorite cheese and then try a variety of cheese I have never eaten before. A good place to start could be pecorino-romano, aged cheddar, fresh mozzarella, and really creamy brie.
This is the time to be fun and interesting. Maybe pick one “out there” funky cheese for the adventurous eaters.
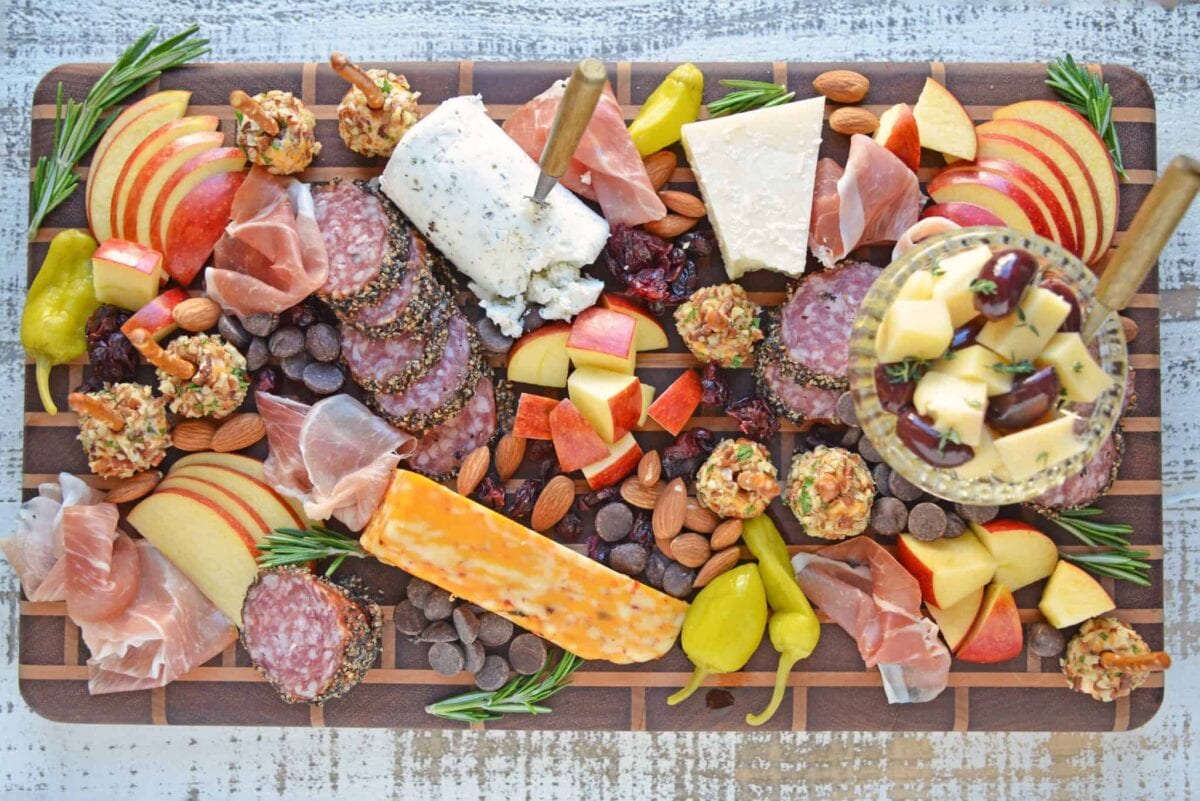
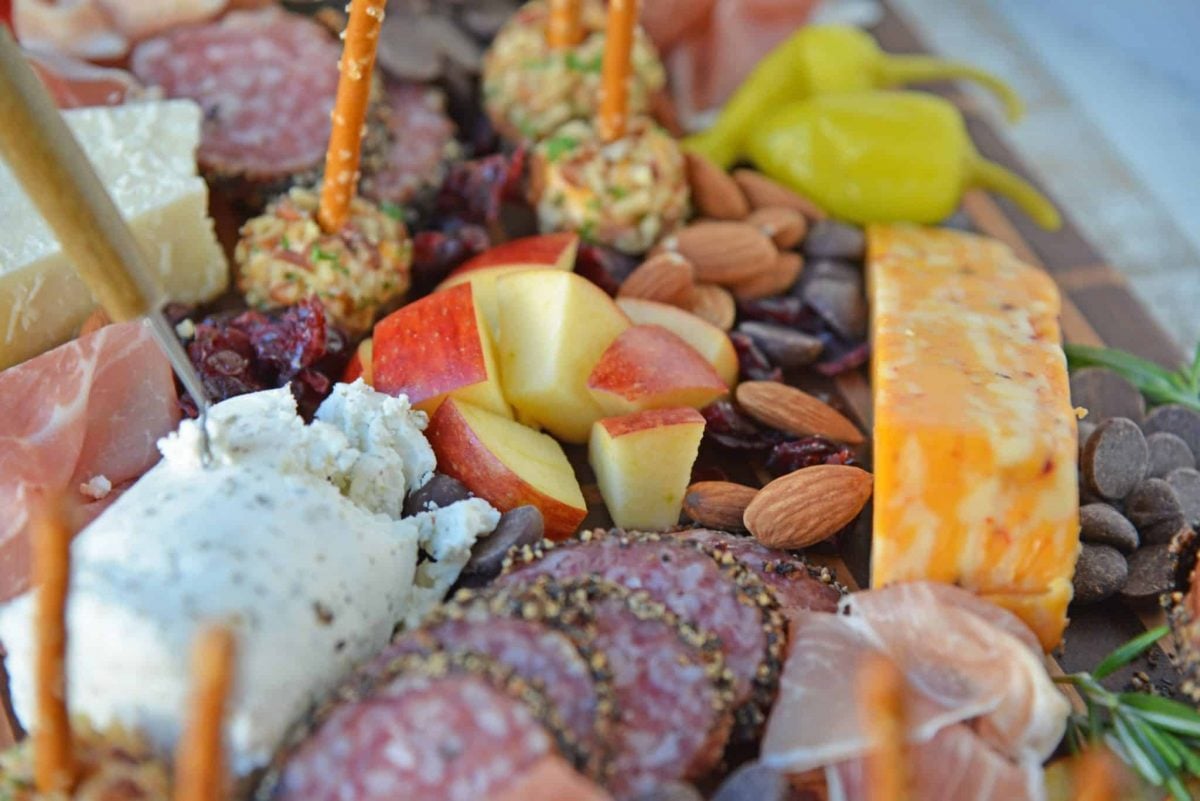
- The Fillers. And a good platter would be complete with all the fixings. Think snackable treats that go well with meat and cheese. I usually grab dried fruit, green olive tapenade, fresh fruit, nuts, crackers, fresh bread, and some herbs for a fun visual. Even yogurt covered raisins, chocolate covered pretzels or air fryer chickpeas.
Some of my personal favorite accoutrements include are honeycomb, figs, sweet peppers, red grapes, marcona almonds, aged cheddar or even a veggie tray (crudites) to serve on the side. Also feel free to use real edible flowers or fresh herbs (to look pretty, not to eat!)
A piece of chocolate or candy, even chocolate chips work. Just aim for different shapes, colors and sizes to add appeal.
You can easily dial up or back the amount of ingredients or the number of different types of ingredients you are buying based on the number of guests you have coming.
The good news is, even if it doesn’t all get eaten, it makes for great leftovers, school snacks or a killer salad. I always err on the side of caution (read: overbuying.)
And now days there are so many more variations of boards like breakfast boards, grazing tables, dessert boards and now the trending butter board and cream cheese board.
How to Make Charcuterie Board
When you are ready to assemble, follow this fool-proof system.
- First up, look at your cabinet and pick out a wood tray, rectangular board or any other fun dish you might have. If you have a big party headed your way, maybe you use both! No one says they all have to be on the same board. In fact, if it is a larger party, you might want to have two in separate areas of the home.
- Then map out where everything will go. This is the fun part. Start with the big stuff- like the cheese.
- Next, add the small items, think almonds or dried apricots, snag a bunch of small bowls. Use those as placeholders and put them on the board. From there, work to nestle the other ingredients in on the board in bowls or directly on the board.
- While doing this, may sure you save some round spaces for your meat flowers or meat roses, whatever the kids are calling them these days! Once everything is in its place, I unwrap them and fill the bowls. You can do this ahead of time too which is great. Cheese at room temperature is the way it is supposed to be enjoyed after all.
- Make your meat flowers last because they tend to lose shape if they sit too long.
How to Make Meat Flowers
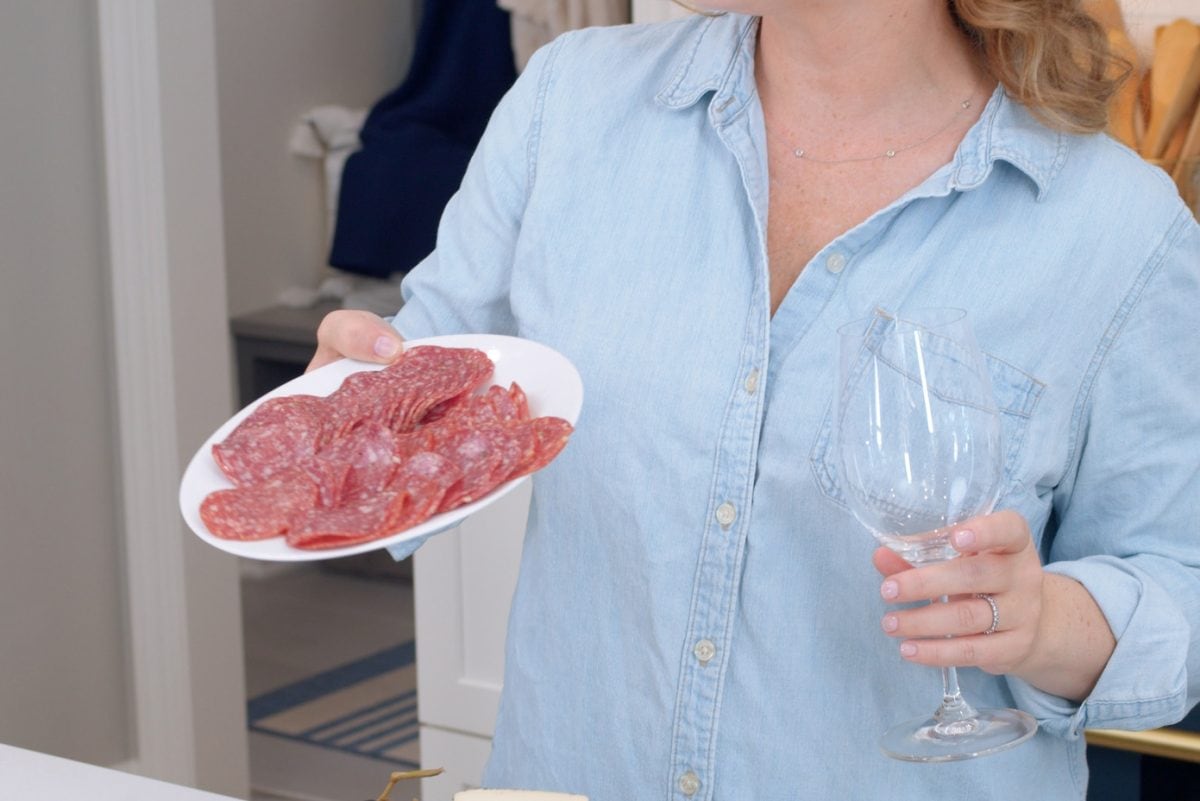
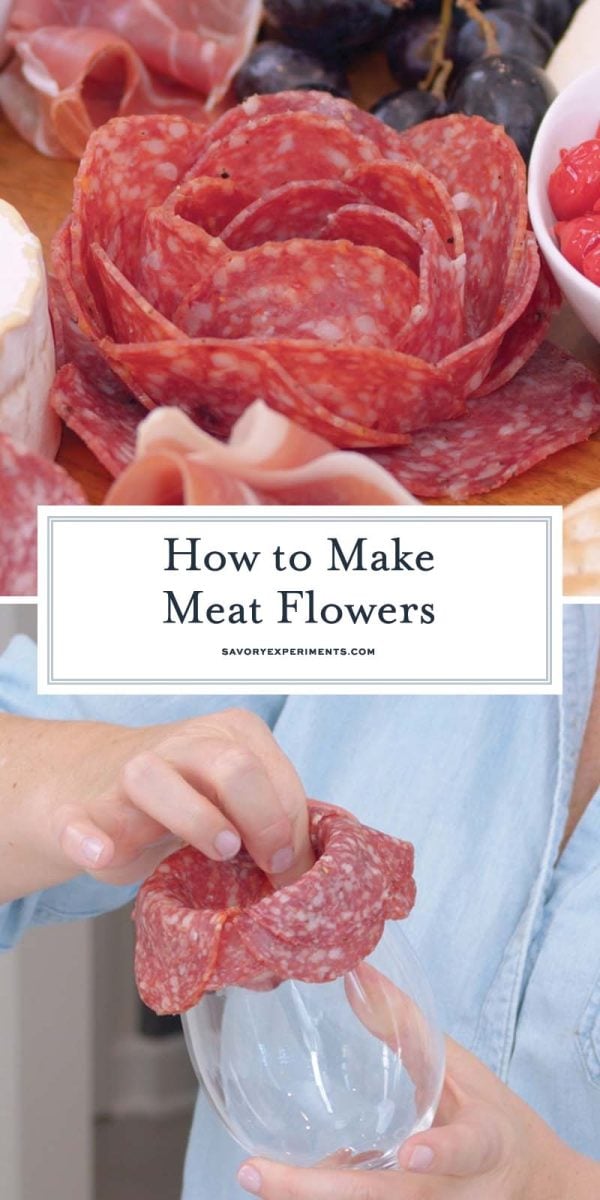
- Now for the last step, the meat flowers! For this, you are going to need a wine glass or a champagne flute. A glass with a thinner lip will make for a prettier flower, but any will do in a pinch.
- Grab your round, sliced meats. A couple of quick tips:
- The more thinly sliced these are, the better.
- If they are super cold, they won’t be easy to work with. If they are too warm, same thing. Find a happy medium in terms of temperature.
- Larger rounds make for easier flower forming.
- Sometimes they can stick together. I like to have them pre-separated on a plate for easier handling too.
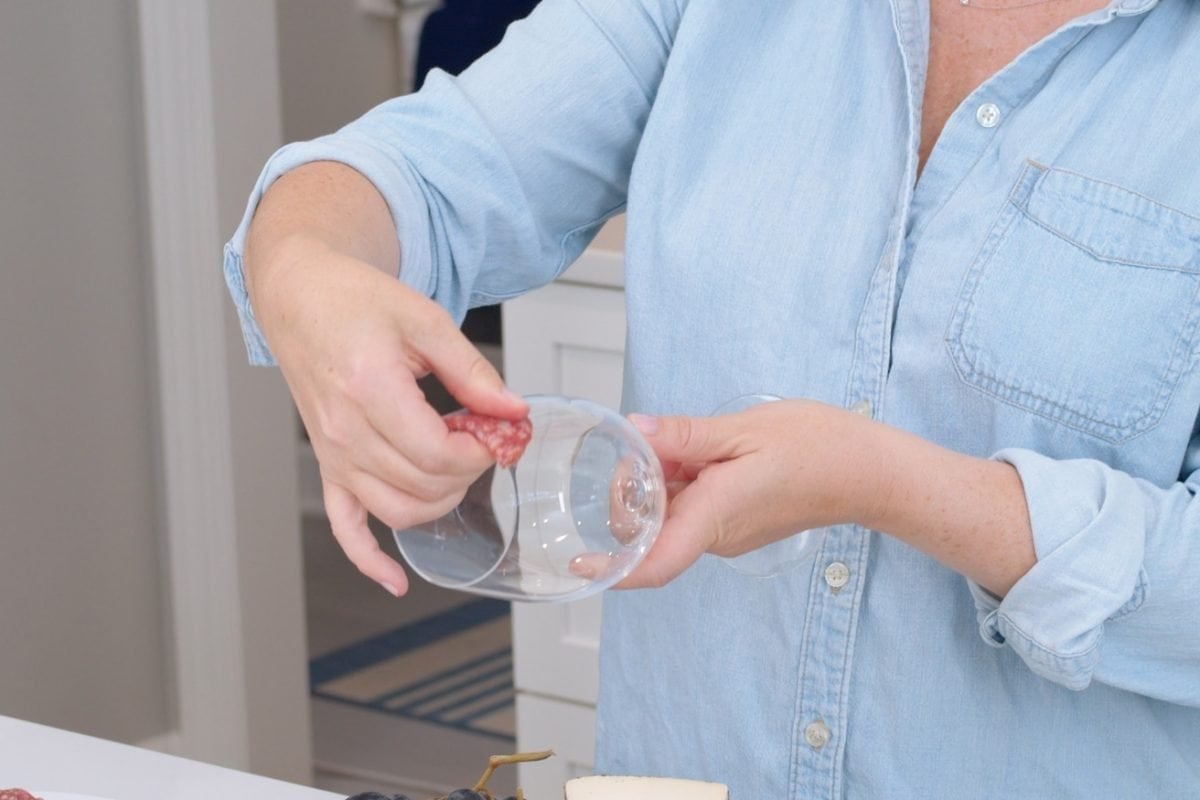
- From there, grab your glass of choice and your first slice of meat. Place it on the glass and fold it so one half is folded into the glass and the other half is folded on the outside of the glass.
- Next, grab another slice and shingle it over the piece already folded on the glass. The closer you shingle the denser the flower. The further you shingle the more open the flower will be. Fold this piece the same way you did the first.
- From there, get to work, continuing with the remaining slices you have on hand. Once the rim of the glass is completely covered, keep going! The more layers of meat, the better the flower. This is a truly choose your own adventure type of activity.
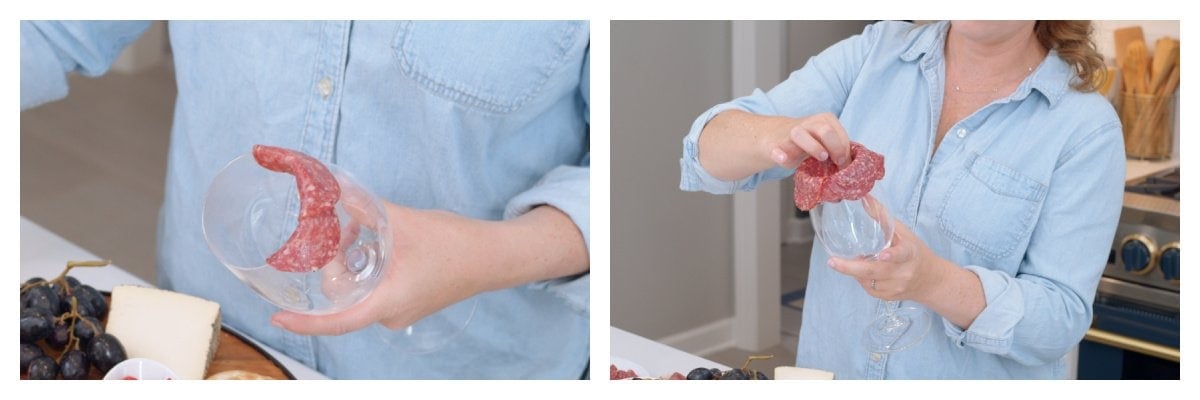
- The last step is truly the best: When you are happy with your charcuterie flower, carefully take your glass and quickly flip it over right onto the board. Gently take the glass away and voila! A gorgeous addition to your charcuterie tray.

All that is left to do is set out the cheese knives, uncork your favorite wine pairings, and show off all that “hard work”. Be sure to try these for your next gathering and happy eating!
More Easy Appetizers
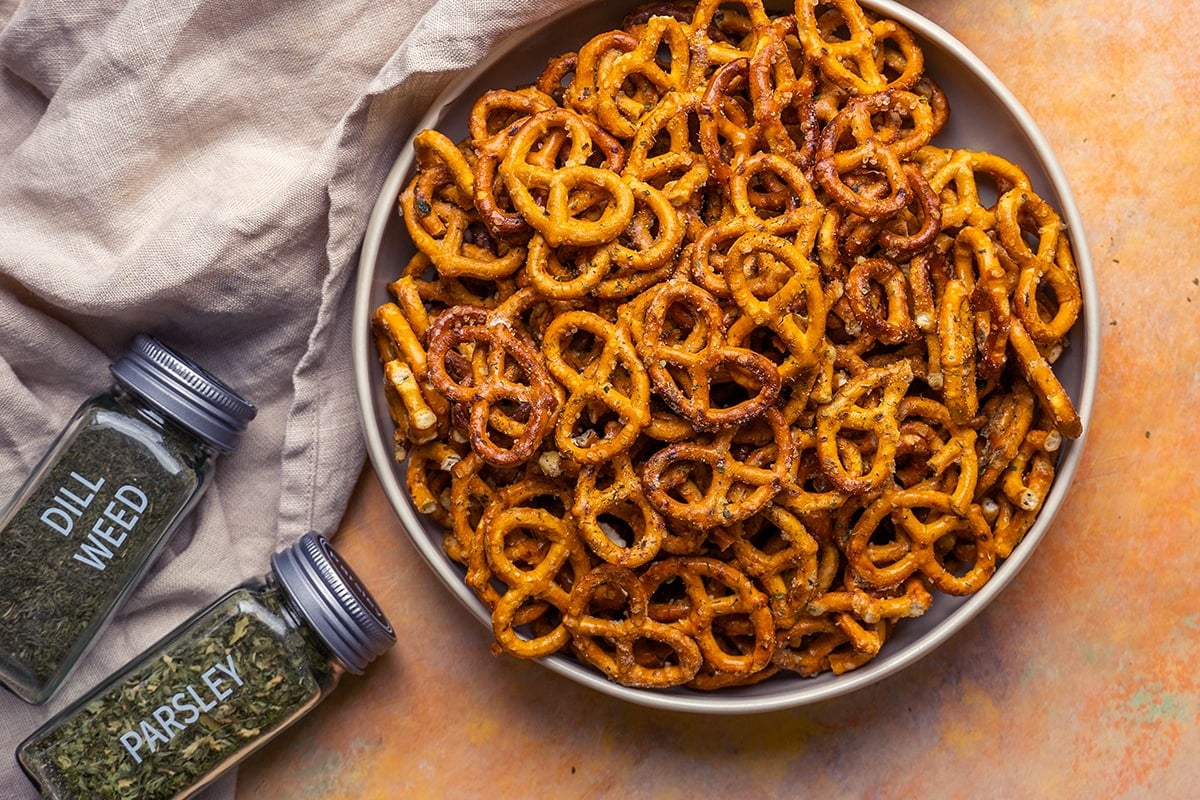
Dill Pickle Ranch Pretzels
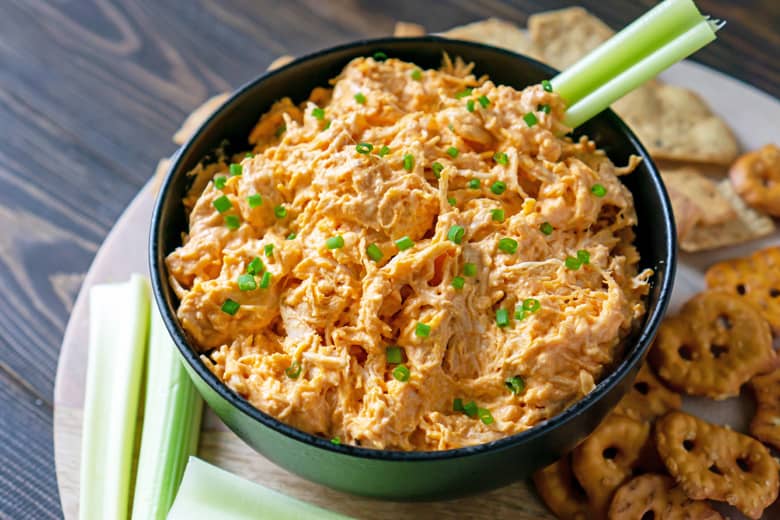
Slow Cooker Buffalo Chicken Dip
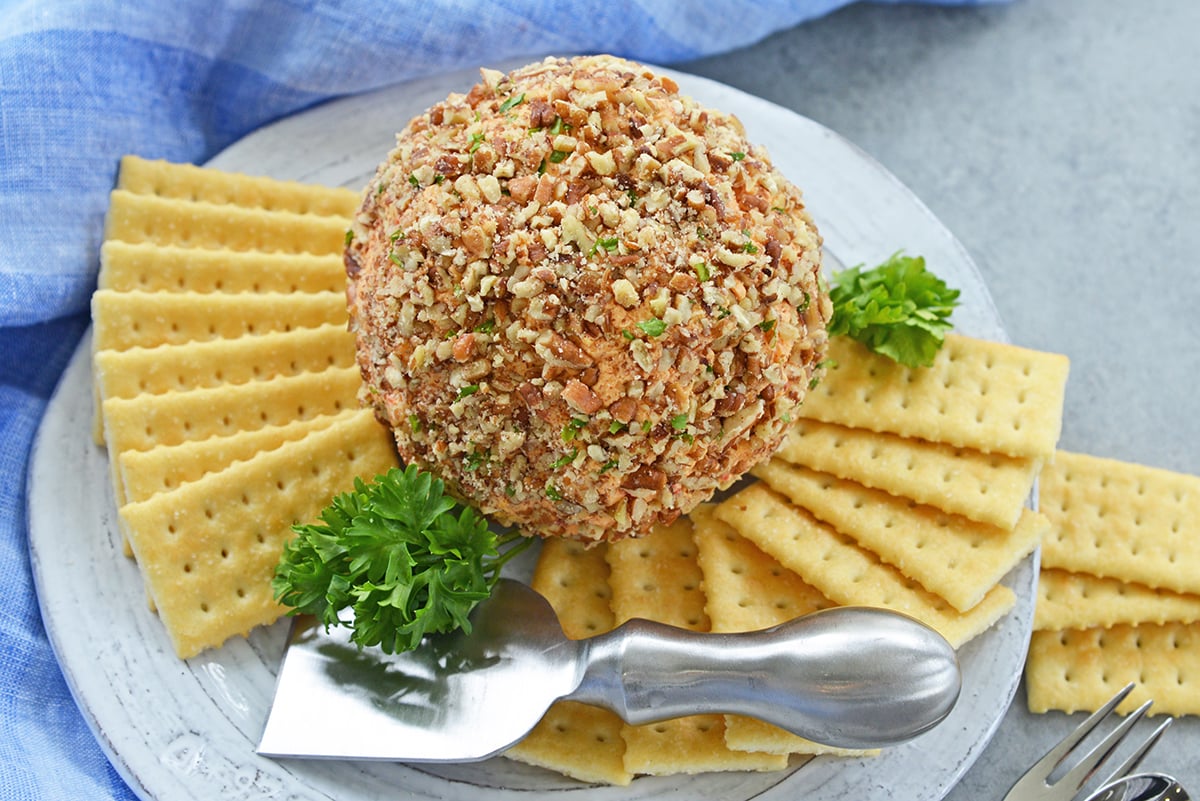
Pimento Cheese Ball

Charcuterie Board Meat Flowers
Equipment
Ingredients
- 10-16 large pepperoni slices circles thinly sliced meat
Instructions
- Drape one slice of meat in half over the rim of the glass and pinch down so it sticks to the sides.
- Shingle it over the piece already folded on the glass. The closer you shingle the denser the flower. The further you shingle the more open the flower will be. Fold this piece the same way you did the first, pinching down so they stick together.
- Continuing with the remaining slices until you've made at least two full layers. We don't recommend going past 4 layers.
- Quickly flip over the glass right where you want the flower to land. Twist it a little and then gently pull the glass upwards.
- If you've tried this technique, come back and let us know how it was in the comments or ratings.
Video


Thanks for your wonderful site! So far, this charcuterie / meat flower “teaching” has been the most helpful to me. Love it!
I brought a charcuterie board to a party. Everyone was impressed with the rose!
I made a board for super bowl. Everyone was so impressed with the flowers, they thought I bought the board already assembled! I will definitely make this again.
OMG I tried making these on our last get together and I was sure I was going to mess them up and I surprisingly didnt! they were so easy to make
I think it’s nice to pay attention to detail when you have guests. To make that extra effort.
This is simply next level Charcuterie board with meat rosettes! It is sure to be centre piece for the festive celebration.
The meat flowers tutorial is great! What a fun way to dress up a board.