

Forget everything you think you know about dry, crumbly scones! These easy English scones have buttery, golden edges and soft, tender centers, thanks to cold buttermilk and a simple grated butter trick that makes homemade scones surprisingly easy.
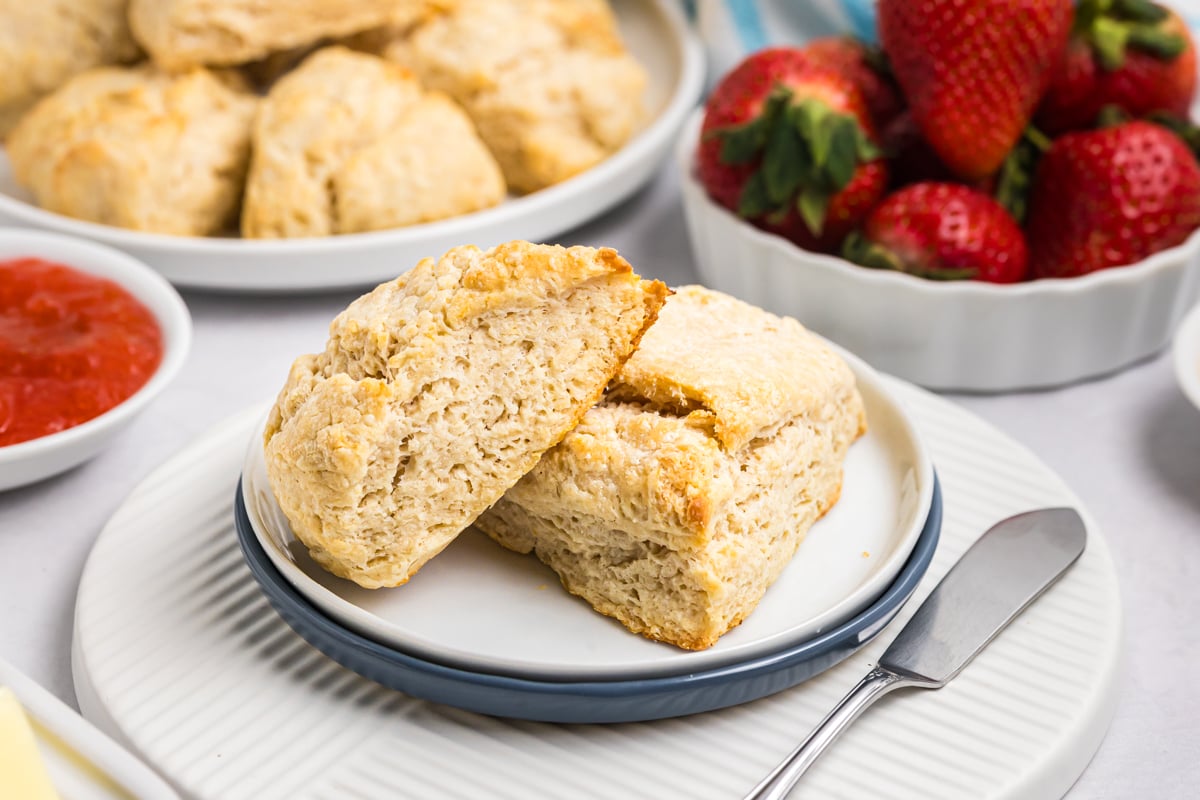
While traditional British scones are typically cut into rounds, I make this English-style version in rustic wedges, which means no biscuit cutters, no rolling pin and less fuss. Serve them warm with butter, strawberry jam or a generous spoonful of clotted cream for a little taste of afternoon tea right at home.
Why You’ll Love These English Scones
- Soft, buttery texture. Cold grated butter creates little pockets throughout the dough, while buttermilk helps keep the centers tender and gives them a subtle tang.
- No special equipment required. Forget rolling and cutting perfect little circles. These rustic English scones are simply shaped into discs and sliced into wedges before baking.
- Perfect for sweet or savory toppings. They’re lightly sweet with a hint of vanilla, making them delicious with everything from strawberry jam and clotted cream to salted butter and honey.
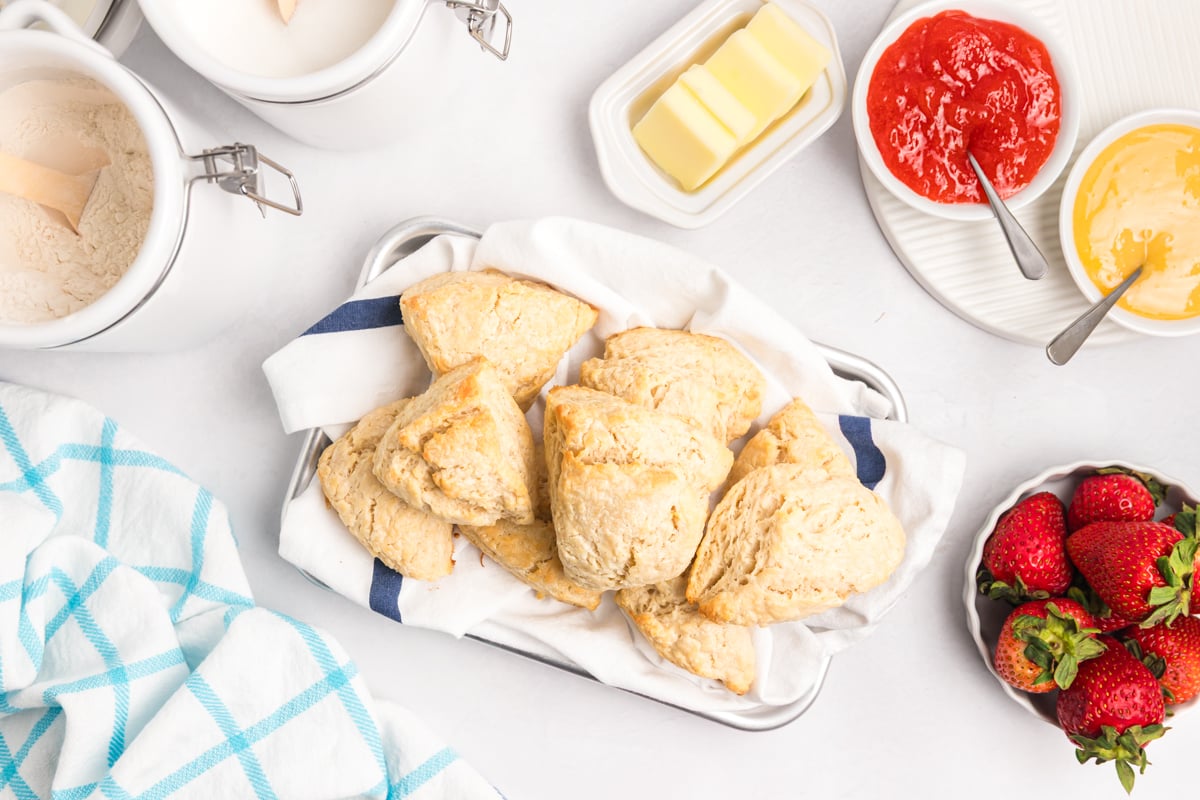
Ingredients for English Scones
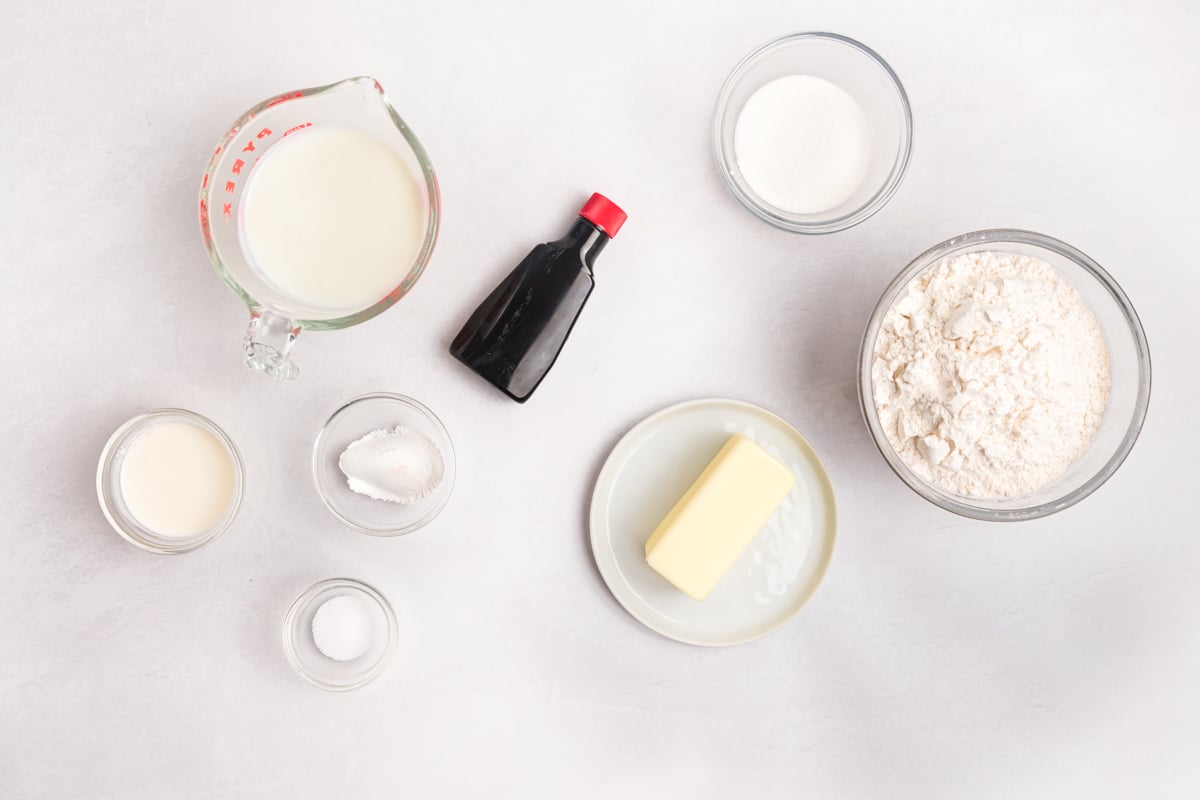
You only need eight simple ingredients to make these easy English scones, and you probably have most of them in your kitchen already! A full list of ingredients with measurements for this recipe is available in the printable recipe card below.
- Buttermilk – The secret to a tender scone with a subtle tang. Cold buttermilk adds moisture without making the dough overly rich and helps create a soft interior.
- Vanilla Extract – Adds warmth and a subtle sweetness that complements the buttery flavor. Pure vanilla extract is my preference for the best flavor.
- All-Purpose Flour – Provides the structure for these homemade English scones. Measure carefully using the spoon-and-level method to avoid adding too much flour and ending up with dry scones.
- Granulated Sugar – Adds just enough sweetness without making these taste like dessert. Unlike many American bakery-style scones, these aren’t overly sweet.
- Baking Powder – Gives the scones their lift and helps create a lighter texture. Make sure yours is fresh for the best rise.
- Fine Sea Salt – Balances the sweetness and brings out the rich, buttery flavor.
- Unsalted Butter – Cold butter is essential! I like to grate it directly into the flour mixture so it distributes evenly without getting too warm.
- Heavy Cream – Brushed over the tops just before baking, heavy cream helps give these scones a beautiful, lightly golden finish.
How to Make English Scones (Step-by-Step)
Just follow these simple steps to the best scones you’ve ever had!
- Prepare oven and baking sheet. Preheat the oven and line a large baking sheet with parchment paper. Set aside.
- Combine buttermilk and vanilla. Combine the buttermilk and vanilla extract. Stir together and set aside.
- Sift dry ingredients. Whisk or sift together the flour, sugar, baking powder and fine sea salt in a large mixing bowl.
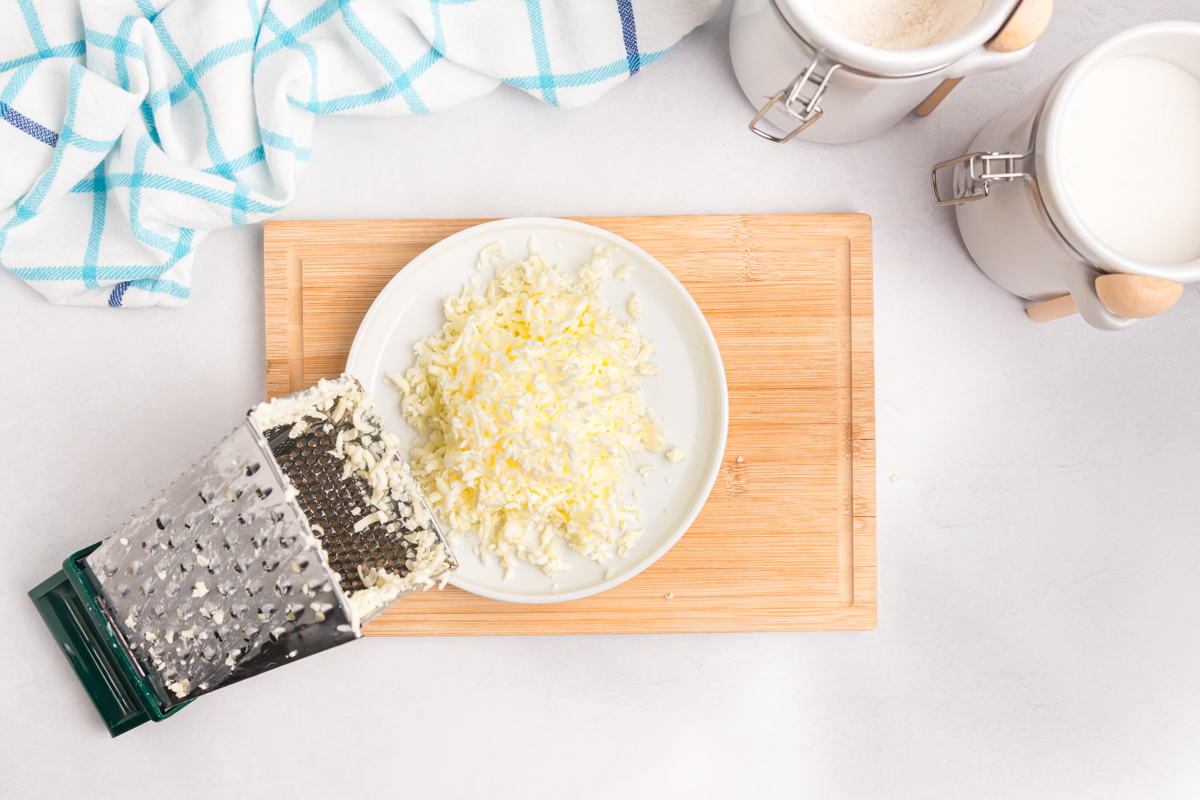
- Grate butter and cut into dry ingredients. Grate the butter using the small side of a hand grater or box grater. Add it to the mixing bowl. Using your hands or a pastry cutter, combine until small pieces are formed and it becomes a little mealy.
- Cut in the buttermilk mixture. Add the buttermilk mixture and, using a large spoons or a pastry cutter, stir just until the dough comes together, being careful not to over mix. The dough will be fairly sticky and loose.
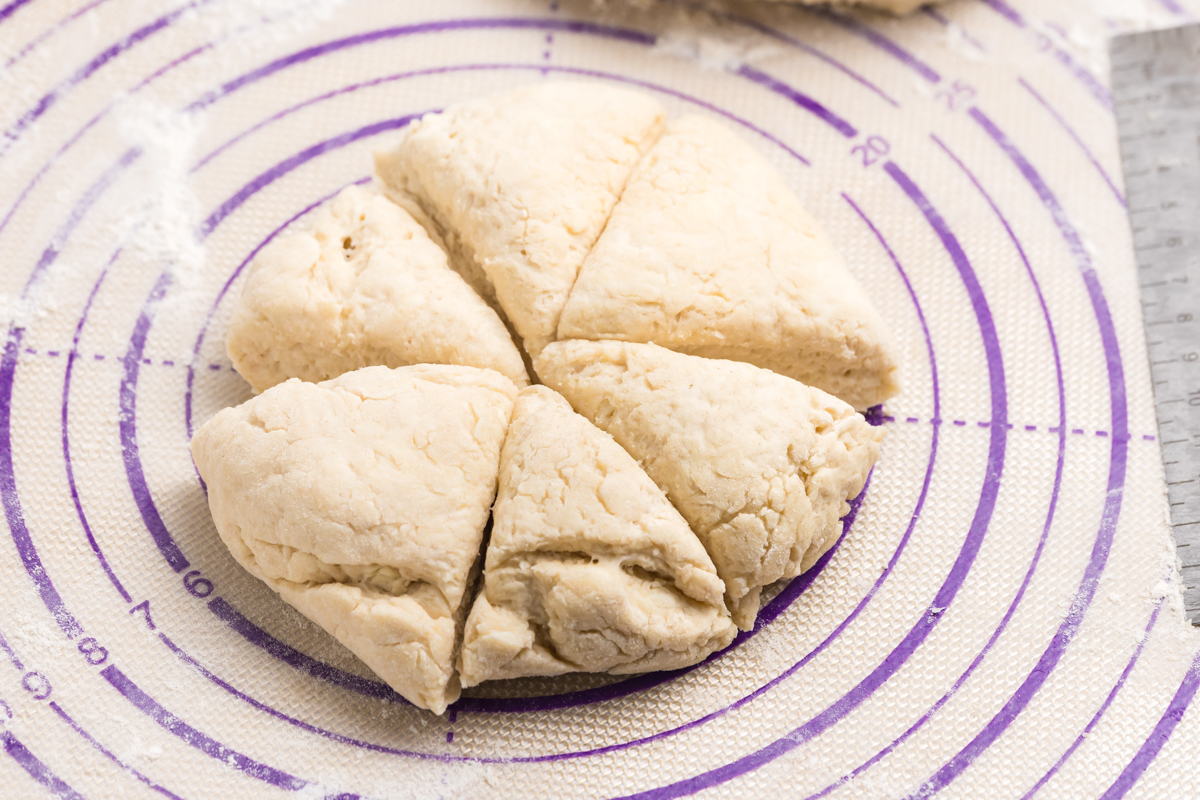
- Form a dough disc. Turn the dough out onto a well-floured surface. If you want smaller scones, divide in half and then form both into discs about 1 1/2 inches thick. For larger scones, form into one larger disc that is 1 1/2 inches thick.
- Cut into slices. After the dough is on the prepared baking sheet, using a bench scraper, cut the smaller discs into 6 slices and the larger one into 8 slices. Baste the tops of the scones with the heavy cream using a pastry brush.
- Bake. For the smaller discs, bake for 14-16 minutes or until lightly golden brown or 18-20 minutes for the larger disc.
- Cut and cool. Remove the scones and if they have baked a little together, cut using a bench scraper or knife while still piping hot. Transfer to a wire rack and cool.
Pro Tip
Why I Grate the Butter: Instead of cutting cold butter into tiny cubes and working it into the flour by hand, I use a box grater. This distributes small pieces of butter throughout the dry ingredients quickly, which means I can handle the dough less and keep everything cold. It’s one of my favorite shortcuts for homemade scones!
What to Serve with English Scones
The best part about homemade English scones? All the delicious things you can spread on top!
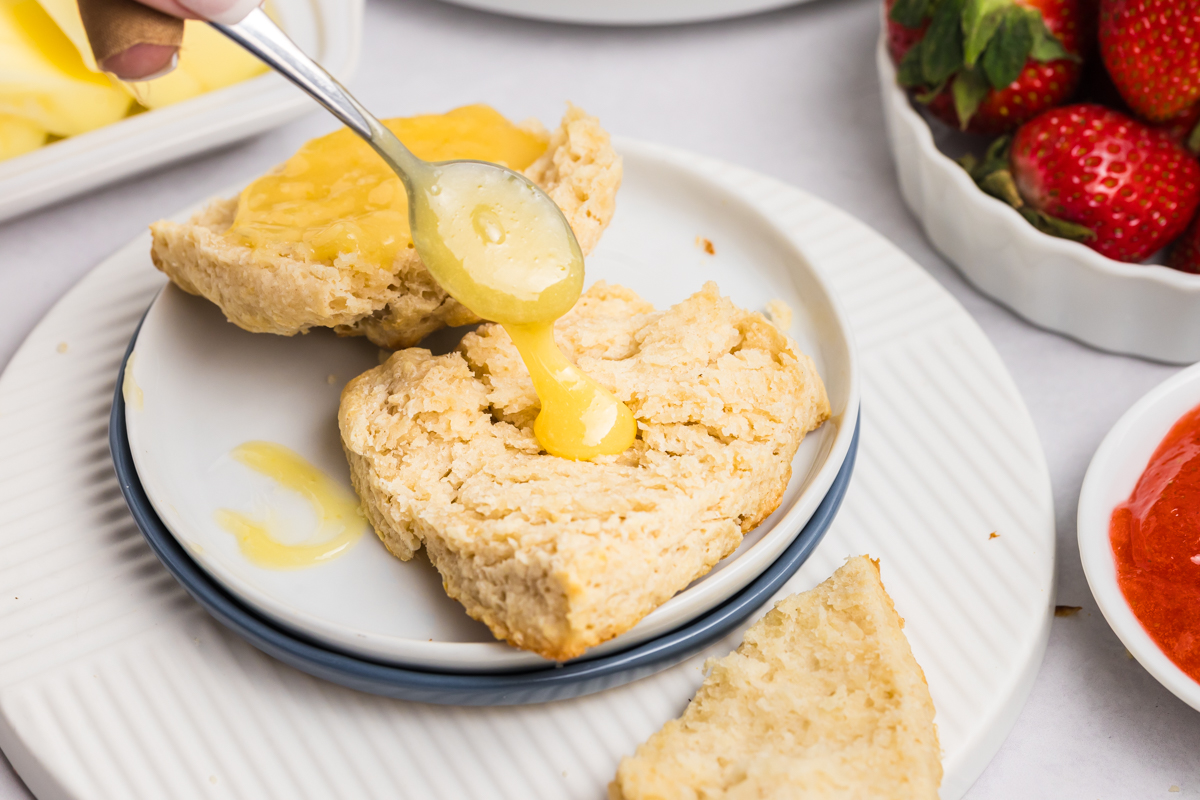
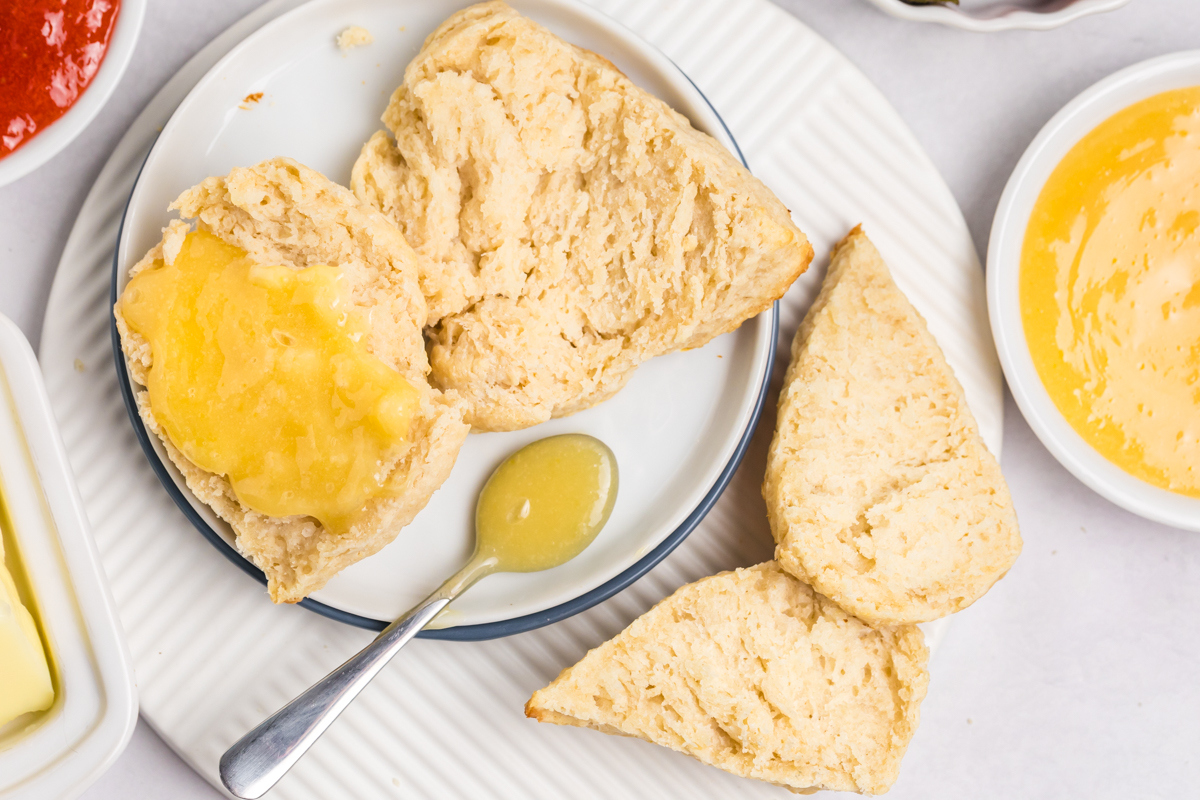
- Clotted Cream: For a traditional British afternoon tea experience, split a warm scone and add a generous dollop of rich, thick clotted cream.
- Strawberry or Raspberry Jam: The sweet, fruity flavor pairs beautifully with the buttery crumb.
- Salted Butter: Sometimes simple is best. A little salted butter melting into a warm scone is absolutely delicious.
- Lemon Curd: Bright, sweet and tart, lemon curd is one of my favorite ways to dress up a plain scone.
- Honey: A drizzle of honey adds sweetness without overpowering the delicate vanilla flavor.
Serve them with hot tea or coffee for an easy breakfast, brunch spread or afternoon treat.
Chef Tips for Perfect Scones
- Keep the butter cold. I like to grate my butter straight from the refrigerator, or even pop it into the freezer for a few minutes first. Cold butter is easier to grate and helps prevent the dough from becoming greasy before it reaches the oven.
- Don’t overmix the dough. As soon as the flour is incorporated and the dough starts holding together, stop mixing. Overworking the dough encourages gluten development, which can leave your scones dense and tough.
- Expect a sticky dough. This recipe makes a fairly soft, sticky dough. That’s normal! Use lightly floured hands and a floured surface to shape it, but resist the temptation to keep adding flour.
- Keep the dough thick. Aim for discs approximately 1½ inches thick. Flattening the dough too much can result in thin, dry scones rather than tender, fluffy ones.
- Watch the oven, not just the timer. These English scones should be lightly golden on top and baked through in the center. Smaller wedges will bake more quickly than larger ones.
- Serve them fresh. Like most homemade scones, these are especially delicious the day they’re baked. Let them cool slightly before splitting and adding your favorite toppings.
English Scones vs. American Scones
Although they share the same name, traditional English scones and American-style scones have a few noticeable differences.
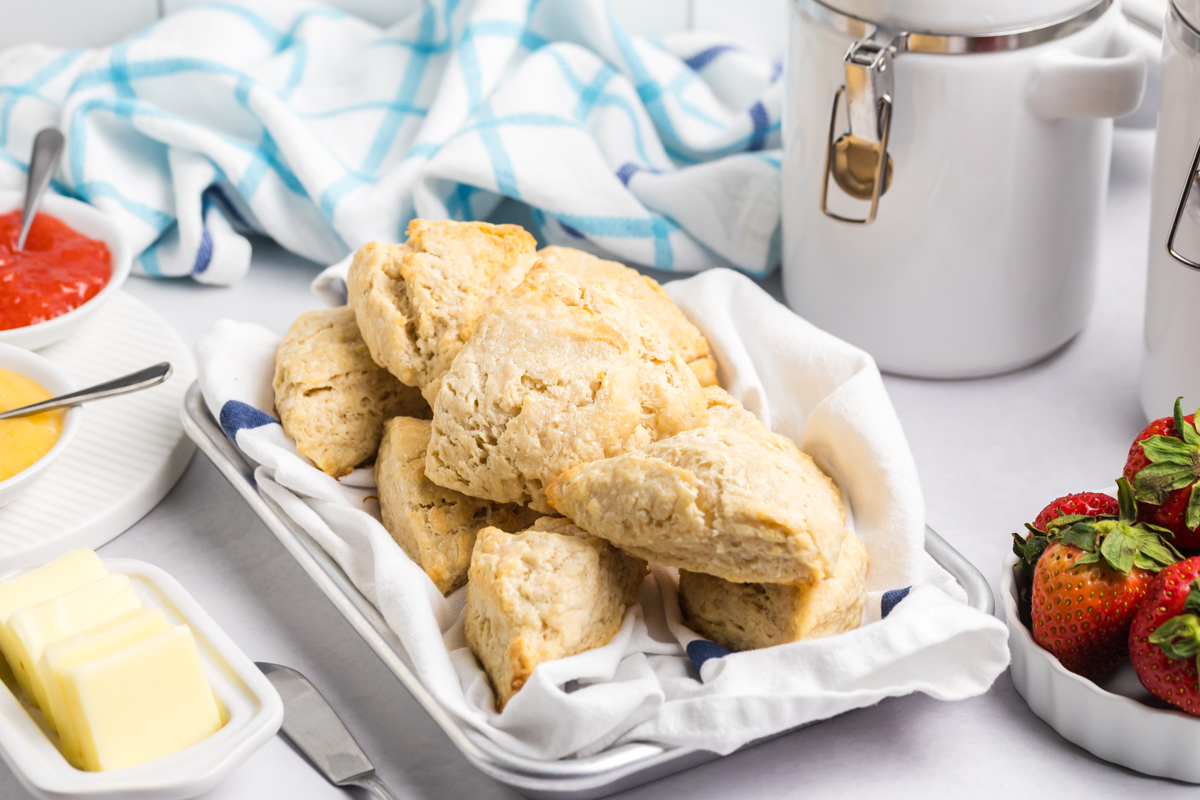
British scones are generally smaller, round and lightly sweetened. They’re usually served with jam and clotted cream as part of afternoon tea. American scones are often larger, triangular and sweeter, sometimes loaded with fruit, chocolate or other mix-ins and finished with icing.
My English-style scones borrow the tender texture and simple flavor of British scones but use an easy wedge-shaped method. With cold buttermilk, grated butter and a touch of vanilla, they have a soft interior and lightly golden edges without requiring special cutters.

Storage and Freezing
Room Temperature: English scones taste best the day they’re baked, but leftovers can be stored in an airtight container at room temperature for up to 2 days. Allow them to cool completely before storing to prevent excess moisture from collecting inside the container.
Refrigerator: Refrigeration isn’t necessary for plain scones and can cause them to become stale faster. Keep any clotted cream or other perishable toppings refrigerated separately.
Freezer: Let the scones cool completely, then place them in a freezer-safe bag or airtight container. Freeze for up to 3 months for the best flavor and texture.
More Breakfast Pastry Ideas
When it comes to breakfast, are you on Team Savory or Team Sweet? If you answered the latter, these recipes are for you!


English Scones Recipe
Ingredients
- ¾ cup cold buttermilk
- 1 tablespoon vanilla extract
- 2 1/4 cups flour
- ¼ cup sugar
- 1 tablespoon baking powder
- ½ teaspoon fine sea salt
- ½ cup unsalted butter , cold
- 2 tablespoons heavy cream
Instructions
- Preheat the oven to 375℉. Line a large baking sheet with parchment paper. Set aside.
- Combine the ¾ cup cold buttermilk and 1 tablespoon vanilla extract. Stir together and set aside.
- Whisk or sift together the 2 1/4 cups flour, ¼ cup sugar, 1 tablespoon baking powder, ½ teaspoon fine sea salt, in a large mixing bowl.
- Grate the ½ cup unsalted butter using the small side of a hand grater or box grater. Add it to the mixing bowl. Using your hands or a pastry cutter, combine until small pieces are formed and it becomes a little mealy.
- Add the buttermilk mixture and, using a large spoons or a pastry cutter, stir just until the dough comes together, being careful not to over mix. The dough will be fairly sticky and loose.
- Turn the dough out onto a well-floured surface. If you want smaller scones, divide in half and then form both into discs about 1 1/2 inches thick. For larger scones, form into one larger disc that is 1 1/2 inches thick.
- After the dough is on the prepared baking sheet, using a bench scraper, cut the smaller discs into 6 slices and the larger one into 8 slices. Baste the tops of the scones with the 2 tablespoons heavy cream using a pastry brush.
- For the smaller discs, bake for 14-16 minutes or until lightly golden brown or 18-20 minutes for the larger disc.
- Remove the cones and if they have baked a little together, cut using a bench scraper or knife while still piping hot. Transfer to a wire rack and cool.
- Serve with jam, butter or clotted cream.
- If you’ve tried this recipe, come back and let us know how it was in the comments or star ratings.
Notes
Nutrition















It was my first try and they turned out awesome. I had to add a little half and half because it was just a tad dry and I sifted the flour. Great recipe, I am now having a cup of tea with my deliciously scones.
Loved this- so easy. Everyone asked for the recipe.
I absolutely love these scones! They are deliciously buttery and lightly sweet.
Yay! That is what I love to hear and thank you for taking the time to come back and let us know. 🙂
Just love your recipe and would like more of that.