
Avalanche Cookies are the ultimate easy treat to make any time of the year! This 4-ingredient no bake cookie recipe is sweet, salty, crunchy and perfect for sharing.

If you’re in the market for a no bake cookie recipe that tastes amazing and comes together quickly, these Avalanche Cookies are calling your name.
A few things we love about this recipe include:
- They come together FAST! The piece of this recipe that takes the longest is the cooling of the cookies themselves.
- Our kids can make them on their own… with a little safety oversight.
- They can be easily customized with mix-ins and toppings.
- They can be made gluten free, for those who need a gluten free cookie. (Pro tip: Not all crispy rice cereal is gluten free. Read the ingredients on the box.)
No matter what you want to make these cookies for, they’re an excellent treat, and this recipe makes enough to share. For parties, we put alongside our other no-bake cookie recipes like Haystack Cookies and No-Bake Cookies.

Avalanche Cookies Ingredients
This no bake cookie recipe is so simple to make. Chances are, you’ve got the ingredients in your pantry already.
Here’s what you’ll need:
- White chocolate melts – or you can use high-quality white chocolate chips, if you’d prefer those
- Peanut butter – creamy peanut butter is my favorite, though I know crunchy peanut butter would add interesting texture.
- Crispy rice cereal – use your favorite brand. I used a brown rice kind that is gluten free so I could share these with a neighbor who has celiac.
- Mini marshmallows – make sure yours are fresh! Otherwise, they might clump together and not mix into the cookies evenly.

How to Make Avalanche Cookies
- Line two large baking sheets with parchment paper or wax paper. Set aside.
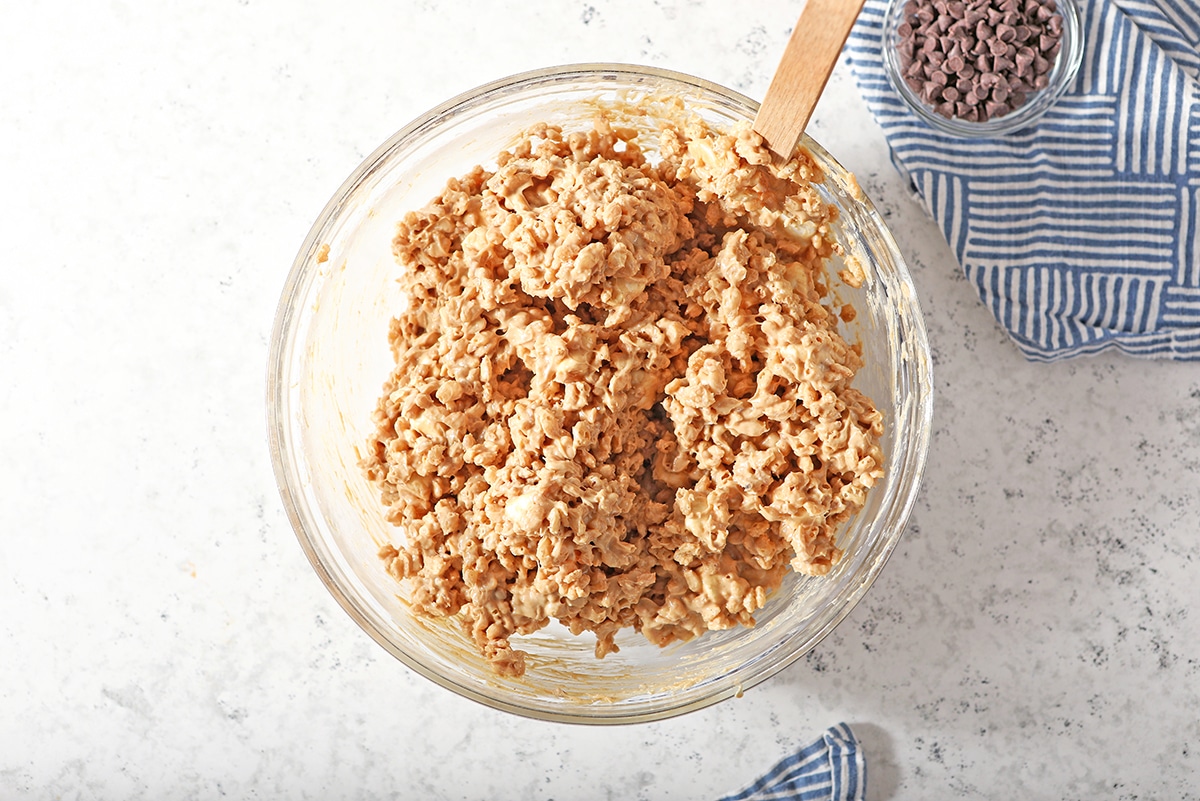
- Combine the crispy rice cereal and marshmallows in a very large bowl. Stir with a rubber spatula until combined.
- Melt the white chocolate melts in the microwave in 30-second bursts. Stir after each round until smooth and completely melted.
- Add the peanut butter to the melted white chocolate, and stir until smooth. This mixture will be warm.
- Pour the warm white chocolate-peanut butter mixture over the crispy rice cereal mixture. Stir until completely coated, working quickly because it will be challenging to stir once the white chocolate melts begin to cool off.
- Add any mix-ins, if desired, and stir until incorporated.
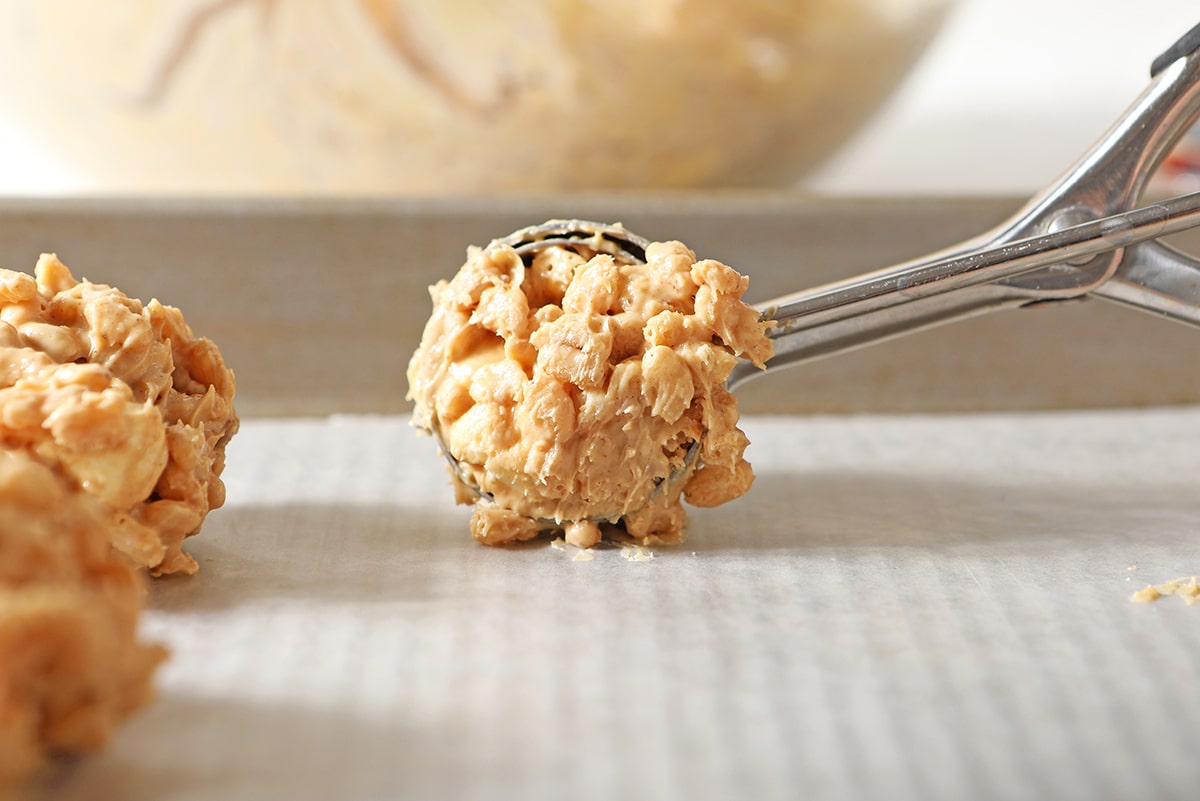
- Use a 1-tablespoon cookie scoop to scoop the cookies onto the prepared baking sheets. This will be sticky!
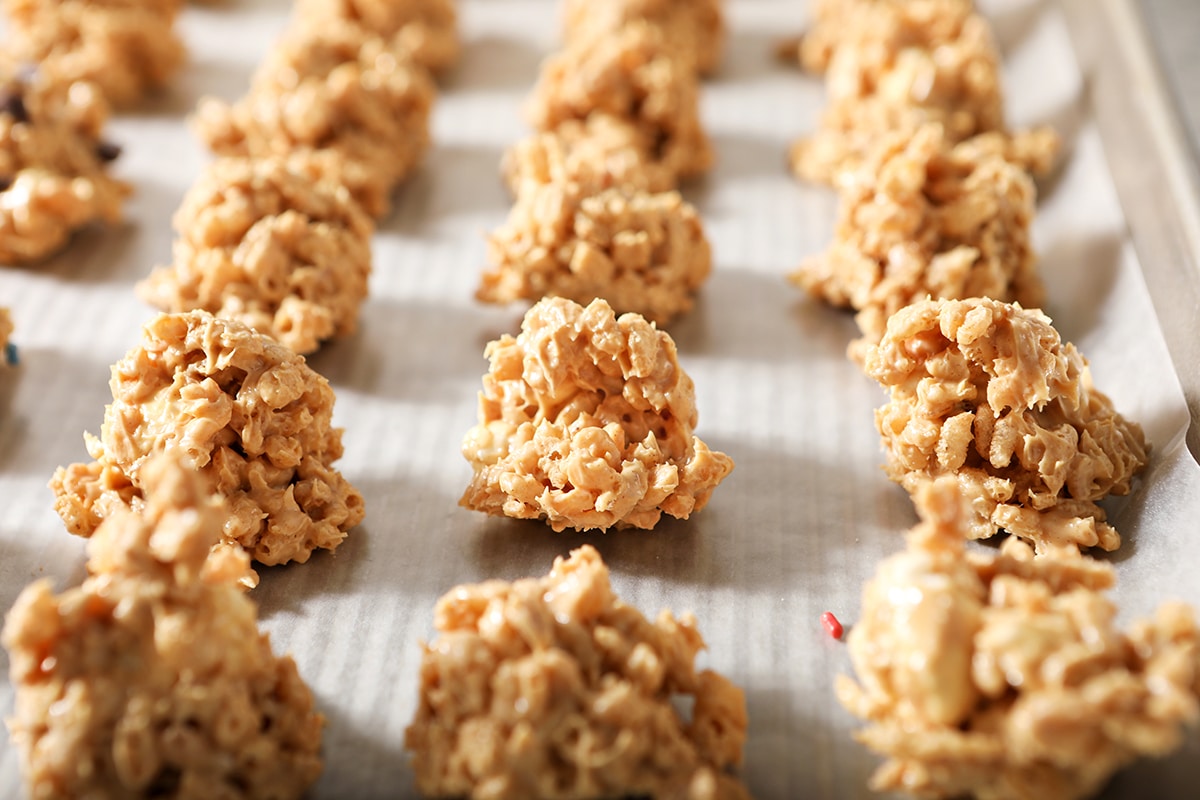
- Add extra toppings, if desired.
- Refrigerate for 30-45 minutes, or until the white chocolate mixture is set.
- Enjoy!

Variations
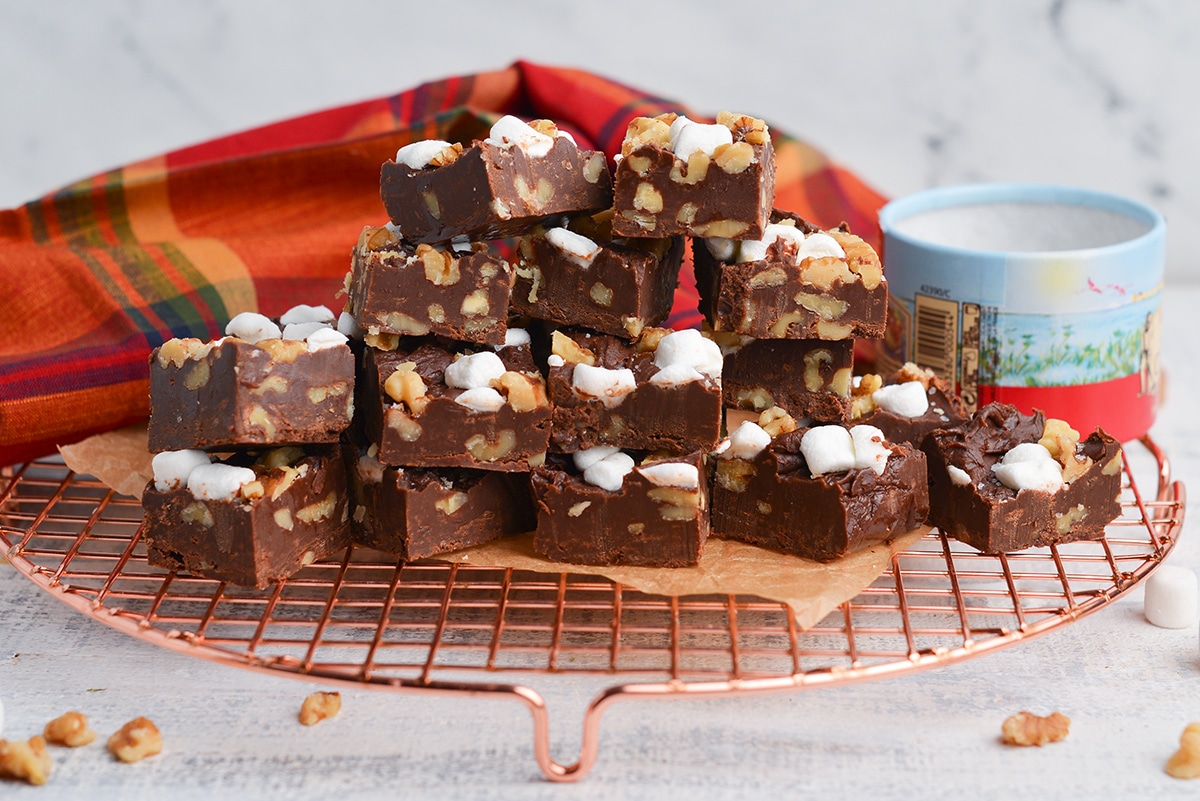
This no bake avalanche cookies base is perfect for adding in more ingredients if you feel like it! I’m sure you can tell from these photos that my family ALWAYS feels like adding fun ingredients into these.
I recommend stirring in ½ cup to ¾ cup of the mix-ins and seeing how the cookies look and feel before scooping them. You can always add more on top.
Here are some of our go-to mix-ins:
- Salted peanuts
- Sprinkles
- M&Ms
- Mini chocolate chips
- Mini white chocolate chips
- Butterscotch chips
Tips and Tricks
- Have fun with the mix-ins. My kids love having the option to add what they want to their bowl of avalanche cookies. You can add in whatever makes you happy. Just don’t add too much! 😉
- Make sure to plop them onto a parchment-lined baking sheet or wax paper. This will prevent them from sticking.
- Make them gluten free by reading the ingredients on the crispy rice cereal box. Not all crispy rice cereal is gluten free, though some brands are.

Storage and Freezing
Storage: Once the avalanche cookies are chilled, transfer to an airtight container for storage. If layering the cookies, place a sheet of wax paper between the layers. Store in the refrigerator for up to 5 days.
Freezing: These cookies are also really easy to freeze. Simple add to an airtight container and they will last for up to three months.

More Easy Desserts
- Buckeye Candy
- Chex Mix Puppy Chow
- Chocolate Cheesecake Dessert Dip
- Funfetti Cake Mix Cookies
- Pie Crust Cookies
- Soft M&M Cookies
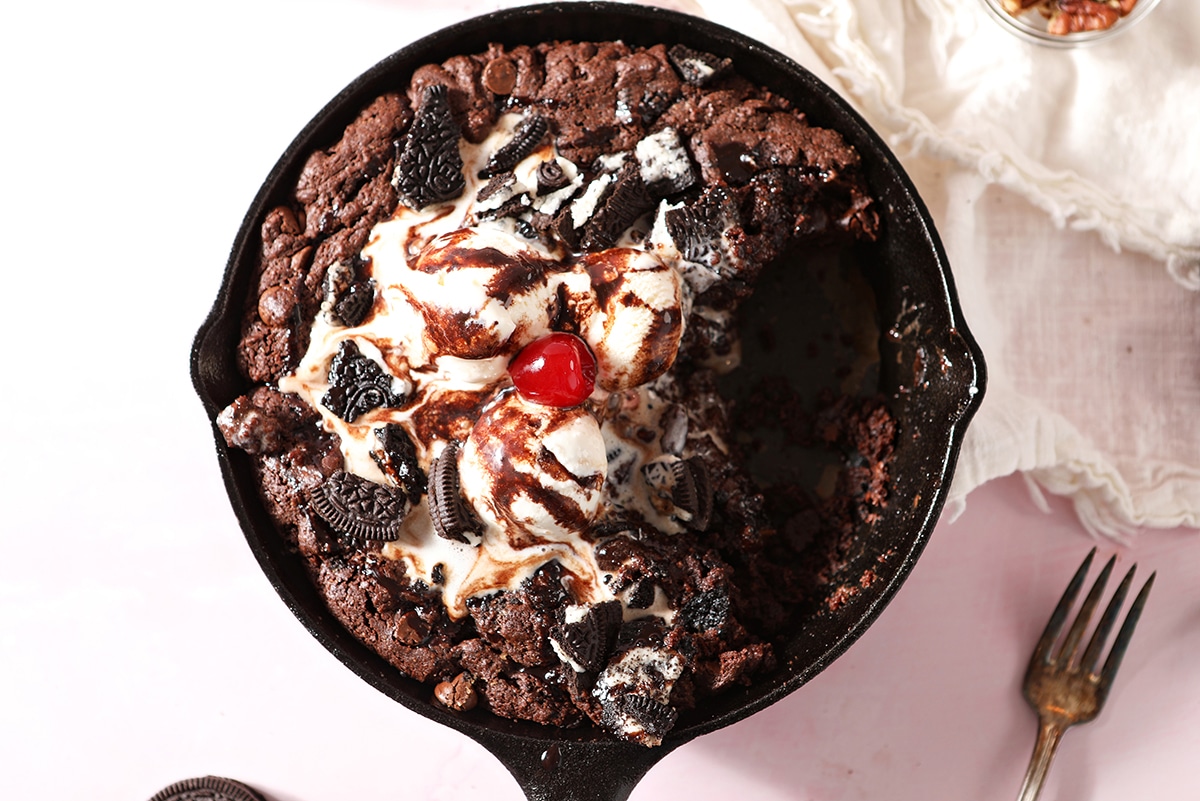
Oreo Brownie Skillet
Rocky Road Fudge Recipe

Crockpot Peanut Clusters

No Bake Avalanche Cookies
Ingredients
- 10 oz. white chocolate melts (or white chocolate chips)
- 1 cup creamy peanut butter
- 4 cups crispy rice cereal
- 1 cup mini marshmallows
- Additional mix-ins (add ½ – ¾ cup total)
- Mini chocolate chips
- Salted peanuts
- M&Ms or other miniature chocolate candies
- White chocolate chips
- Butterscotch chips
Instructions
- Line two large baking sheets with parchment paper. Set aside.
- Combine the crispy rice cereal and marshmallows in a large bowl. Mix with a rubber spatula until combined. Set aside.
- Melt the white chocolate melts in the microwave in 30-second bursts. Stir after each round until smooth and completely melted. (Mine took about 2 minutes. Keep an eye on it because you do not want them to burn.)
- Add the peanut butter to the melted white chocolate, and stir until smooth.
- Pour the warm white chocolate-peanut butter mixture on top of the crispy rice cereal mixture. Stir until completely coated.
- Add any mix-ins, if desired, and stir until incorporated.
- Scoop the cookies onto the prepared baking sheets with a 1-tablespoon cookie scoop or a spoon. They will be sticky and messy, and this is OK.
- Add extra toppings, if desired.
- Refrigerate for 30-45 minutes, or until the white chocolate mixture is set.
- Enjoy!


I don’t think all peanut butter is gluten free either.
The majority of brands are- like 99% of them.
I originally planned to make these for my nieces as they were coming to visit, but ended up eating more myself 🙂 Great easy recipe will all the best treats ever! Dangerously addicting!
My kids love making these with me! Thank you for the delicious recipe!
I am saving this recipe for our next snow day. My kids are 3&5 and will love making these! I am not much of a baker so I love how simple this recipe is!
These are amazing! I love how easy they are. They can literally just be made on a whim and that’s amazing when you have a 3.5 year old. Ha.
I’ve never heard of Avalanche Cookies but omg they are so delicious! a little sweet and salty!!