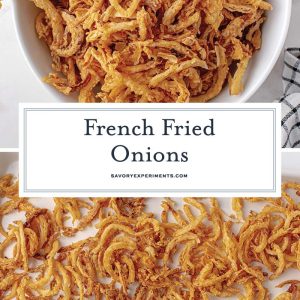
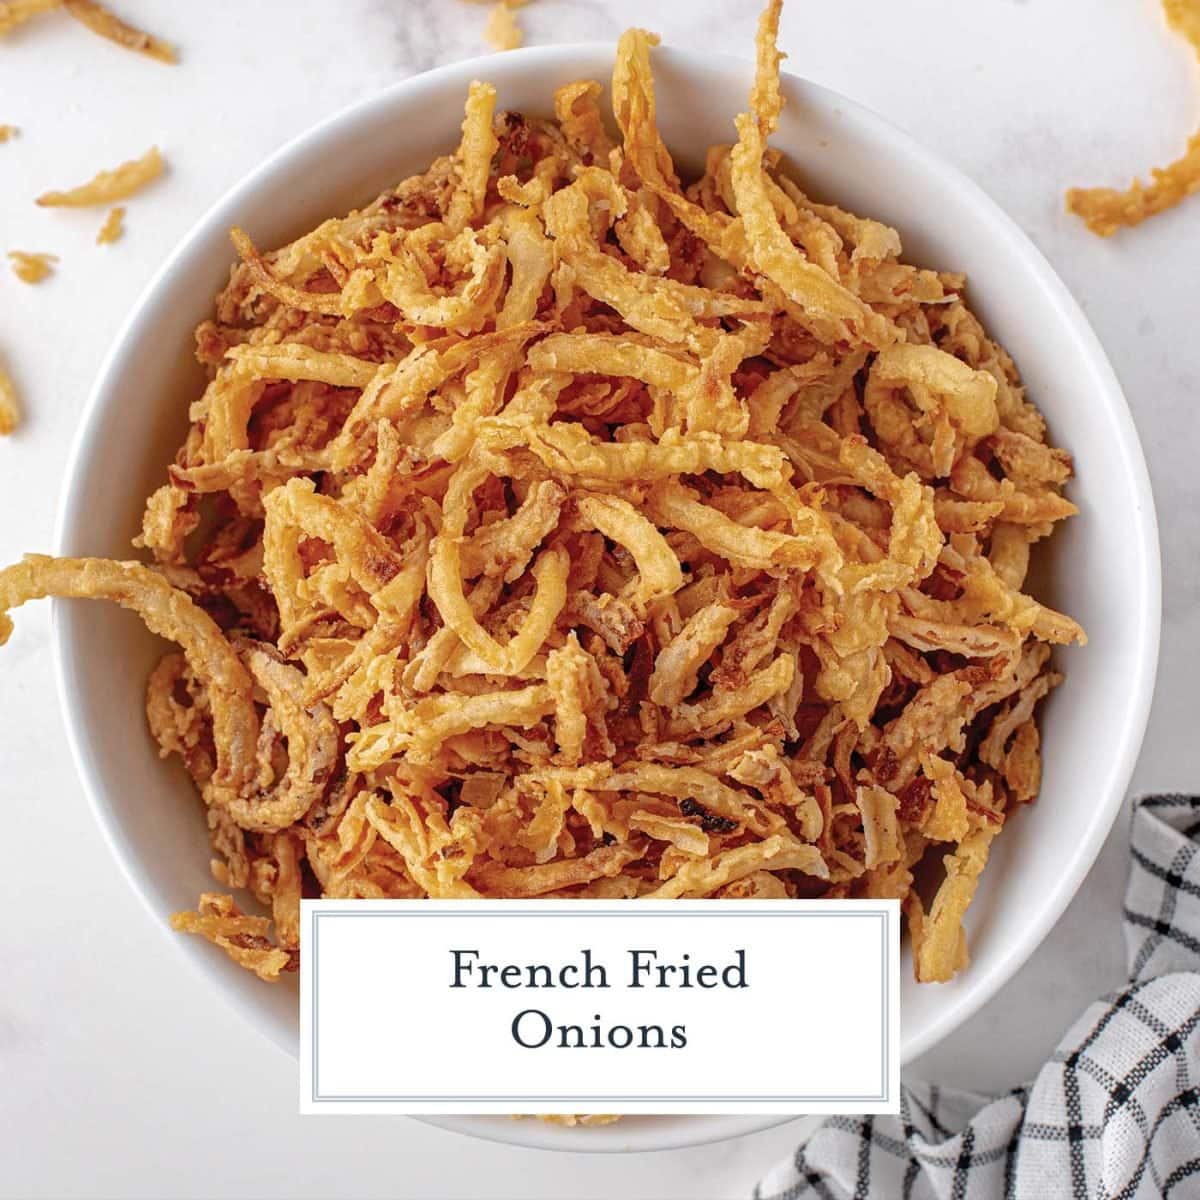
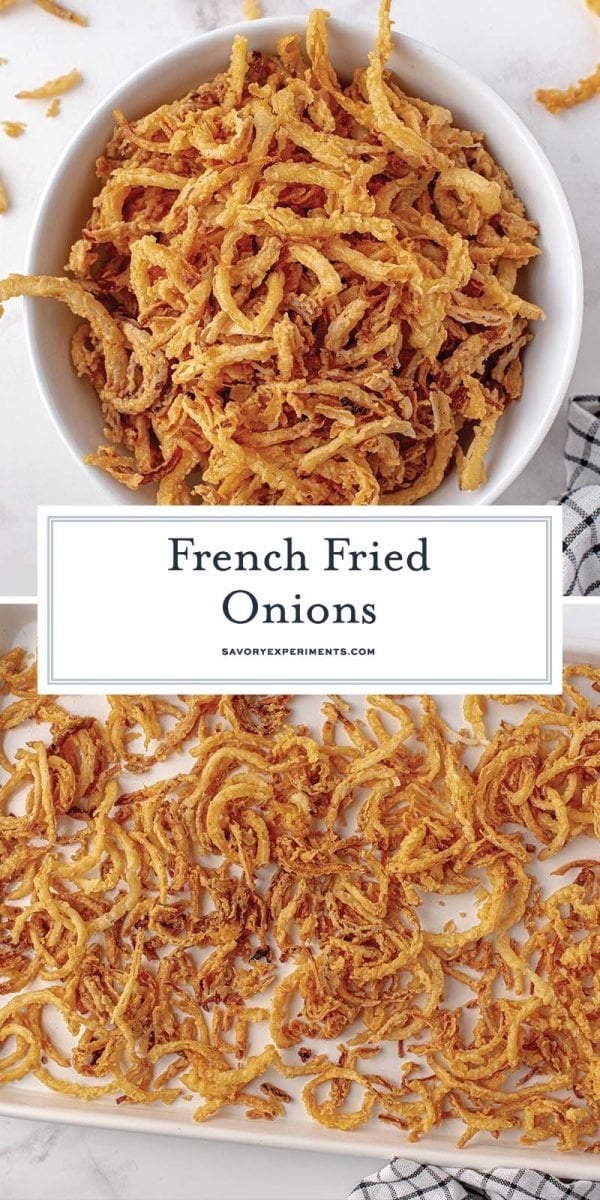
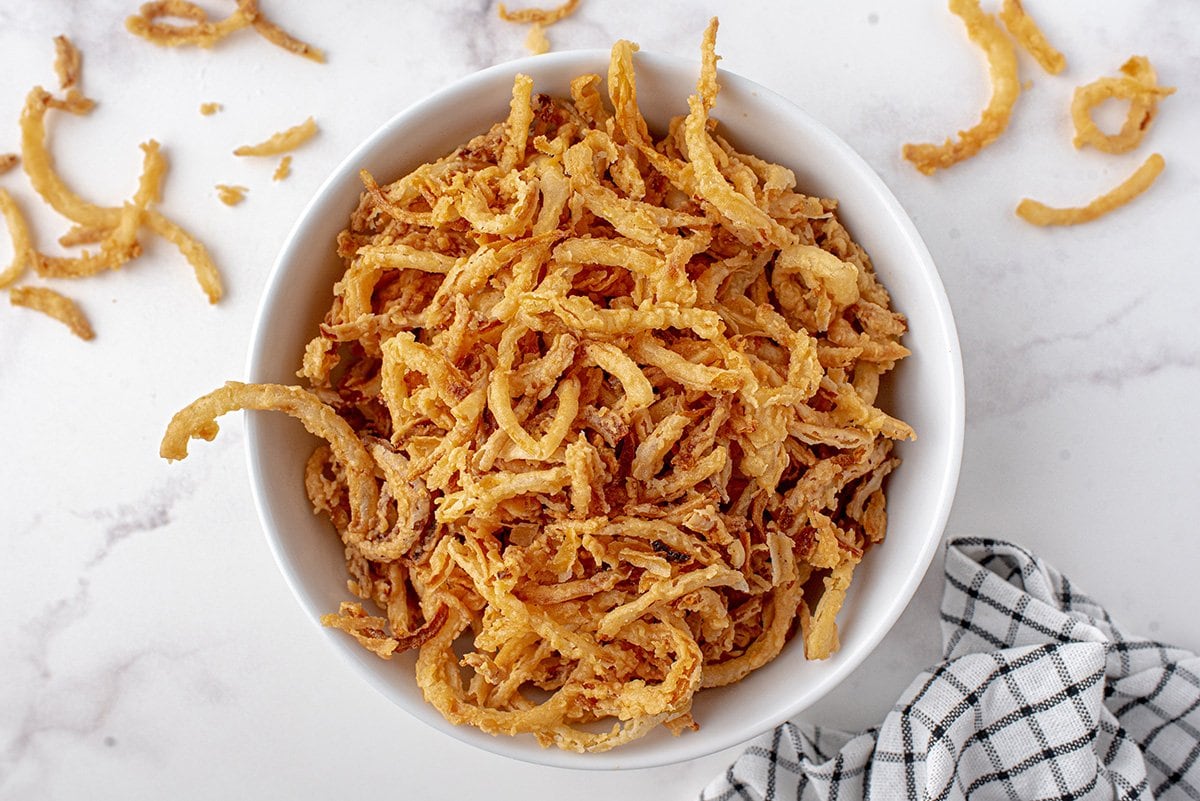
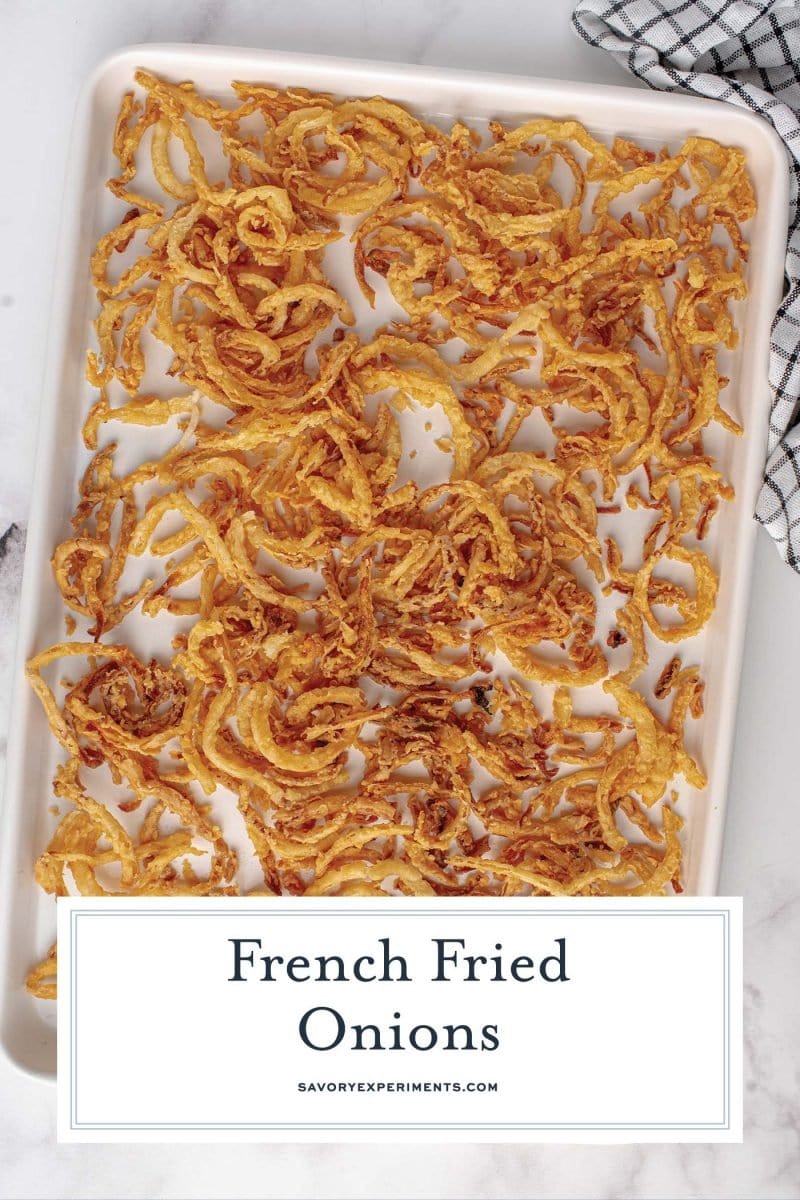
Have you ever had French French Fried Onions? Crispy, crunchy, and delicious. They can be used in on casseroles, in soups, salads, burgers, and more. But they are also expensive and full of preservatives so they remain shelf stable for a decade.
Onions are a vegetable, foodie friends. Vegetables, even fried vegetables and root vegetables, should not last more than a few days! Making copycat French’s fried onions is super easy and can be done ahead of time. I bet you’ll never buy a little plastic jar again.
What Are French Fried Onions?
Onion strings are also known as French fried onions, onion straws and sometimes onion tangles. They are made up of very thinly sliced sweet onion that is bathed in buttermilk to remove the sting, and then tossed in a seasoned flour mix and flash fried.
If you are an onion ring lover, then you are also an onion string lover. They’ also been around for much longer before French’s popularized them.
The original crispy fried onions were a Southern staple for decades before they were popularized. Campbells had a test kitchen to develop new holiday recipes and this ingredient was combined with cream of mushroom soup. It started in the 1950s and has stood the test of time to today.
How to Use Them
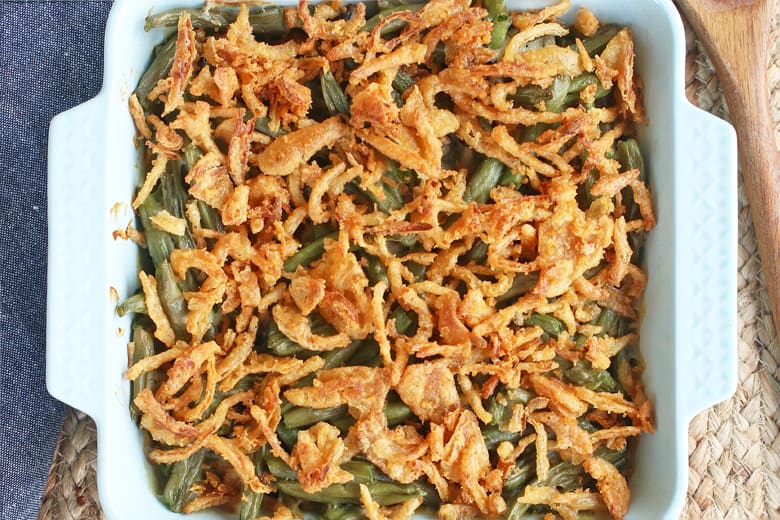
They are probably the most popular during the holidays when every family table has a Green Bean Casserole. But onion strings are hugely versatile. While I like to just munch on mine like a snack, hubby loves his on a Cowboy Burger.
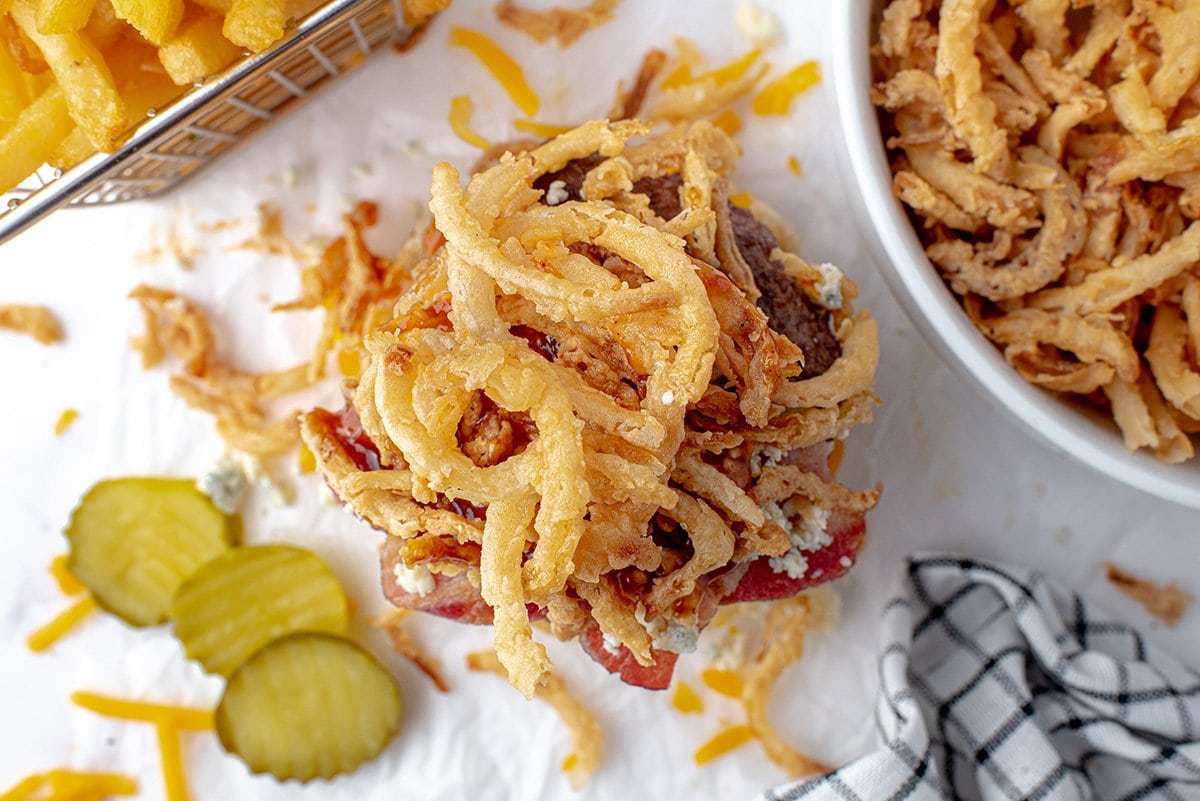
You can also put them on Hot Dogs, as a salad toppings, use them on nachos or even serve them as a side dish for breakfast, lunch or dinner. I even put them on fresh steamed green beans for a slightly healthier version of the holiday dish.
Deviled eggs have never been better with a few strings on top or in stuffing or on top of any dish that needs a little pizzazz. I mean really, is there anything they can’t be used on?
Ingredients
- Sweet Onion– Even though they are called sweet onions, they still have some bite. White or yellow onions also work. Red onions can work too!
- Buttermilk- Buttermilk isn’t a typical kitchen staple, but I would guess that you have two ingredients to make a buttermilk substitute – either lemon juice or vinegar with milk. I also keep powdered buttermilk in the pantry. For things like pancakes, it works wonders. It can work for marinating too. Readers have also had success using diary alternatives like almond and oat milk using the instructions for buttermilk substitute.
- Flour– I used all-purpose flour for the best crunchy texture, but others have used gluten free flours and buckwheat with good results.
- Fine Sea Salt- I use fine in this receipt because the salt doesn’t really dissolve and I didn’t want large crystal of coarse salt floating around. You can also give it a fine dusting after the onions strings have been fried.
- Black pepper– freshly ground and fine. White pepper will give a milder flavor.
- Celery Salt- Yep, my secret ingredient that no one can put their finger on. Can be omitted, but really makes this dish extra special.
- Vegetable oil- I used vegetable oil, but any neutral oil with a high smoke point will work.
Other variations include adding 1/2 teaspoon of onion, powder, garlic powder, Cajun seasoning or Italian seasoning to the flour mixture.
How to Make
If this is your first attempt at making these, then this is how to make french fried onions.
- Starting thinly, thinly (did I say thin?) cutting your onion into rings. Remember, these are onion strings, not onion rings, so they need to be super thin. Make sure you are using a sharp knife or a mandolin slicer. Separate onion rings and place into a shallow dish.
- Soak the thinly sliced onion in buttermilk for about an hour so they get evenly coated. This is what many call “taking the bite out”- it subdues the oniony flavor and adds the signature tang of buttermilk. It is also super thick so it makes the perfect glue for the breading. I like to do this for a full hour, but you can do it for as little as 15 minutes.
- Next make the dry mixture in a separate bowl by combining the flour, salt, pepper, and celery salt in a bowl.
- Next is frying, which is the step most people are fearful of. Frying need not be scary, just remember a few key things. The oil should not go over 350°F, to make sure this doesn’t happen, use a deep fry or candy thermometer to monitor. I actually like mine to be close to 325°F. Use a heavy bottom pan (not aluminum) to get even heating. Since onion straws are so thin, this is a flash fry, or a quick fry. Place the breaded onions into hot oil. They won’t need more than 3 minutes (if that) to brown nicely.
- While the oil is heating, remove the onions the buttermilk, tapping off excess liquid, then dip it into the flour mixture. Shake off excess flour and either place them right into the oil or set them on a plate until you are ready to fry.
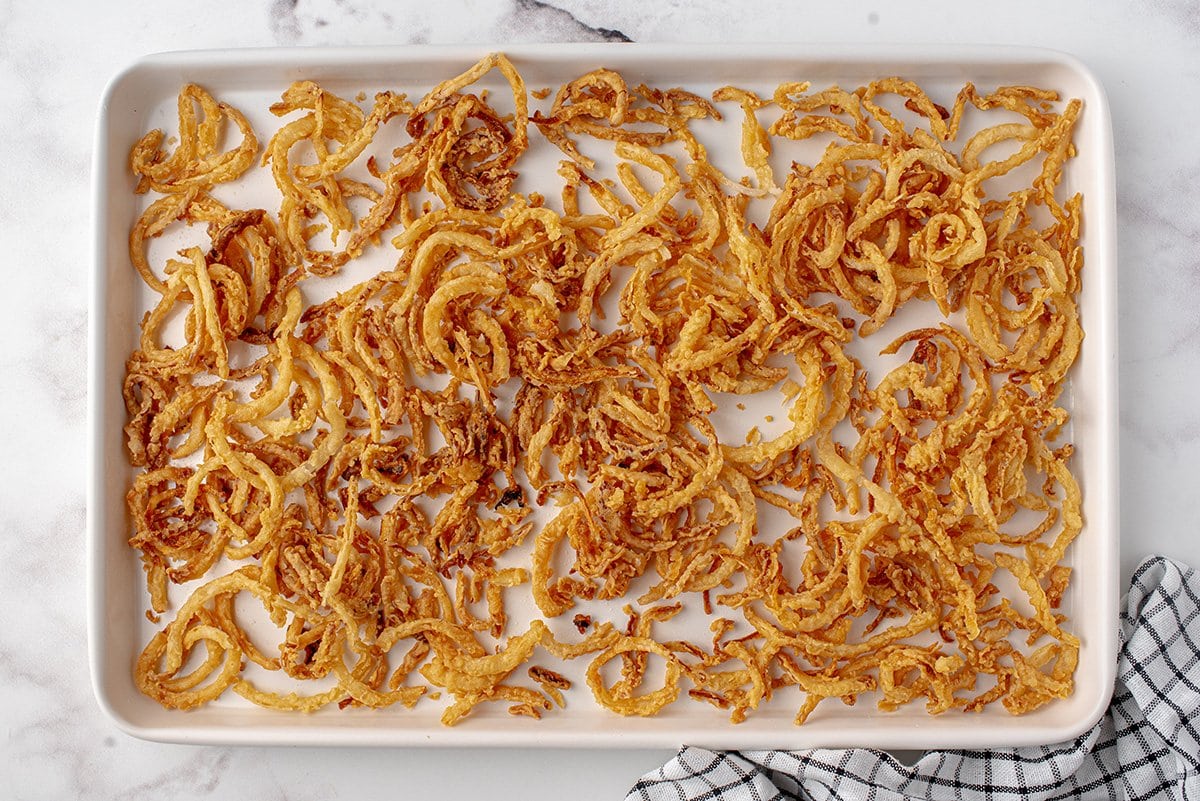
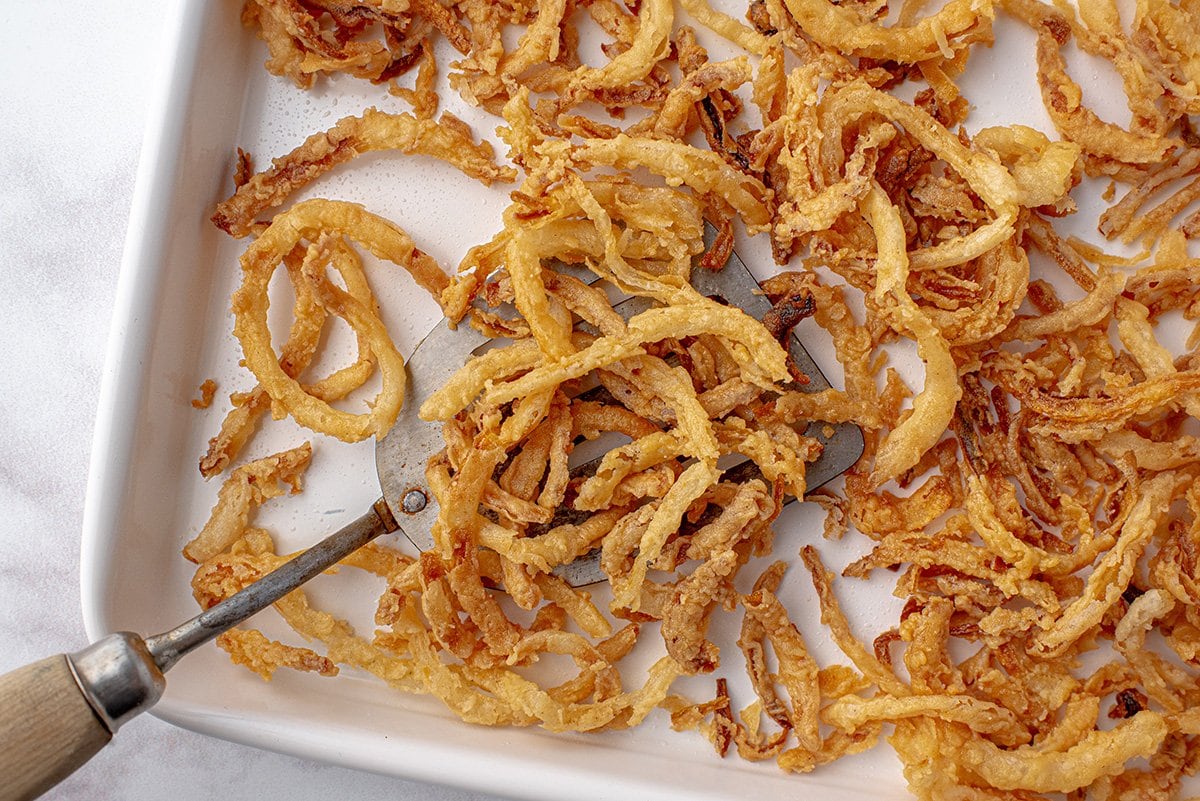
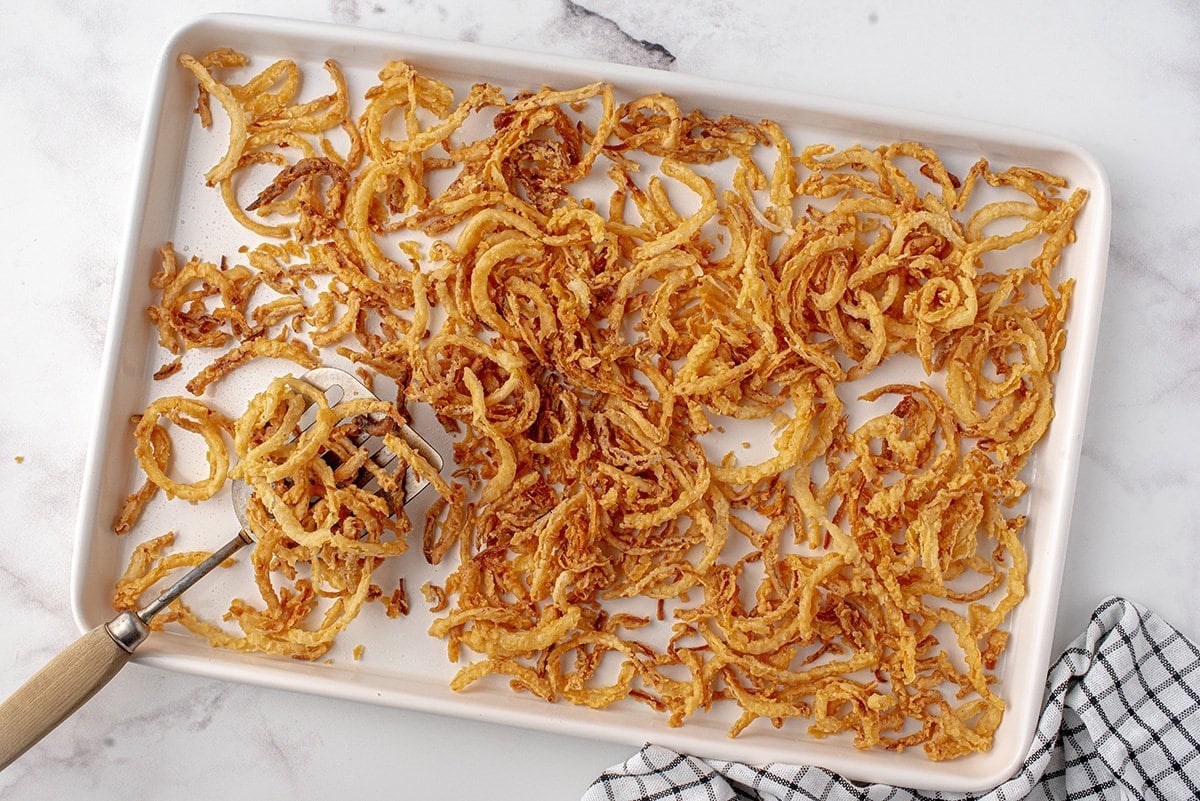
- Cook for 2-3 minutes or until they’re golden brown. Remove them to a wire rack over a baking sheet or plate. This is one of my hot tips for frying.
Most recipes tell you to place them on paper towels lined plate and I was one of those folks too, but the best way to drain fried foods is elevated so they aren’t just sitting in a pool of oil. This keep the bottom side just a crispy as the top side.
Air Fryer Crispy Fried Onions
Since this isn’t a wet batter, you can use the same recipe and toss them into the Air Fryer.
- Preheat Air Fryer to 350°F. Coat the basket with cooking spray or other lubricant.
- Toss a handful of onions into the basket, arranging in a single layer.
- Cook for 8 minutes, tossing once to get even browning.
Make Ahead & Storage
One of the best things about this recipe is that they are ideal for making ahead. Let them cool fully and then place them in an airtight container for up to 5 days.
To get the best results, they need to be room temperature otherwise the heat trapped in a container will make steam and steam is the enemy of any crunchy food.
Why don’t these last as long as the store bought version? Well, they are made with real ingredients and no additives or preservatives.
What to crunch them back up? Heat in the oven at 350°F for about 3-5 minutes. If you are using them on a casserole or something, skip this step, they’ll crisp and warm while the other food heats. Do not microwave them, this will make them soggy.
Check out these easy appetizer recipes:
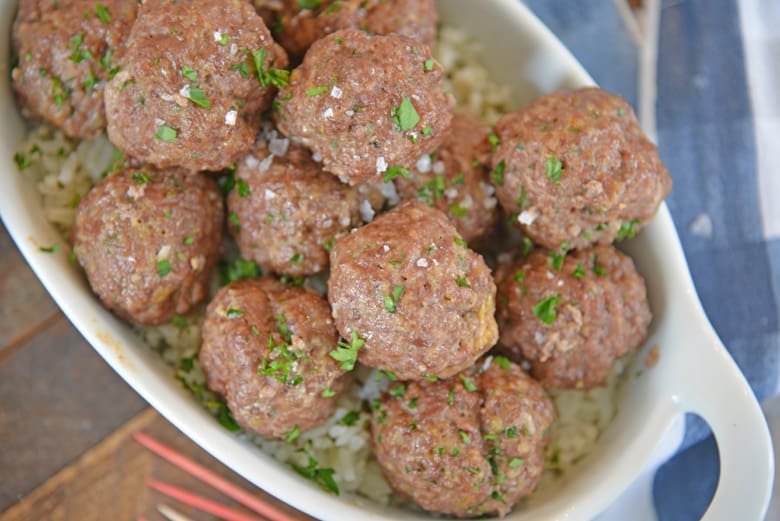
Ranch Meatballs
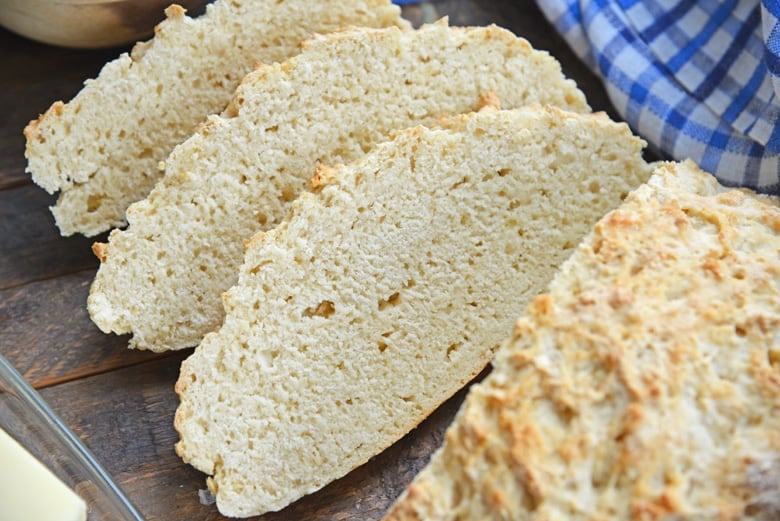
No Yeast Bread Recipe
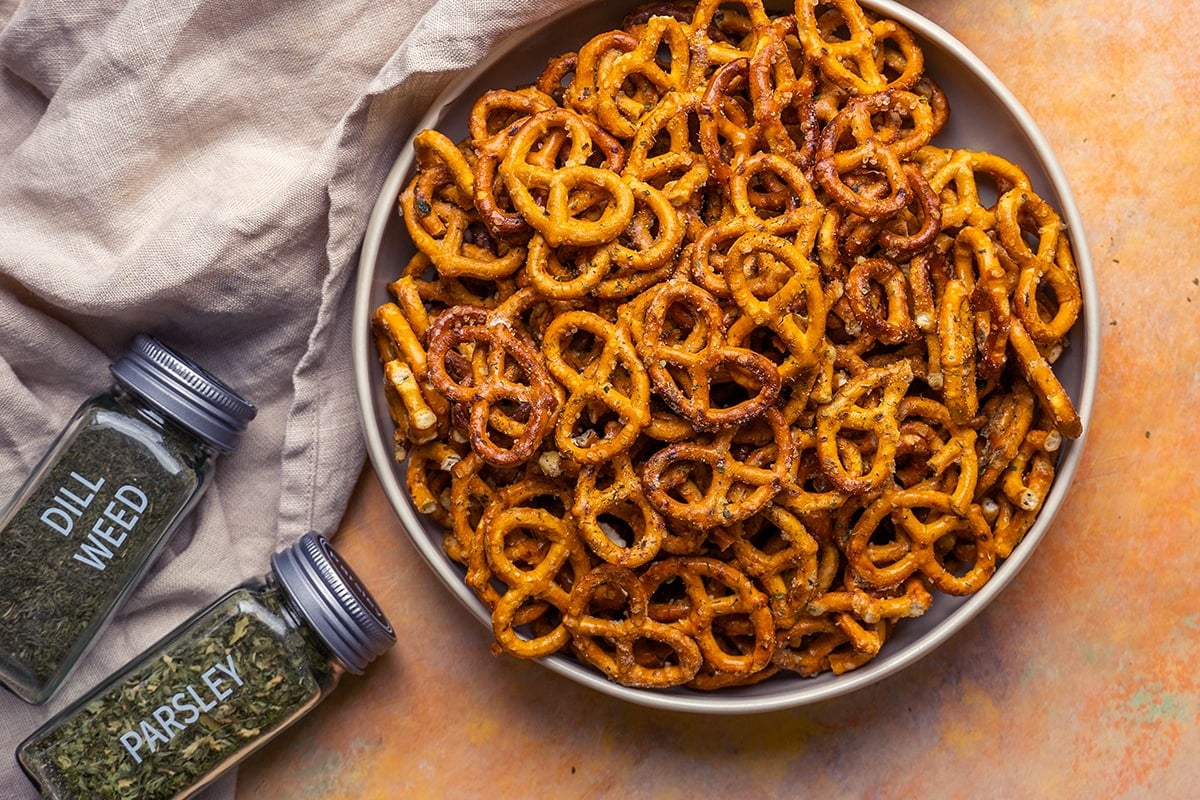
Dill Pickle Ranch Pretzels
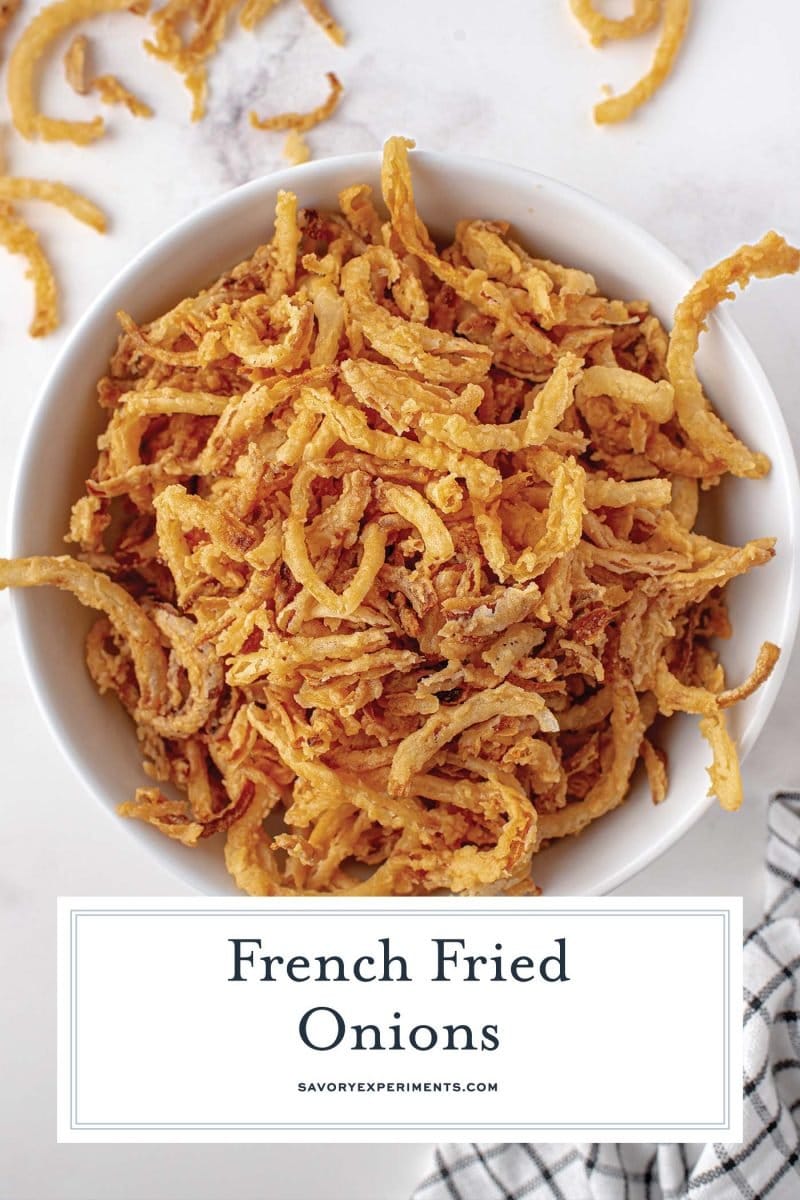
French Fried Onion Strings
Ingredients
- 1 large sweet onion
- 2 cups buttermilk
- 2 cups flour
- 2 teaspoons fine sea salt
- 1 teaspoon ground black pepper
- 1 teaspoon celery salt
- Vegetable oil
Instructions
- Thinly slice the onion using a mandolin slicer or very sharp knife. Separate onion rings and place into a shallow dish.
- Cover the onions with buttermilk, tossing until all covered. Set aside at room temperture, tossing every 10-15 minutes to ensure they are all marinating evenly.
- In a medium mixing bowl, combine the flour, salt, ground black pepper and celery salt.
- Fill a large, heavy bottom pan with 2 inches of vegetable oil and heat to 350°F.
- Working in batches, use a slotted spoon or your fingers to remove onions from buttermilk, tapping to remove any excess liquid. Drop into flour mixture, turn to coat and shaking off excess flour. Then carefully place in hot oil.
- Fry for 2-3 minutes, or until lightly brown. Remove to a wire rack over a baking sheets.
- Continue with the remaining onions.
- If you've tried this recipe, come back and let us know how it was in the comments or ratings.
Nutrition


I want to try them in my air fryer. Any suggestion?
I’m sure you can, but I haven’t tried it. I would use parchment liners and then start at 350°F for 2 minutes and go from there testing how long it will take. Probably not long since they are so thin.
I just tried this recipe. They were out of this world. I will never buy from the store again. They were so simple to make. I used my mandolin slicer to get the onions paper thin. After that it was simple. And they taste way better than the store bought ones. Thank you for this recipe. We loved it.
Thank you for coming to let us know, Elly! GLad you loved it and agree, homemade is SO much better.
Soooooo tasty!! We used gluten free flour and they came out great!!
Yay! We love to hear that!
OMG,these are so good! The celery salt surprised me, but it was perfect! Added a dash of ground red pepper and the family ate them faster than I could cook them! It’s a KEEPER!
Oh! That does sound good- what a great addition, Deborah!
If making 10 cups sHould i use more oil?
The amount of oil will depend on the size of your pan, you want to make sure the oil is high enough to cover the onions. I would do them in batches and add more oil as needed. Maybe 1.5 quarts on hand.
And i can make thEse the day before and just store in plas bags unt reheat in the oven?
Make them the day before, store in any airtight container (bags or box) and then just leave at room temperture. No need to reheat. 🙂
if im maKing this for 50 people as a side for Pulled pork sandwicHes, how many cups would you suggest?
Hmmm… maybe 10? I feel like some people will use a lot, some won’t use any at all. But if there are leftovers, use them on a salad!
And they will taste ok if i make them th Day before and reHeat in the oven the day off? Just Store in ziplock bags?
Yep!